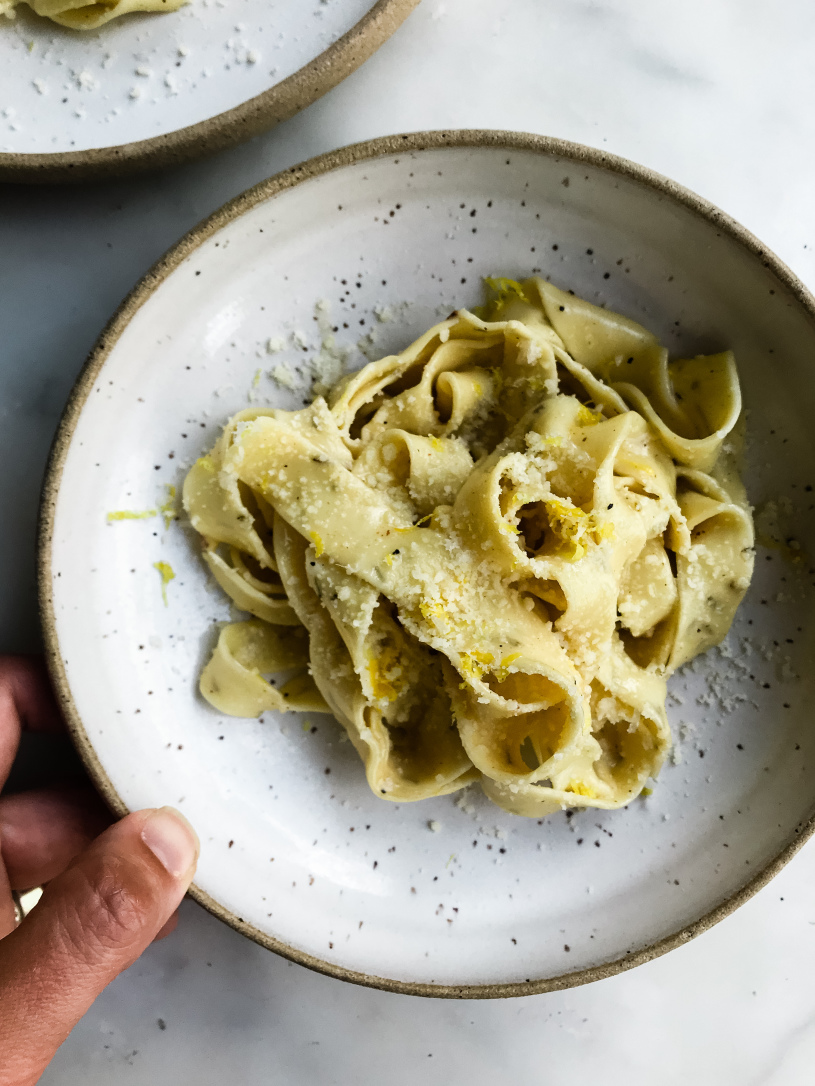
Rosemary Pasta with Lemon Butter Sauce
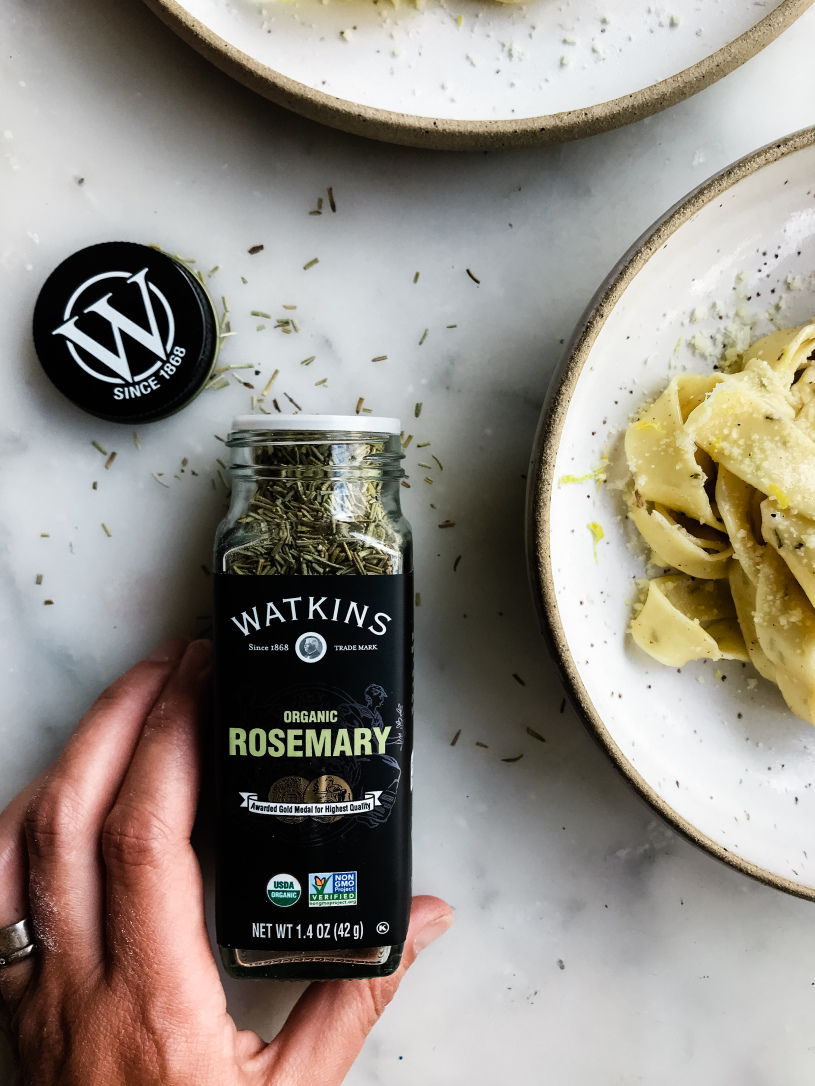
*I’m proud to partner with Watkins to bring you this story and recipe. It’s quite evident in my recipes that I’m a big fan of flavor and I rely on good, fresh spices and dried herbs. Watkins uses only USDA Certified Organic and Non-GMO Project Verified ingredients. You can find their products at Watkins1868.com and select grocery stores nationwide.
As always, the words and photos are mine. I appreciate your support and the companies who graciously partner with me so I can continue to share my stories through the recipes that fill our table.
We dump the flour on the table, a simple action that is right but feels a bit defiant. With our hands, they are in fact the best tool for the job, we dip into the cool powder to form a soft bowl to hold the eggs. While Ivy cracks the fragile white shells, I anticipate the day when we can cross our backyard and visit our hens (who are now chicks) to gather eggs, still warm with yolks that practically glow. I’m interrupted from this dream as the last egg runs out of our flour bowl and onto the table. Ivy and I both laugh while we attempt to capture the runaway egg. Once safely contained she generously shakes fragrant rosemary onto the dough. We both breathe in deep, taking in the piney scent that now surrounds us.
While kneading the sturdy dough I take in the simplicity of this moment, these ingredients. It’s a rare reprieve from the noise and chaos that has grown familiar in my mind. Here in this moment, with all my senses engaged, I can be at the table, fingers covered in dough, laughing with my daughter while stories of past pasta making memories entertain us during our kneading.
We knead the dough until smooth then tuck it in for rest. This is not a rushed process, nor is it complicated. It’s simple yet asks you to be present, to adjust an otherwise busy schedule around its timing, not ours. I gladly accept this offer for it is also an invitation to be here now. To meditate while covered in flour and bask in gratitude with a fragrant bowl of homemade pasta under our nose.
It’s a simple act, humble, messy and imperfect but as with so much in life these are the ones that make all the difference.
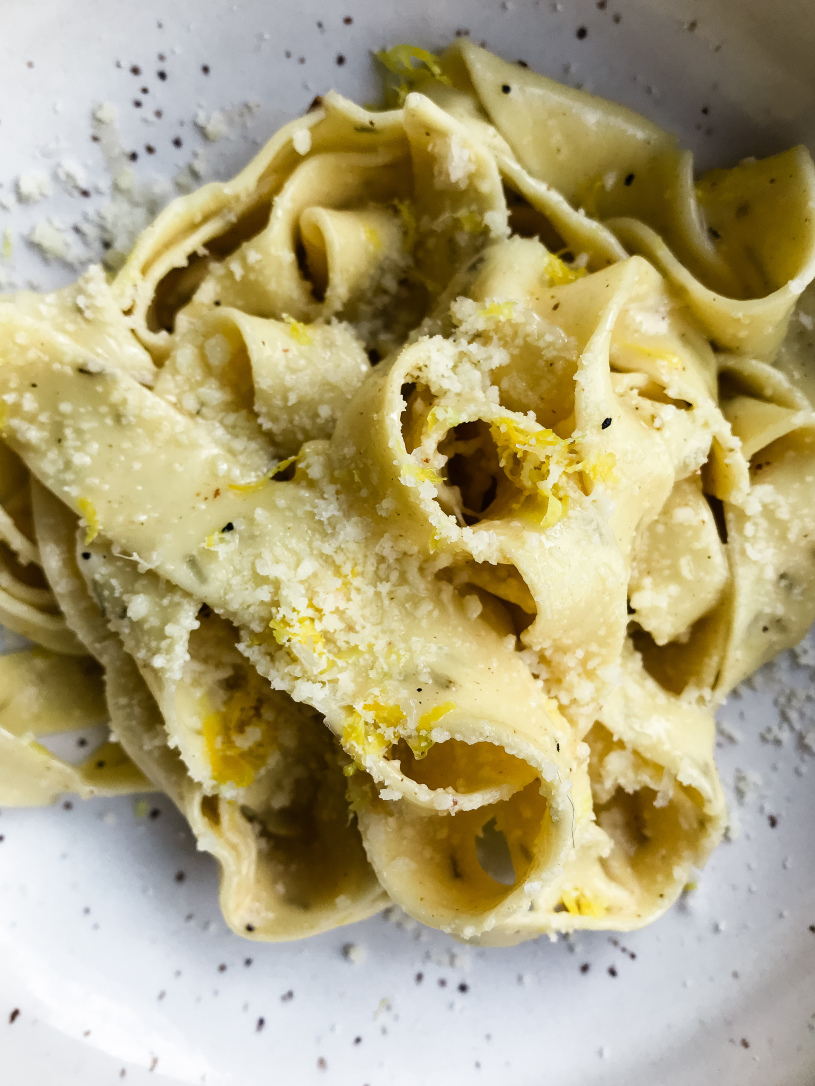

Rosemary Pasta with Lemon Butter Sauce
Yield 6-8 Servings
The pasta dough quantity here is enough for 6 - 8 servings. The sauce quantity below is enough for about 1/3 of the dough. You can easily double or triple the sauce to feed a crowd. The pasta dough can be made in advance. The dough and any leftovers can be covered and refrigerated for one day. The color may shift just slightly.
Ingredients
400 grams all-purpose flour
4 large eggs
1 tablespoon Watkins Organic Rosemary
For 2 large or 4 small servings (about 1/3 of the above pasta dough)
60 grams/4 tablespoons unsalted butter
1 tablespoon fresh lemon juice
Sea salt
Watkins Organic Ground Black Pepper
2 teaspoons lemon zest
1/2 cup freshly grated Parmesan
Instructions
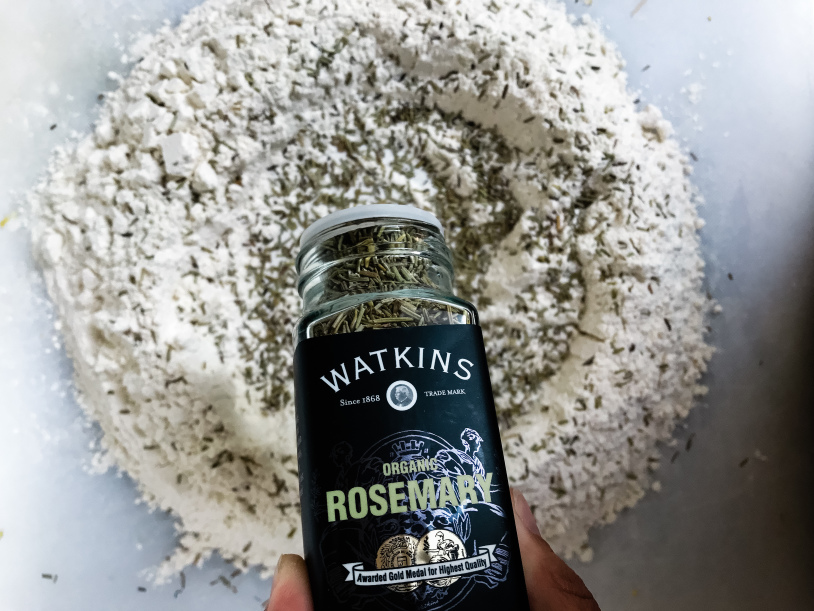
For the pasta.Dump the flour on a large surface.
Make a shallow and wide bowl in the middle of the flour.
Crack the four eggs directly into the flour bowl.
Add the Watkins Organic Rosemary to the eggs.
Using a fork gently start to whisk the eggs, incorporating a little bit of the flour at a time.
Continue to do this until the eggs and flour are the consistency of waffle batter. At this point it’s best to get your hands dirty and start kneading. Pasta dough should feel quite stiff. If it’s too dry you may add a touch of water but not too much, we don’t want a sticky dough.
Knead until smooth, for about 5 to 7 minutes. Wrap well in plastic wrap then let the dough rest on the counter for at least 30 minutes. During this rest the gluten will relax and absorb the liquid. The dough will feel much smoother and cohesive after its nap.
You may use a rolling pin to make the pasta dough but if you have a pasta machine it will go quite a bit faster.Take about 1/10th of the pasta dough and keep the rest covered. On the widest setting of your pasta maker run the dough through then fold in half and run through again. Repeat at least three times. This is another way to knead the dough which will strengthen the gluten and give the pasta a pleasant bite in the end. Continue rolling the dough until you reach the desired thickness, for my pasta machine that is a 6 out of 8 settings. Add a little flour to the dough if there is any stickiness. Fold the pasta sheet in half, then half again, and again, until it’s about 2 inches wide. Using a sharp knife, cut the dough in rough 1/2-inch strips. Set aside on a lightly floured sheet pan.
Prepare the sauce.
- 3 Comments /
- Share /
- Permalink