Simple home coffee roasting
You may remember we like our coffee around here. Here, here, here, and here. I know, how cliche. Seattlites who like coffee. But I might even say that we out-Seattle many Seattlites. Since we last spoke about coffee we’ve added two more brewing systems to our collection. I believe we are now at seven.
Stepping further into coffee nerd-dom we’ve recently began roasting our own beans. We’re just dabbling but at this rate we’ll be Q graders in no time. Maybe not, but it’s fun to dream.
We’ve had so much fun roasting we wanted to share the process with you. Really, it’s quite simple.
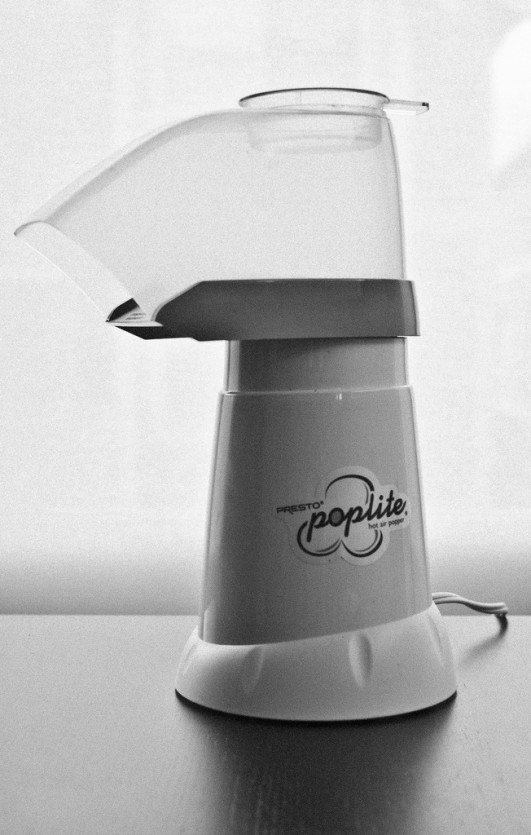
We begin with a popcorn popper. That’s right. A $15 Presto air popper . I might even go as far as to say it’s the best $15 we’ve ever spent. Fresh roasted coffee AND popcorn. Two of my favorite things. Just add to that silver white winters that melt into springs and the list is complete.
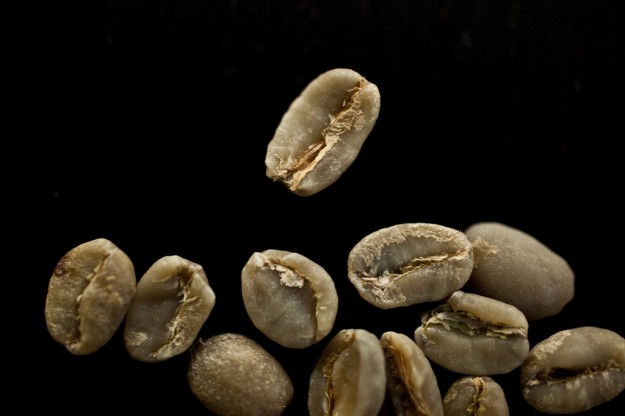
Then you’ll want to order some high quality green beans. Sweet Maria’s is where we found ours (they come highly recommended). I would also recommend picking up a copy of Home Coffee Roasting by Kenneth Davids .
.
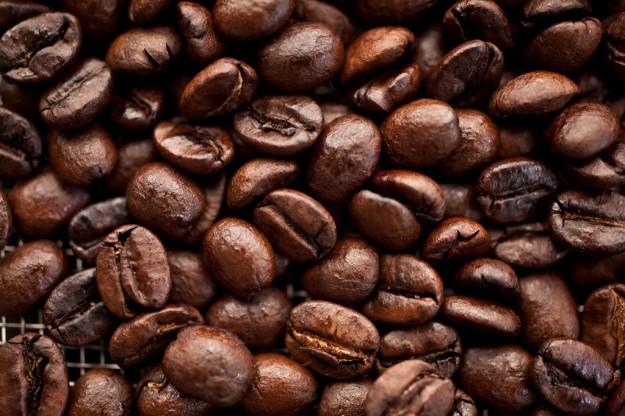
What’s worked for us so far is to simply fill the “butter melting cup” – the technical name for it – with green beans, pour them into the machine, plug the machine in and wait for the beans to reach our favored color. Gabe tends to prefer a lighter roast which allows you to taste more acid and fruit and I tend to like a darker roast which yields more sweet, chocolate and caramel flavors – of course this also depends on the beans we’re roasting. I typically brew espresso which likes dark roasts.
I found the roasting charts in Home Coffee Roasting to be very useful giving visual and audible cues to when to stop the roasting process. Also, often the notes on your green beans will give you the recommended roast for that particular bean.
It doesn’t always work perfectly – it is a $15 machine after all. For example, lighter beans, such as peaberries tend blow out into the bowl along with the chaff. Then there are the times when the machine is chugging a bit and the beans need a little help from the end of a wooden spoon to keep them moving so they will roast evenly. *Be very careful doing that (I’m sure it’s not recommended – in fact I know it’s not but it’s all in the name of evenly roasted coffee) as the machine gets very hot. Don’t let the spoon touch the bottom. You’ve been warned.
Once the beans reach the desired color immediately dump them out into a strainer and stir to cool quickly. We often will have a fan blowing right on them to stop the roasting as quickly as possible.
Now you have freshly roasted beans ready to brew.
When we first started roasted I had visions of the house being flooded with the glorious smell of freshly roasted coffee. In my dreams neighbors would come pounding on the door with coffee mug in hand begging us for whatever we were brewing. But instead the house often smells of burnt burlap. In fact, so do the freshly roasted beans. But after even just a couple hours of relaxing in a lightly sealed ball jar the dark, earthy and glorious aroma of my dreams takes a hold of me. Oh coffee, how I love thee.
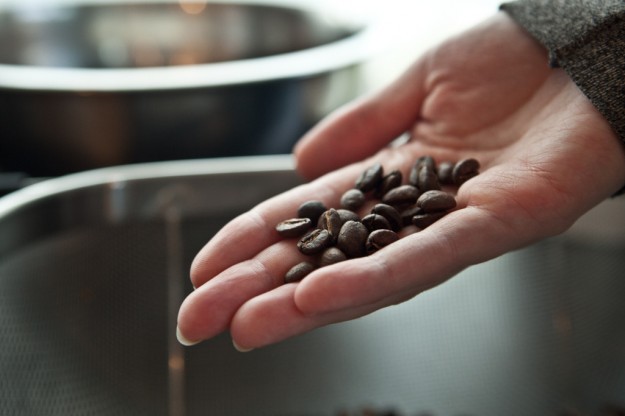
There you have it, a basic introduction to how we roast at home.
Now please enjoy this beautiful video my talented husband put together to further illustrate the process.
Roasting Coffee from gabe on Vimeo.
A huge thank you to my dear husband and fellow coffee nerd (in fact, he out nerds me) for providing all the visuals today. He is a talent and brews a mean cup o’ joe.
One last thing. We have a NWS first with this post. A GIVEAWAY!! Somehow in the midst of all the holiday giving we wound up having two air poppers. That’s great news for you because we want to send you one! Just simply leave a comment to enter and we’ll pick a winner Friday, February 4.
*Congratulations!!** Lindsey Cota!! You won!!! Please email me your address and I will send this popper out your way!
*Just a note: I’m not getting paid by Presto for this post. This is just something we love and would love to share with you all. I do, however, make a few pennies if you buy through my Amazon links – which is awesome, thanks!
