Intro
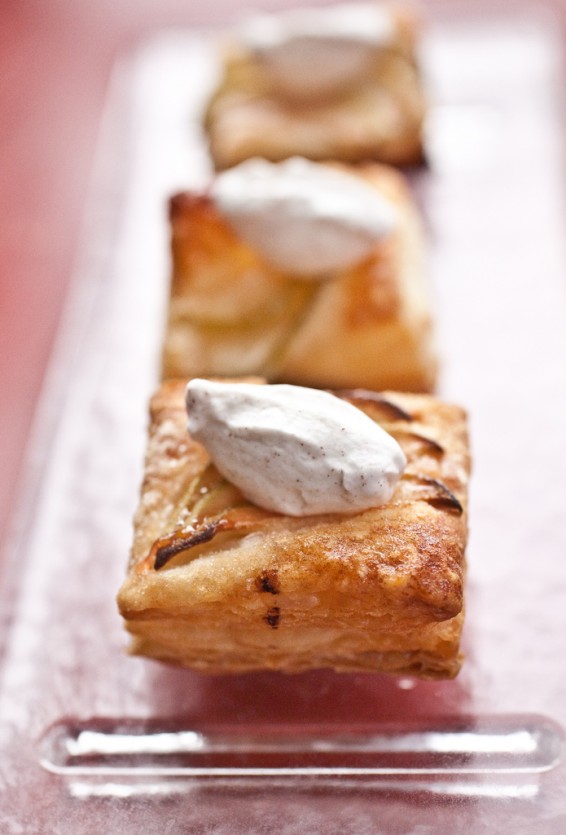
You all must know by now how much I love butter. Particularly in its puff pastry form. I’ve written about quick puff pastry before but as often as I make this recipe I thought it deserved another spot on the blog – a more in depth tutorial-like spot.
Making classic puff pastry should be on your list of things to do at least once before you die. It’s incredibly satisfying. I get weak in the knees upon seeing thousands of layers of alternating dough and butter. Once the puff goes into the oven I immediately turn on the oven light and sit myself down in front of the window and watch in amazement as my dough starts to grow and create perfect layers that will soon shatter in my mouth causing an explosion of butter flavor.
Really you must try it. But on the days when you want those buttery layers but don’t have the time to make the classic version of puff pastry then you turn to quick puff.
Classic and quick puff differ in the mixing process. In making classic puff pastry you start with a detrempe. Which is simply a dough of flour, salt, water and butter. A block of butter is then folded into the dough using a process called turning. The butter and dough layers fold over on themselves but are never incorporated into one another, creating perfectly even flaky layers.
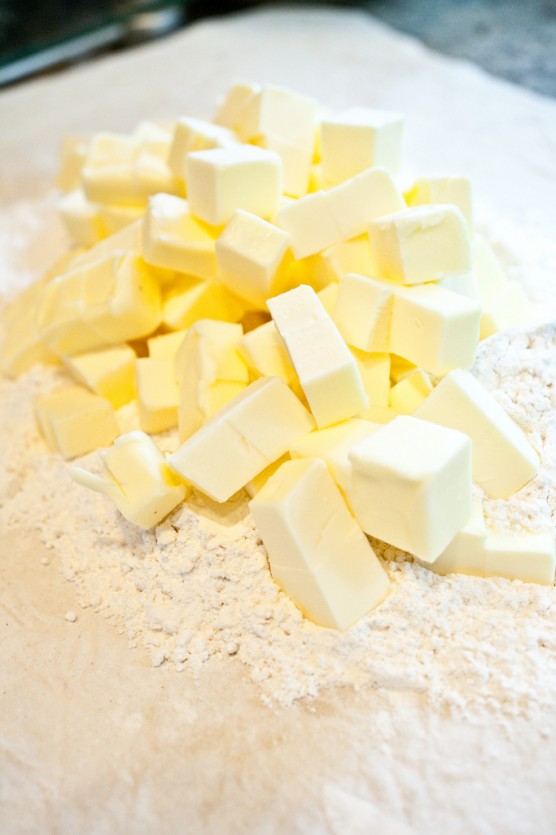
Quick puff pastry starts off looking a lot like making a pie dough. Cold butter – a lot of it – is added to flour salt and “cut-in” using a pastry cutter or my favorite tool – a bench scraper. The butter is left in very large chunks. Since the butter is being worked into the dough more so than in the classic version you won’t get perfectly even layers but you will get some tenderness along with incredible flaky layers.
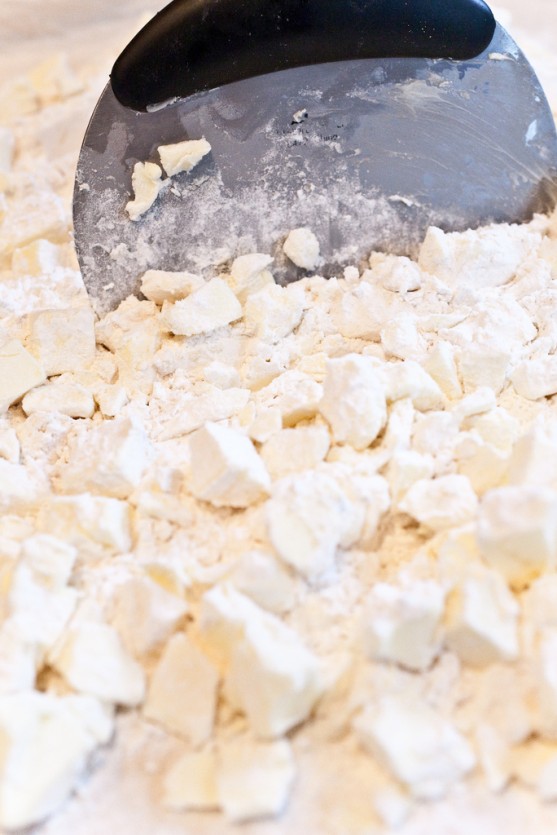
Cold water is then added and the cutting in of the butter continues.
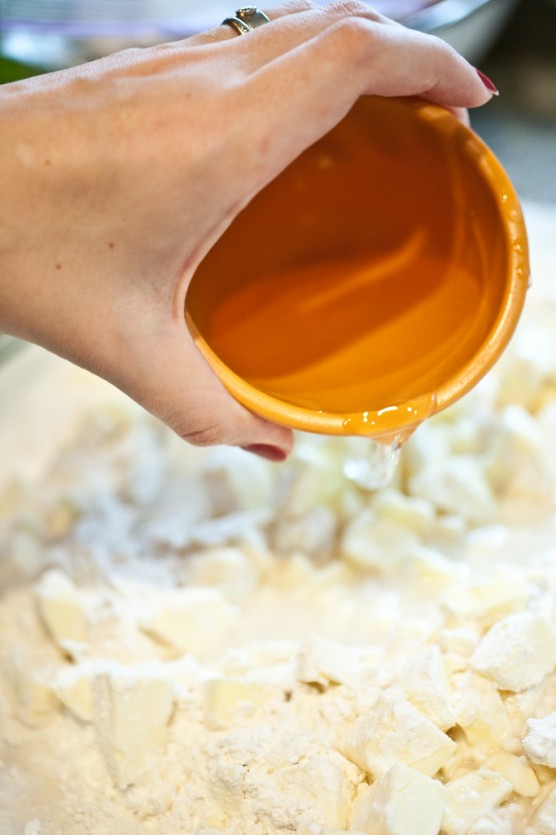
At this point you are thinking I’ve led you horribly astray. This mass of flour, salt, butter and water resembles nothing of a dough. But still we continue on and trust the process.
The next step is very similar to classic puff. Turning.
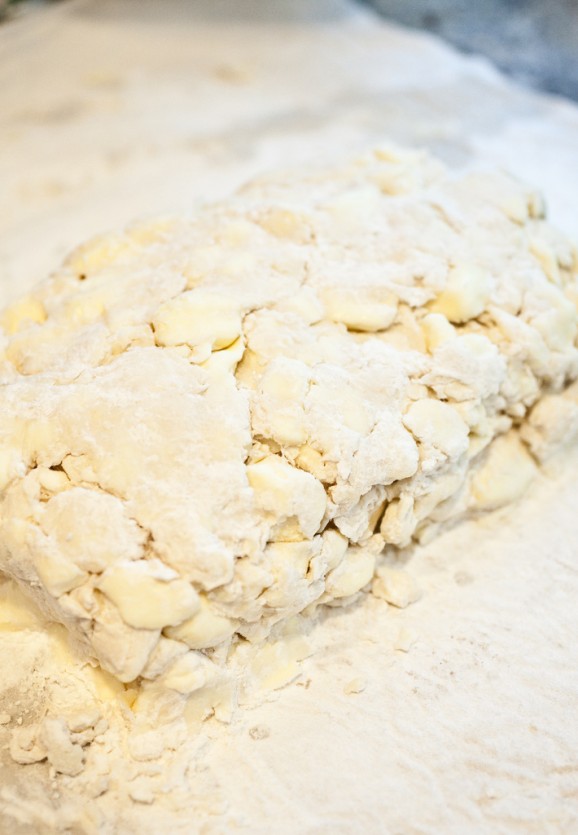
Gather the “dough” and form into a rough rectangle.
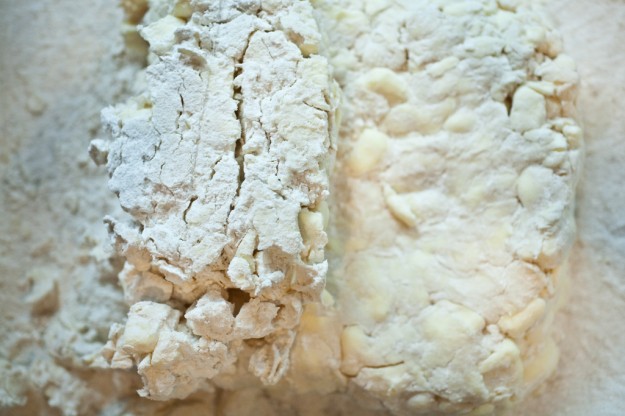
Lift 1/3 of the dough from the left side and fold over the middle. Imagine you are folding a business letter.
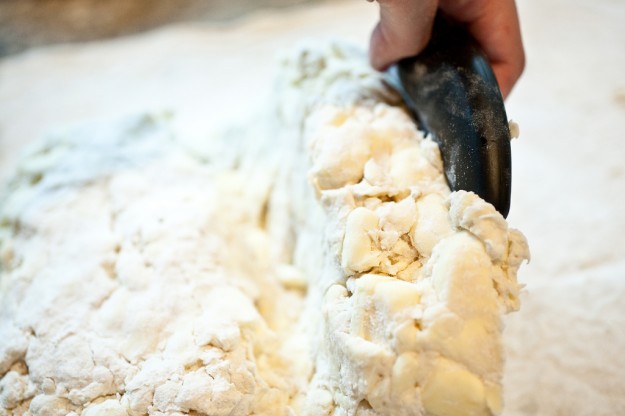
The right side of the dough then folds over it all. Rotate the dough 90*. This is one turn. Repeat that process. Again you form the dough into a rectangle (I find my hands are the best tool for this job), then fold the left third over the middle third and the right side folds over that. Repeat one more time for a total of three turns.
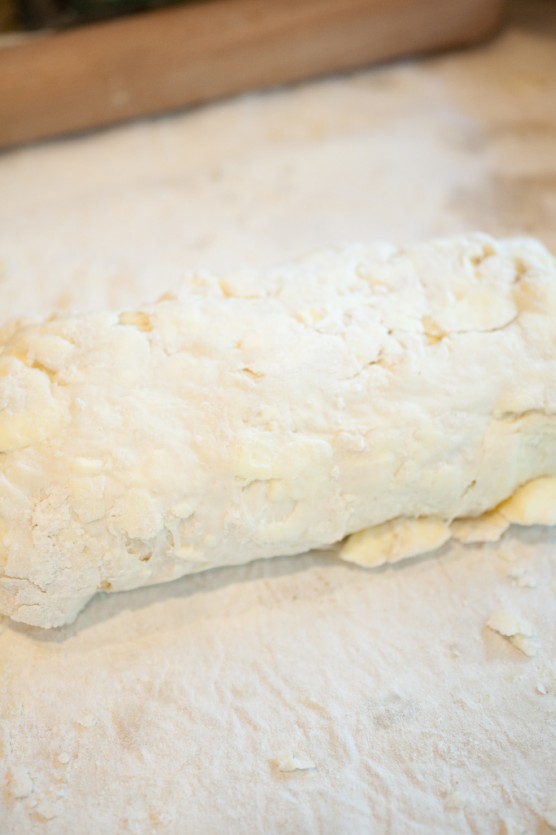
Completely cover the dough in plastic wrap and chill for one hour. If at any point during the mixing and turning process the butter starts to get soft, simply pop the dough into the fridge to chill until the butter is once again cold.
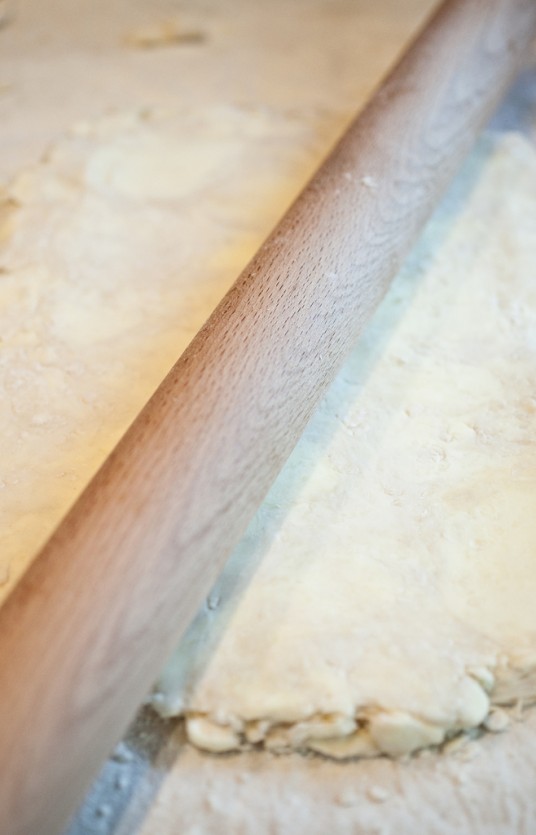
Once completely chilled remove the dough and continue by doing three more turns for a total of six turns. After the refrigeration you should notice that the once dry and blob-like mass is now a more coherent dough. I like to use a rolling pin for the final three turns. I start the dough off by banging it several times with the rolling pin. Cold dough is hard to roll and this eases that process. As an added bonus I find it to be a great stress reliever.
After the six turns are complete I cut my dough in half and marvel at all those beautiful buttery layers. It’s okay to talk to the dough and tell her how pretty she is. Once you are done cover each half and place in the fridge to chill.
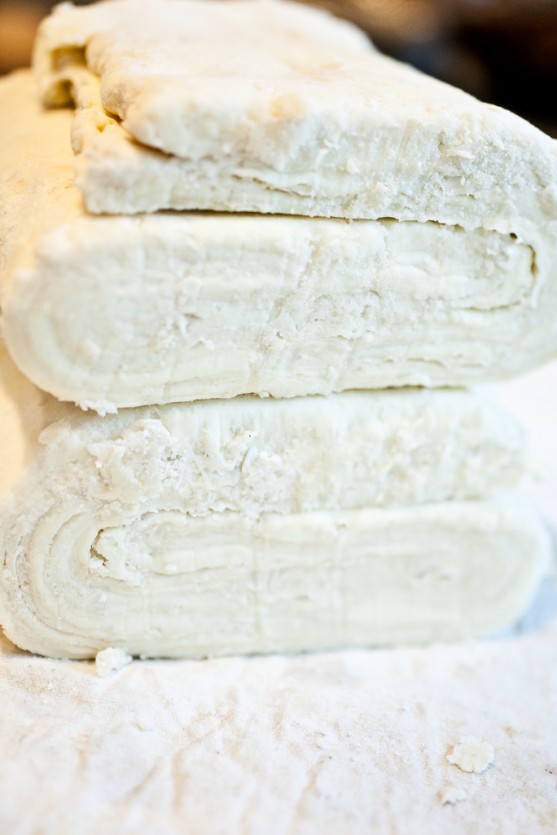
The dough is now ready to use. If you don’t plan to use the dough now, cover in aluminum and throw it in the freezer. Although I do like to roll mine out in sheets first and then freeze the sheets. They can easily be frozen for 2 months. Which makes this perfect for the holidays. Make the dough now, freeze the sheets then pull out of the freezer the day of your party to make a simple and delicious dessert or appetizer.
So now what can be done with all this puff? Savory tarts, palmiers, chicken pot pie, mustard batons, vols au vent, sweet tarts – such as this simple to make but not simple tasting – apple tart.
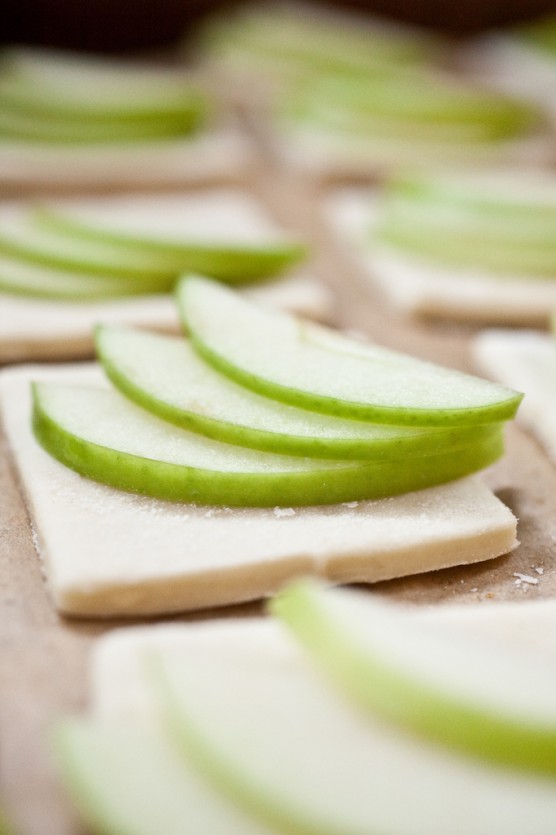
Cut the dough into whatever shape you want. Individual servings, one large tart or little bites for a holiday cocktail party.
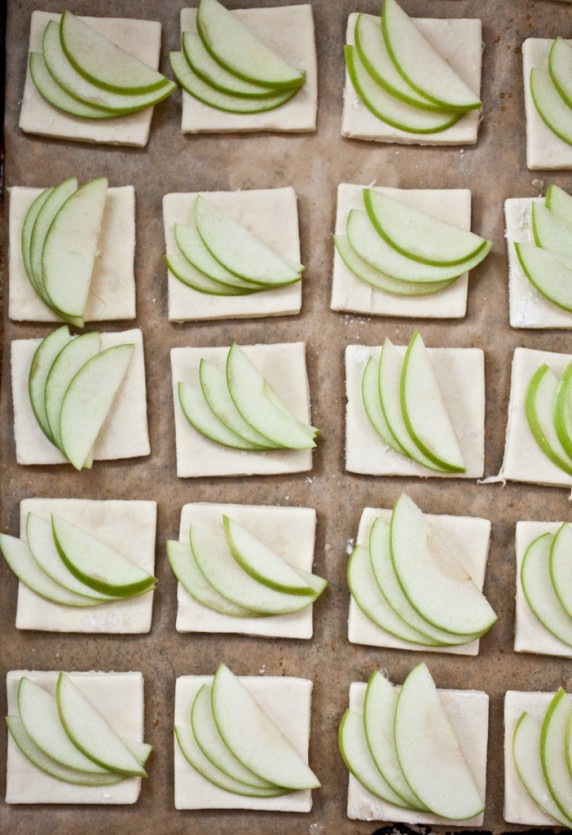
Cover the dough with thinly sliced Granny Smith apples (no need to peel) and then generously sprinkle with sugar. Bake in a 400* oven until puffed and golden. The time will vary depending on the size you choose you make your tart.
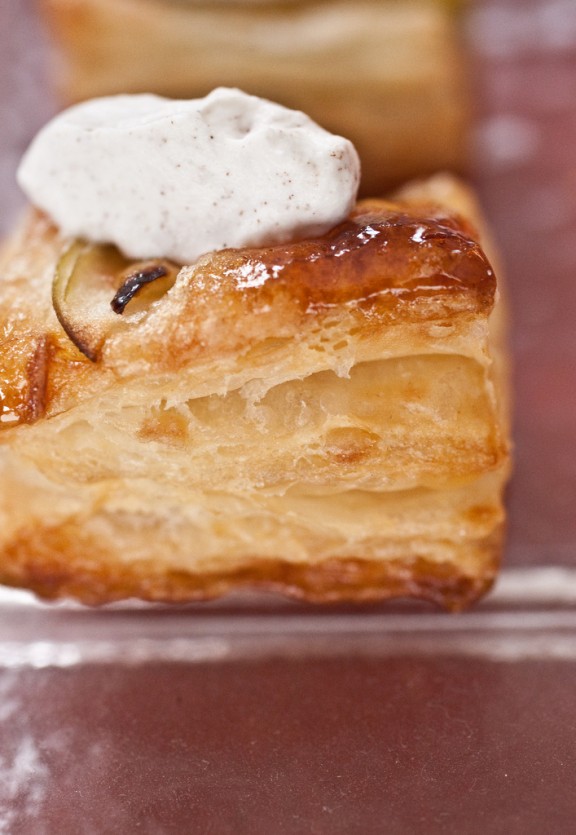
Serve this with lightly sweetened cinnamon whipped cream (1 1/2 cups heavy cream, 2 tbl powdered sugar, 1/2 teaspoon cinnamon).
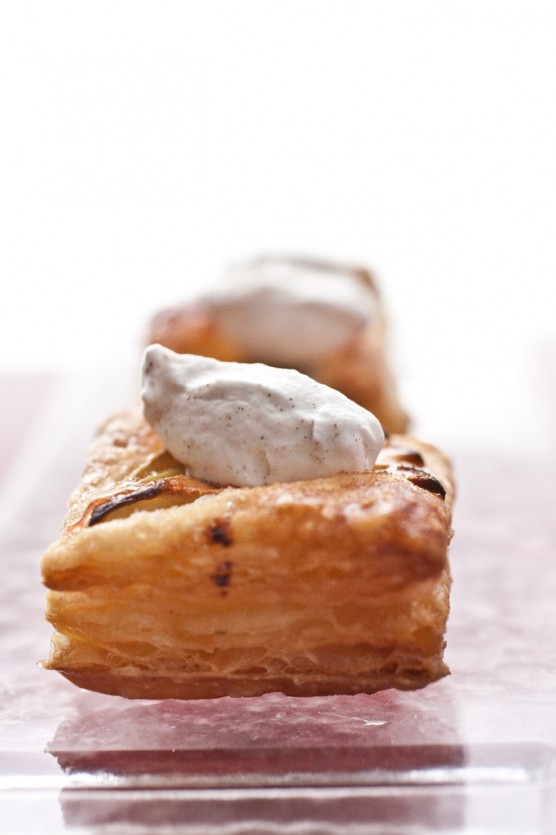
The trick with baking puff is to use a well pre-heated, very hot oven and to bake your dough when it is good and cold. When the cold butter hits a hot oven it quickly start to boil which creates steam. It is the steam that causes the flaky layers as it pushes up the surrounding dough. That, and a little bit of magic.
I do hope you try this recipe. I can not tell you how often I make and use it. So often, in fact, I should be sponsored by a butter company.


I made “rough puff” for the first time a few weeks ago, following very much this method, and really enjoyed both the process and the results. It really is very simple, and gratifying vs. buying frozen puff pastry. You did a wonderful job of showing the method, everyone should feel confident to give it a try! You should do the same for choux paste if you haven’t already.
SNAP! Excellent post!
Wow wow wow. Never imagined making puff pastry! (and not saying that I ever will) … but thanks for showing me that it is possible for a human being to do 🙂
Funny, it just so happens that I’ve added “make puff pastry” to my list of resolutions for 2011. (The anti-resolultion, I suppose.) Thanks for the great tips on how to freeze it. I don’t know what I’d do without my freezer.
You must have been reading my mind! I was thinking about doing this if there was time. Love the new header, and your photos and instructions are spot on!! Nice work Ms Ashley extrodinaire!
My hero. I hate buying store-made puff pastry, but I also hate making homemade puff pastry because it’s just so freakin’ laborious. Now I can finally ditch the storebought crap without killing myself. I foresee a very puff-pastry Christmas ahead. 🙂
Wow. I have been hoping to find a puff pastry recipe. I love it but the store-bought stuff is full of nastyness. Soo…is there anyway we could get you to video this process? I learn so much better that way. Your pictures are quite helpful, though. Thanks!
Oh my goodness…I can’t thank you enough for this great “lesson” in puff pastry. I love using it but have never made it from scratch. I found you through Shauna’s Twitter page. Big pat on the back to her for that Tweet!
The little puffs are oh so pretty, as is everything you do. Must put this on my cooking/baking to-do list!
Ooh, so fun! Thanks for the fabulous step-by-step tutorial! Will earmark this one!
Can you please bring these to the christmas brunch?!?!
such beautiful looking pastry dough. I swooned! Thanks for the tutorial too:)
YUM! This looks and sounds incredible. 🙂
I love puff pastry! I always buy it though…I must try your recipe!
Ive found that puff pastry is sometimes difficult to make just right (or more, easy to mess up). Im still perfecting my tart, quiche and pie crusts. Looks beautiful.
Thank you for this wonderful step by step tutorial! I love puff pastry but I always forget that it’s actually pretty straight forward to make and the results are so amazing! The recipe looks delish, perfect for holiday parties! Merry Christmas 🙂
Yummmm – I love puff pastry and need to try this! I made your yummy twix bars and they were a huge hit! So delicious!
http://dinnerclubmd.blogspot.com/
I can’t begin to tell you how much I enjoy your blog! It is my little kickstart to my day! Thank you for posting some fabulous recipes that all of us (regardless of our ‘Martha Stewart-ability’) can try!
I am going to make these for my family Christmas dinner this Saturday as I have been commissioned to bring dessert. And in true ‘Bre-fashion’, i don’t want it to be a) store bought and b) something I’ve brought before! Thank you!
Awesome blog! Is your theme custom made or did you download it from somewhere? A design like yours with a few simple adjustements would really make my blog jump out. Please let me know where you got your theme. Kudos
That looks yummy! I love the step by step, so easy to follow… thank you!
I am relatively new to baking, and I have never tried anything like this before. I halved this receipe, used cake flour because I was out of AP flour, and just followed the step by step instructions and pictures…and the puff pastry turned out delicious! (I used them to make Portuguese Egg Custard Tarts.) This tutorial was amazing–I had SO much fun kneading the dough by hand; and the end result was extremely rewarding.
The only thing I wasn’t sure about was why every time I ‘folded’ my dough into a business letter, it would break, rather than fold…not enough flour? The use of cake flour instead of AP flour?
In any case, I’m not complaining, because the end result was butterly amazing. Thank you, Ashley!! 🙂
Neha – So glad you tried it (and liked it). Yes, I imagine the breaking is from the cake flour which contains very little protein. Protein forms gluten in baked products and give them a bit of stretch.
Oh, good to know. Thank you! 🙂
This looks great. Thanks for the nice photos. Going to try this soon. How many pastry sheets does this recipe make?
About 4 sheets.
The best online survey sites are always free and you should
join at least 5 sites to get paid surveys regularly.
Just do a search in your favorite search engine for “free pay per click”
or some other similar phrase. These methods are some of the methods that tend to make the larger amounts of money.
Finally. Instructions that a newbie could actually understand. After my failed attempt on making croissants, which was not so bad coz I ended up with cheese and hotdog bread (but still not croissant), I’m actually reading instructions first and your blog just gives me the confidence to take on the puff pastry challenge. Then I will conquer the cronuts world *evil laughter*
Ok, so I totally applaud (!!) you for making your own puff pastry (and I sort of feel embarrassed now to show you my own snack recipe) and this recipe (and pics!) look so nice! Nevertheless, sharing puff pastry recipe love (even though my pastry base comes straight from my local patisserie) is always good. 🙂 Here my blog post: http://dishtales.com/thanksgiving-2014-puffin-pastries/
Thanks for sharing this great and beautiful post!!
XO
http://www.dishtales.com
is there a recomended subsitue for a gluten free option?? Please email me?
I don’t have much advice for gluten free puff pastry but I know Shauna did a lot of research and I consulted with her a bit on this recipe: http://glutenfreegirl.com/2010/04/gluten-free-rough-puff-pastry/
Excellent post. So yummy.
yummy blog..i love puffs.one of my favorite..thanks for the recipe..the images are looking yummy..