Salted Peanut Caramel Ice Cream Bars
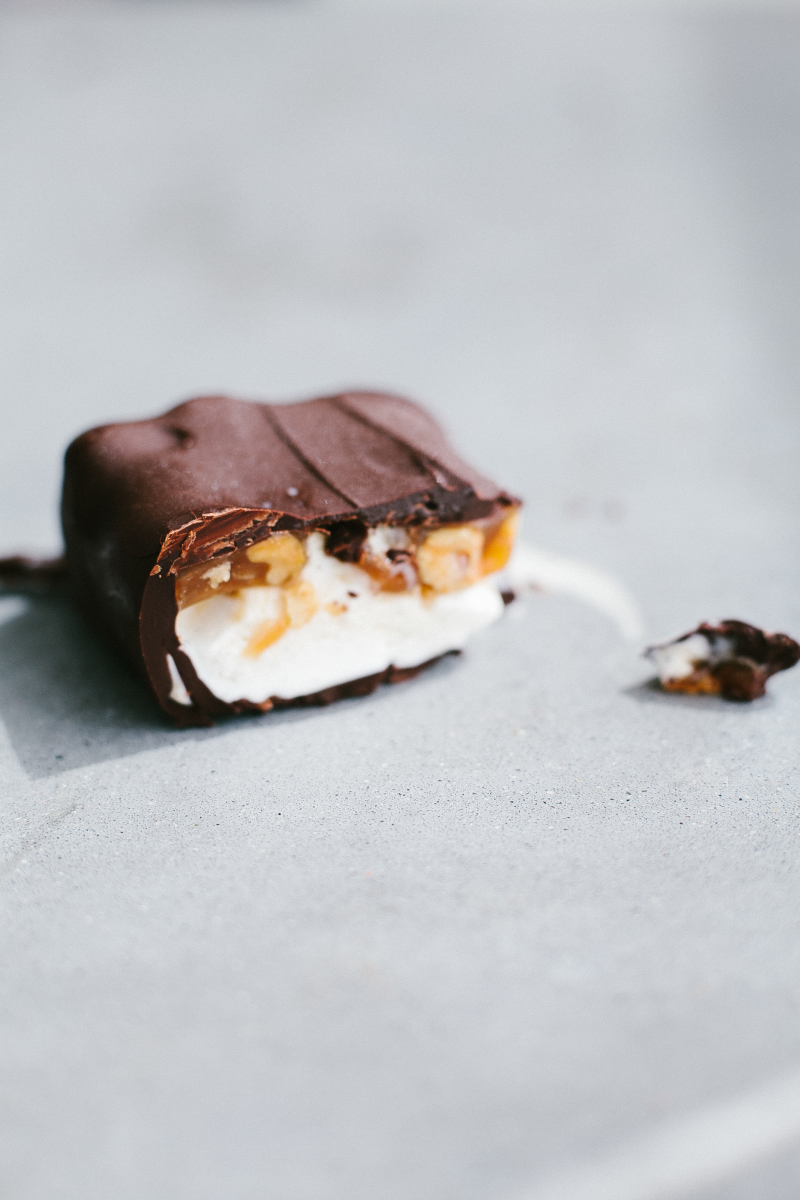
I’m sitting on the couch surrounded by a pile of boxes, the table is littered with a plate of brown apples and a vase of dead peonies, the sink is filled with dishes and there are traces of chocolate on nearly every surface in the kitchen. Tomorrow is the last day of 2nd and 1st grade for my boys and it is also the one week mark until we need to be out of our house and into our new home. If I stop to think about it all I quickly get overwhelmed with the details and logistics surrounding all the changes happening. But if all I do in the midst of this is sit and let the stress smother me then I am also failing to take a moment to see all the good in it as well. We’re moving! It’s summer! We’re healthy, alive, and eager to fill our days with trips to the beach, camping, fruit picking, bike riding, lemonade selling, grilling, and everything in between.
As I lamented my to do list to a friend I also mentioned to her that I’ve had it in my head to make a homemade version of one of my favorite frozen indulgences; the Snickers ice cream bar.
“Do it!” She proclaimed, suddenly making the task feel doable and down right necessary. “You have so much to celebrate, it seems like the perfect way to do so.”
The ice cream bar project was so far down on the list of priorities that it didn’t even manage to make it on to the list but that nudging was a subtle reminder that life is full of endless to do lists. Rather than wait for life to slow down long enough for us to celebrate I want to set aside the other tasks, let the boxes lay empty for a bit longer and create the sort of recipe worthy of such a celebration.
These bars require a bit of wait time and have multiple steps that can get a bit messy but I assure you that no matter how they look in the end they will be unforgettably delicious. Our tray of ice cream bars are sitting in the freezer waiting for us to officially mark summer when the boys get home from their last day of school.
There are a few more things to note that are also worthy of celebrating. First of all, that very wise friend who encouraged this recipe has become an official member of team Not Without Salt! I’ve made many mentions of my friend Julie Hubert as she has been very influential on this site, in the cookie endeavors and as a very close friend. We just went ahead and made the partnership official. She is in charge of many things; one of which is to make sure I don’t go crazy – it’s a big task.
Secondly, I am thrilled to announce a very fun event that Julie and I are hosting along with Marx Foods. They recently started carrying the NWS cookie mix and to mark the occasion we are hosting a fabulous contest and event. Six local bloggers were given our cookie mix and asked to go crazy with it. They will be posting their recipes to their blogs and we’ll select two finalists. The finalists are invited to our event (open to all!) on June 30th where we’ll sample the recipes and eat loads of cookies. Be sure to check out the participants blogs to get the recipes!
Tending the Table
Rustic Joyful Food
Culinary Concoctions by Peabody
Outside Oslo
Drumbeets
Farm Girl Gourmet
Check out the event page for more details and to R.S.V.P. to the event.
And finally, I apologize for those who have been having a hard time getting a copy of the book. Date Night In, is now back in stock once again!! Thanks again for all the support.
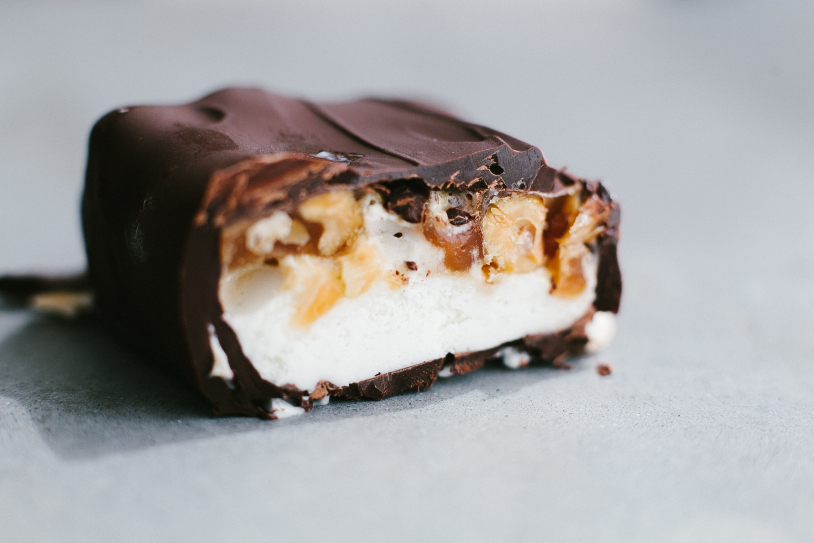
Salted Peanut Caramel Ice Cream Bars
makes about 20 ice cream bars
These indulgent treats are reason alone to celebrate. If you want to skip straight to the celebrating and not mess with dipping them in chocolate you can simply cover the caramel layer in chocolate and serve with a fork. If that's the case you won't need as much chocolate as I recommend here.
Next time around I may try dipping in this magic shell recipe to make the chocolate a bit easier to work with but I do love the thick, bittersweet coat this recipe gives. With ice cream, caramel and chocolate it's really hard to go wrong.
1/2 gallon vanilla bean ice cream
8 oz/ 1 cup / 230 g sugar
6 oz/ 1/2 cup / 170 g Lyle’s Golden Syrup (or corn syrup)
1/4 cup water
6 oz/ 3/4 cup / 170 g heavy cream
2 oz/ 4 tablespoons / 60 g butter, soft
1/4 teaspoon kosher salt
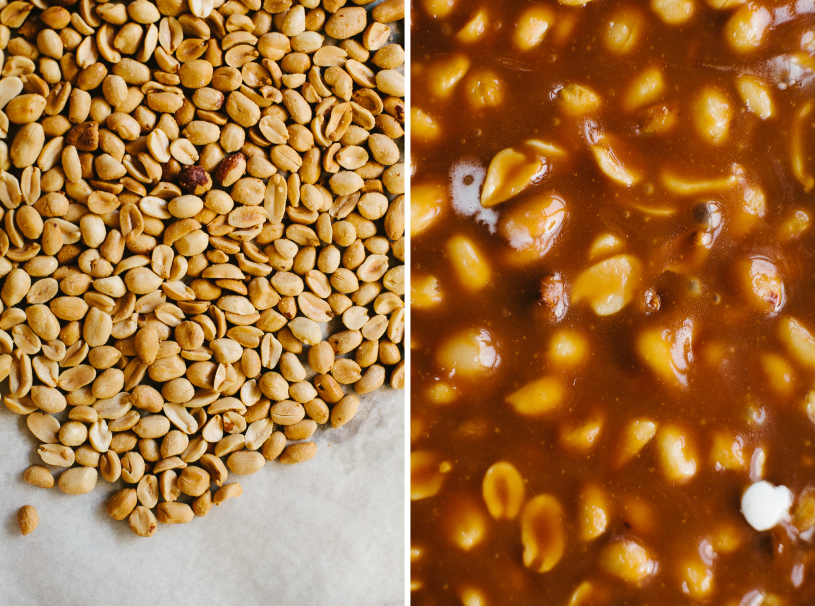
2 cups roasted and salted peanuts
2 bags dark chocolate chips or finely chopped bittersweet chocolate
2 tablespoons canola, rice bran oil or coconut oil
flake salt, optional
Line a 10x10-inch (or 9x9-inch) square pan with parchment paper in the same way you would when making brownies - with two pieces overlapping each other and a bit of overhang on the sides. This will make it easier to get the bars out of the pan later. Use a bit of non-stick spray to adhere the parchment to the pan.
Let the ice cream sit out until soft and can easily be spread in the pan. Spread into an even layer and then freeze until completely firm, about 2 hours.
While the ice cream is firming up prepare the caramel.
For the caramel: Combine the sugar, golden syrup and water in a large saucepan. Stir gently to combine then wash off the sides of the pan using water and your clean hands to feel if any sugar remains on the side. If stray bits of sugar fall into the caramel it can cause the caramel to crystallize so it’s important to make sure all the sugar is in the bottom of the pan mixed with the water.
Place the lid on the pan and put over high heat. Having the lid on during the first few minutes of boiling creates condensation that further helps to wash away any sugar that may be left on the sides of the pan. After 5 minutes remove the lid and let the caramel continue to boil until it reaches 300 degrees F. If some of the caramel starts to color you can gently swirl the pot to combine.
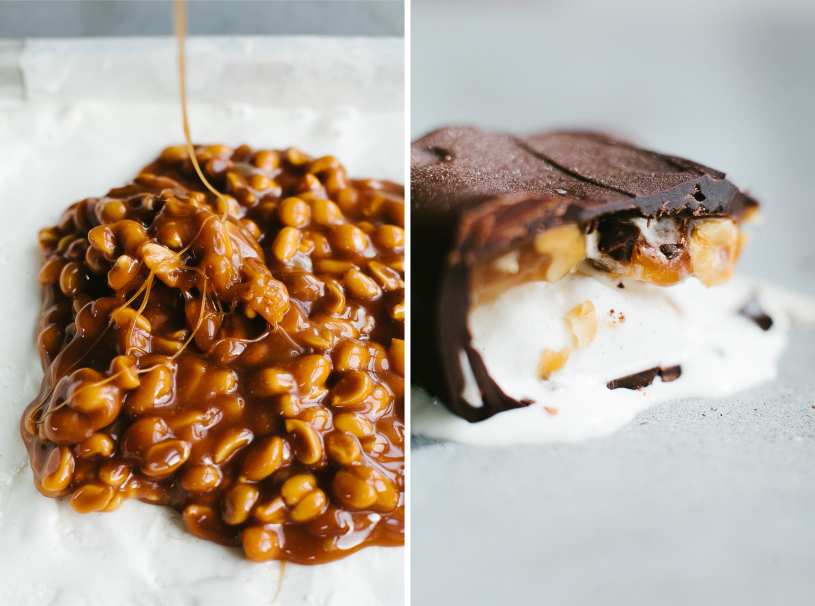
Add the cream and butter once it has reached 300 degrees F and then continue to cook until the caramel reaches 235 degrees F. Remove from the heat and stir in the peanuts.
Let the caramel cool completely before topping the ice cream with the caramel.
Melt the chocolate with the oil in the microwave or over a double boiler.
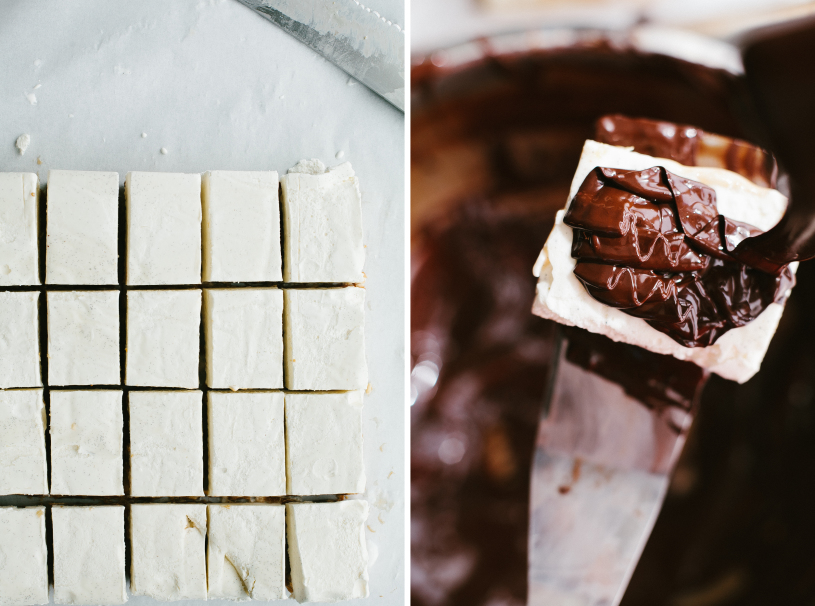
At this point you can simply pour a layer of chocolate over the caramel if you prefer to keep things simple and don't mind serving this dessert with plates and a fork. If you want to dip the bars I find it easiest to add a bit of chocolate on top of the caramel layer then flip the bar over, resting the chocolate and caramel on a metal spatula. Hold the spatula over the bowl of ice cream then spoon over the melted chocolate letting it drip down the sides. Carefully paint the sides with chocolate using a spatula or other utensil until all the surfaces are covered.
Finish with flake salt and freeze until firm.
