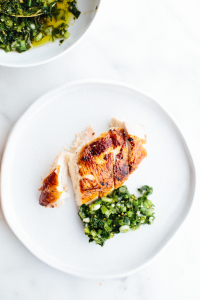
Perfect Roast Chicken with Salsa Verde
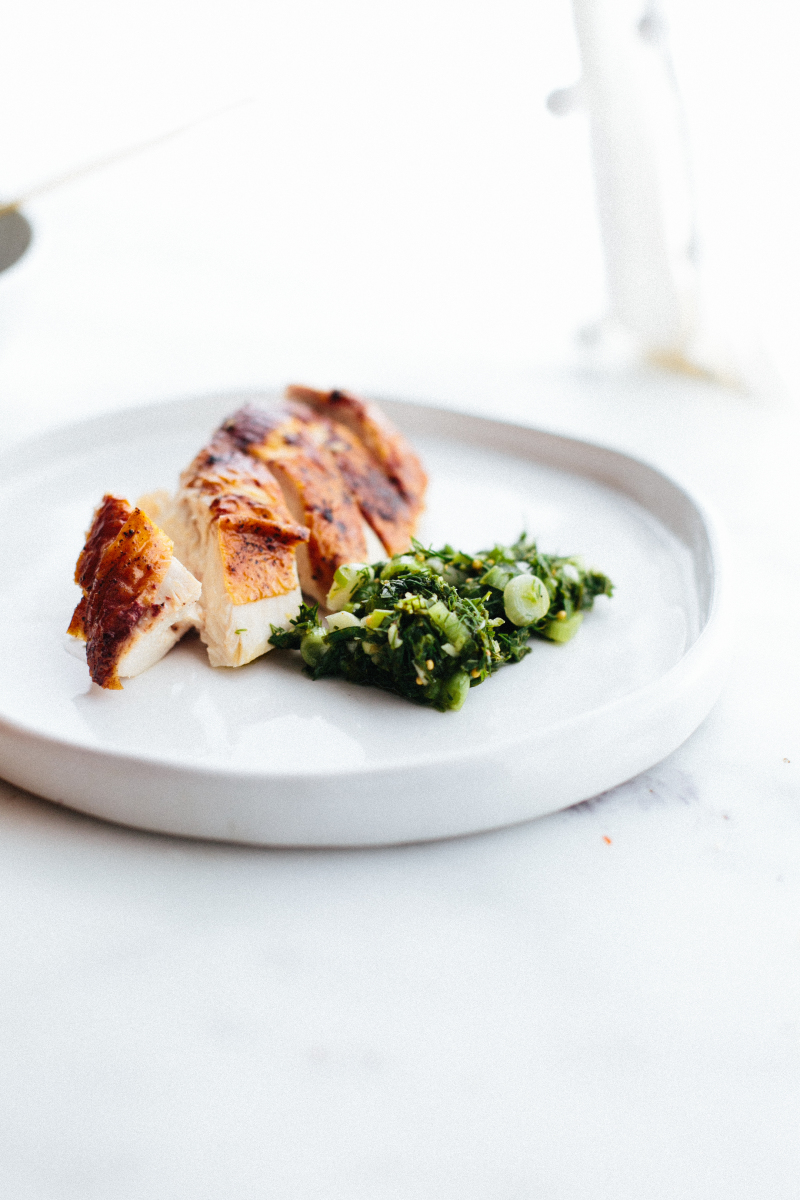
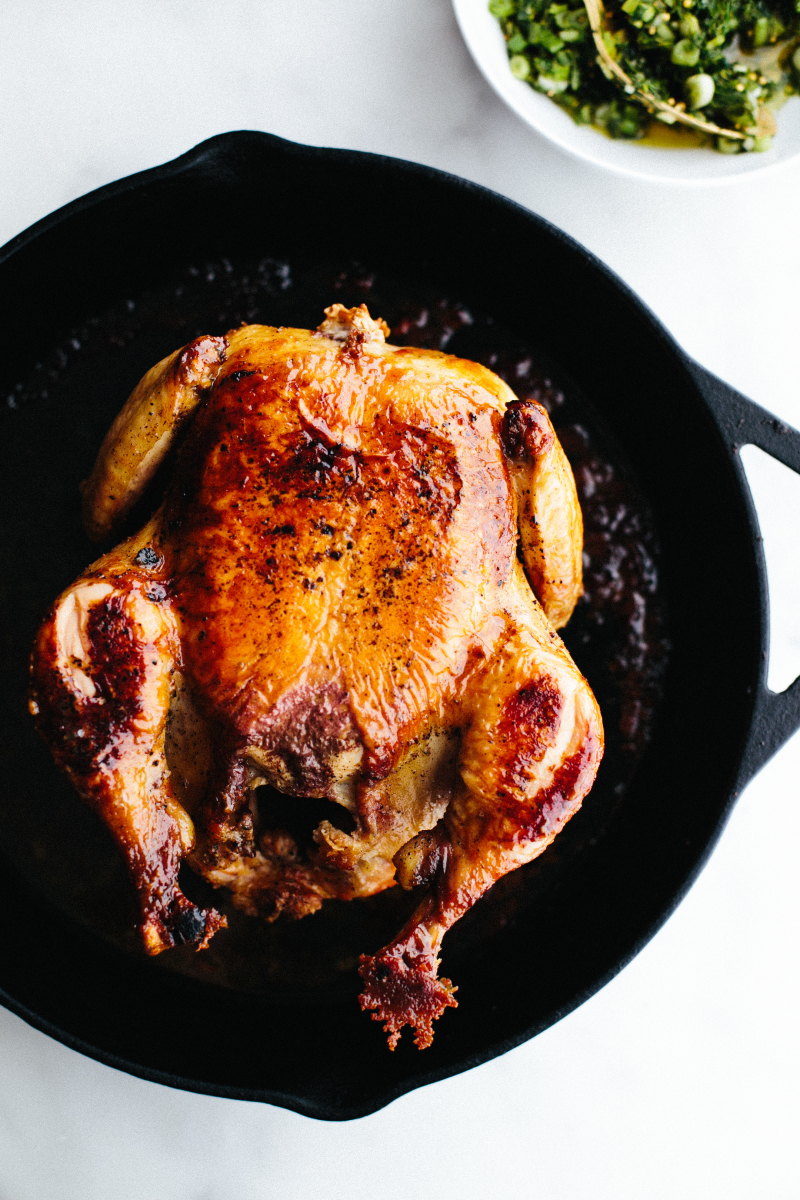
It takes a lot for me to say something is perfect. Perfection isn’t really worth striving for but for us this chicken is as close as it gets.
There are endless variations. Sometimes there’s a mustard laced butter studded with herbs that I nudge under the skin. Other times there are a few lemons and shallots tucked into the cavity. More often than not there is a bed of potatoes roasting alongside But this version, in its most basic form is the one I turn to again and again. And as the first sign of cooler weather is making its appearance I have this simple roast chicken to look forward to on repeat.
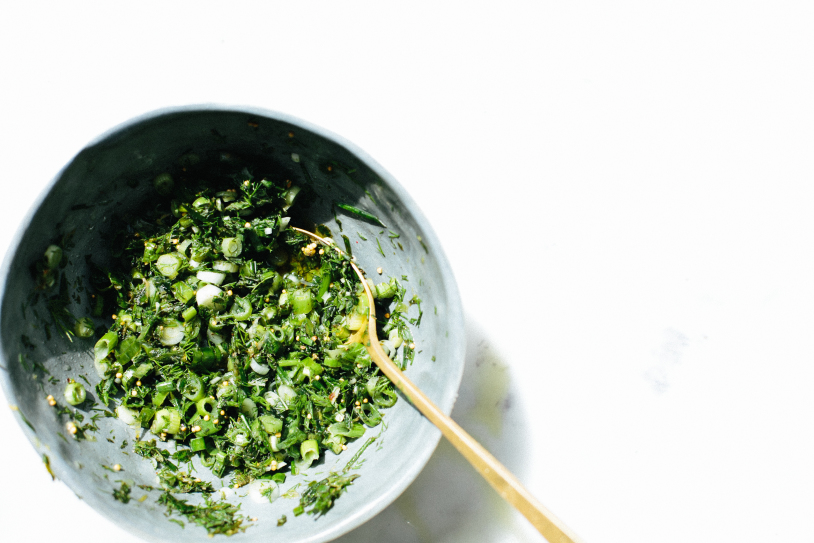
While the herbs are still abundant in the market make this vibrant sauce to accompany. Later in the season I recommend switching to a seedy mustard aioli with perhaps a few pickled peppers finely minced and thrown in there as well.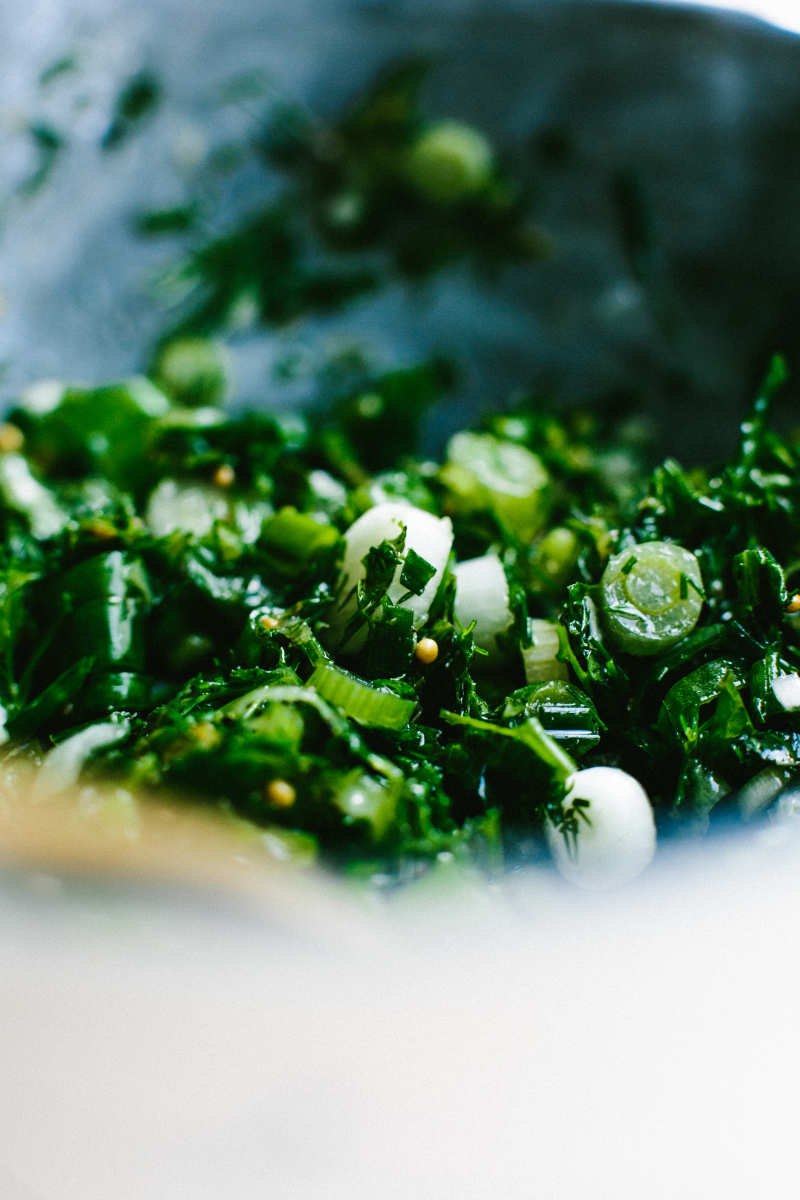
Perfect Roast Chicken with Salsa Verde
Cook
Total
Yield 4-6 servings
Ingredients
1 3 (or so) pound chicken
2 teaspoons sea salt
1 teaspoon freshly ground black pepper
2 tablespoons olive oil
Green Sauce
1 bunch scallions (about 5 to 7), white and light green parts thinly sliced
2 cups herbs (mint, dill, chives) finely chopped
1 garlic clove, minced
Zest and juice from a medium lemon
1/3 cup olive oil
1/4 teaspoon sea salt
1/4 teaspoon freshly ground black pepper
1 teaspoon yellow mustard seeds
Instructions
Pre-Seasoning
This step is absolutely key. Thoroughly salt and pepper the chicken 12 - 24 hours in advance.
We were once taught that salt should be applied just before cooking meat as it draws water out leaving the meat dry and tough BUT when you salt well in advance some water is drawn out and then reabsorbed. The salt not only flavors the skin but makes its way deeper into the flesh seasoning throughout. Each bite is perfectly seasoned - not tasting salty but rather more of chicken. Salting 1-3 days in advance actually makes the meat more moist and tender. I do this for virtually all meat, with the exception of tender fish.
Place the chicken on a tray or large bowl and let it sit uncovered in the bottom of the fridge away from foods that will be consumed raw. Left uncovered the skin dries out and gets even more delightfully crisp in the oven.
Having said all that there are times when I've not planned ahead and simply salted even as little as 30 minutes in advance and still enjoyed the results.
To Truss or Not to Truss
I don’t bother tying the chicken into some sort of position fit for a contortionist. I like the hot oven to reach as much of the skin as possible.
Roasting
Preheat the oven to 450°F for at least 30 minutes prior to roasting. The hot oven is what makes the skin blister and turn deep golden.
Take the chicken out of the fridge an hour before roasting so it has a chance to come to take the chill off which will allow the meat to cook more evenly.
Over high-heat add a bit of olive oil and butter to a 12-inch cast iron skillet (you can also use a small roasting pan or skillet). When the skillet is smoking carefully add the chicken breast side down. Sear the chicken for 3 minutes and then carefully transfer the entire skillet into the pre-heated oven. This is a method I developed out common sense and a bit of laziness, I admit. Searing first on the stove sets the skin and keeps the breast moist. I don’t bother basting, flipping, poking or prodding the chicken until it’s been in the oven for 45 minutes. At that point I plunge a thermometer deep into the thigh and remove it from the oven when the temperature reaches 160°F. I then let the chicken rest in the pan for 20 minutes before I serve or cut into it. During the resting time the meat will continue to cook and come up to the safe 165°F. It will also allow the meat to relax and the juices to distribute.
My favorite part of this process, besides eating dinner, is flipping over the chicken after its roasted to reveal a dark, crusty chicken speckled with pepper and covered in a salty, crunchy skin. Always serve the chicken breast side up.
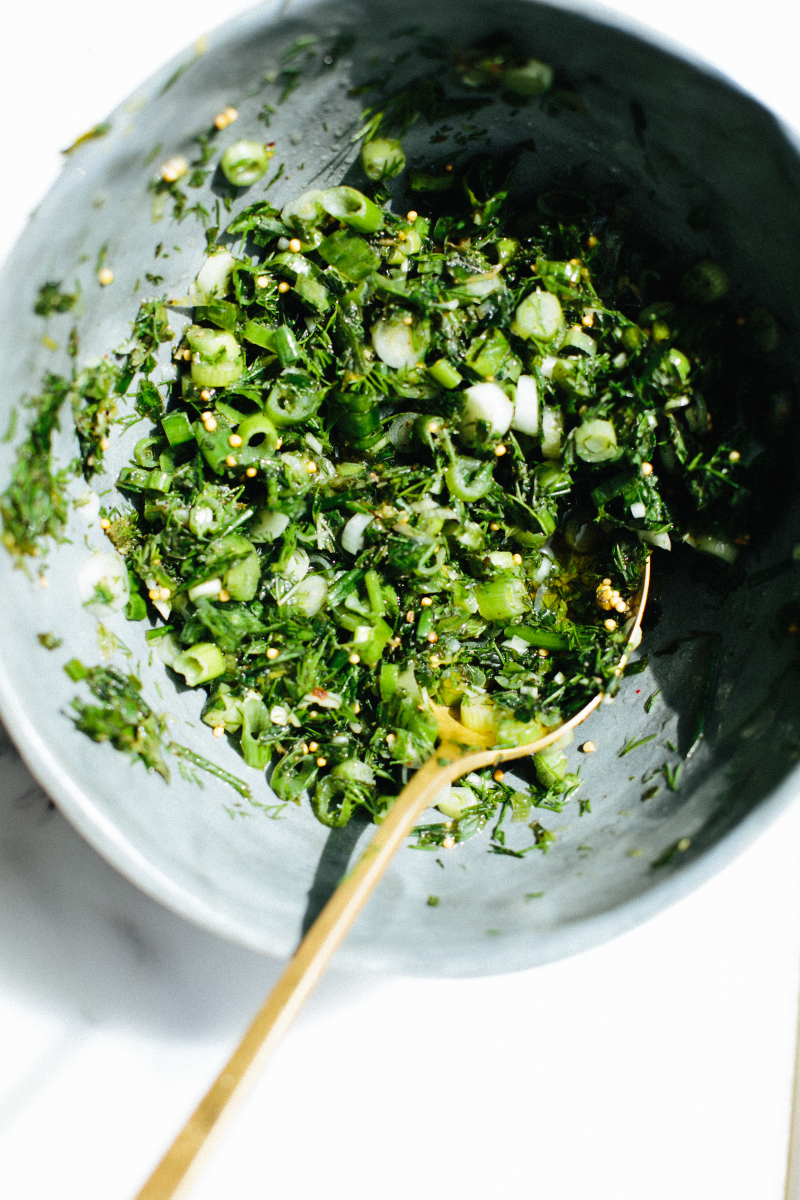
Prepare the green sauce.
In a bowl stir together the scallions, herbs, garlic, lemon (zest and juice), olive oil, salt, pepper, and mustard seeds. Taste and adjust seasoning to your liking. It should be quite pungent.
Courses Dinner
