How I cook.
With a fridge full of produce and a pantry loaded with the essentials (grains, oils, vinegars, salts & spices) I see limitless dinner possibilities.
In my kitchen it is rare to find a cookbook propped open on the counter. There is no weekly meal planning, although I have tried that but I always revert back to my disorganized and spontaneous ways. It is inspired and guided by what we have and what’s in season.

This is how I learned to cook. My mom would come home exhausted from work. She would open the fridge, assess the contents then dinner was born. An assortment of fresh vegetables would hit a hot pan drizzled with olive oil. They cracked and spat as hidden drops of water fought with the oil. A second pot was filled with water and set to boil rice or pasta. Meat was usually in the equation as my two older and much hungrier brothers were always growing.

On occasion forethought was given to the meal, a cookbook would be used and we all gathered around the dining room table in anticipation of the “special” dinner.
Special or not each meal was delicious. By observation I learned which spices and herbs compliment each ingredient. I learned confidence and creativity in the kitchen and to this day the kitchen is where I am the most confident, the most “me” and definitely the most creative.

The thing is I am also a baker which seems to contradict the style in which I cook. But contrary to what some say, baking involves much creativity and gives you great freedom to invent, add and subtract to your hearts desire. With some foundational knowledge of method, baking ingredients and the science behind them endless possibilities abound.
In my kitchen dinner is created on a whim. I visit the market regularly and keep fresh produce close at hand. Typically pasta is mixed together with roasted seasonal produce and a simple salad with homemade vinaigrette and toasted nuts accompany.
I get giddy when I discover a new go to dinner that can be whipped up quickly, easily manipulated and altered while being incredible delicious and satisfying. And as a baker if there is anyway to involve a little flour, sugar and butter into the menu then I am a very happy girl.
This week I experiemented with crepes. I have always been reluctant to try my hand at these paper thin pancake-like creations. I thought that special equipment and years of experience were needed – why else would that vendor charge so much for them at the Farmer’s Market?

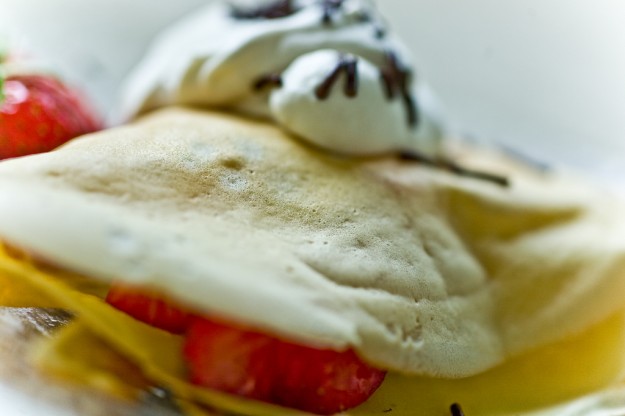
Inspired by Alton Brown I went for it and I am so glad I did. Of course not every crepe was perfect. Actually none of them really were but once they are wrapped up housing either a mixture of strawberries, whipped cream and chocolate sprinkles (the Dutch variety) or caramelized onions and goat cheese – perfection doesn’t matter.
Pretty sure I ate five and then went back for more an hour later.
I doubled the batch then refrigerated the leftover crepes in a ziplock with a sheet of wax paper in between each one to prevent sticking (they can also be frozen for up to one month). The next day the leftovers became peanut butter and jelly crepes and accompanied the boys and I to the park for a lovely picnic. Again I ate my share – and some of the boys’ share.

While we stuck with some very classic fillings for our crepes use your creativity and let seasonal produce be your guide.
If I had some sort of dinner schedule this one would definitely be in the rotation. Instead it continues to randomly pop up on a whim.
Basic Crepes
2 large eggs
3/4 cup milk
1/2 cup water
1 cup flour
1 tbl. brown sugar
3 tablespoons melted butter
1/4 tsp salt
Butter, for coating the pan
Combine all of the ingredients until completely incorporated (an immersion or regular blender work splendidly for this). Let batter chill out in the fridge for at least one hour. This allows the bubbles to subside making your batter nice and smooth. If you are a better planner than I you can make this as far as 48 hours ahead of time.
Heat an 8″ non-stick pan (or whatever you have). Add butter to coat. Pour a scant 1/4 cup of batter into the center of the pan and swirl to spread evenly (you want a very thin even layer of batter – adjust amount of batter according to the size of pan you are using). Cook for 45 seconds and flip. Cook for another 20 seconds and keep a stockpile in a warm oven. When you have a nice stack – assemble then ring the dinner bell.


