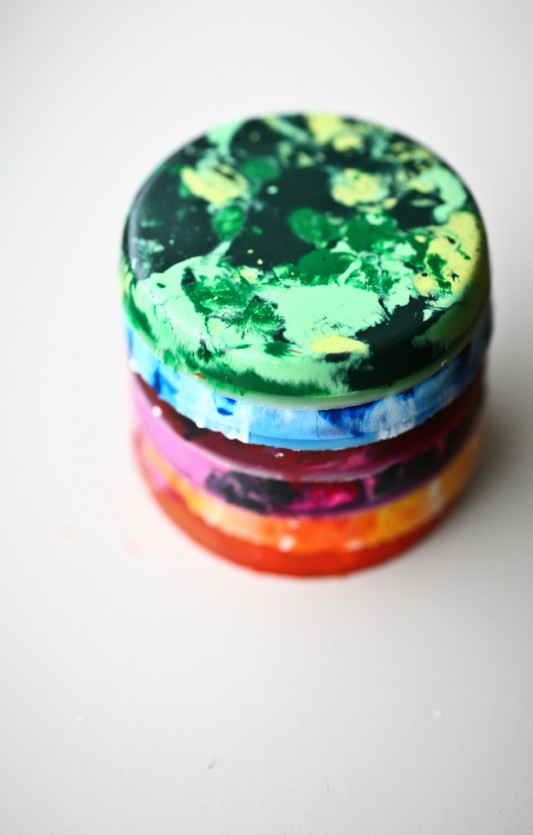
Recycled Crayons

4752785395_d1cfb8cbf1_b

There’s nothing better than taking something that’s old, haggard and about to end up in the garbage and making it new and exciting all over again. Especially if the project involves crayons!

The other day my boys and I were feeling a little crafty. I have also been feeling a little bit of the nesting bug so was thrilled when we came up with a project that would not only yield a delightful craft but also help momma by cleaning out the scraggly crayon box. That’s what I call a win-win situation.

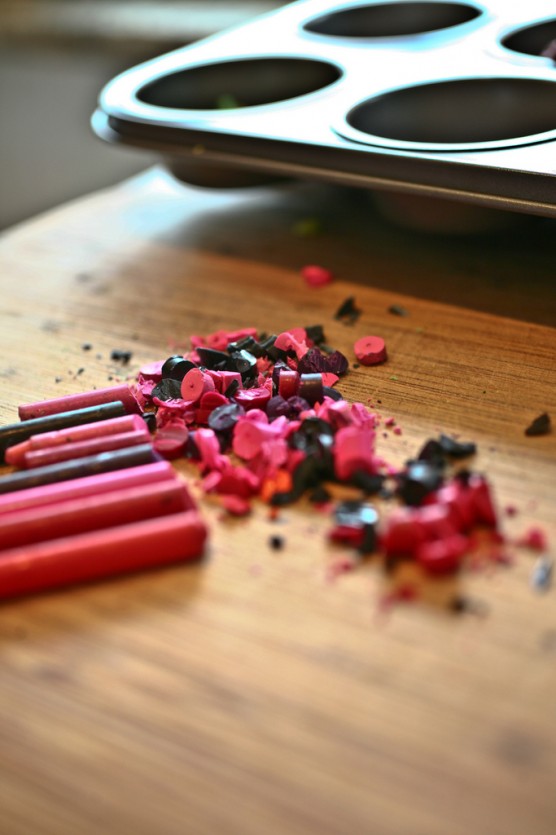
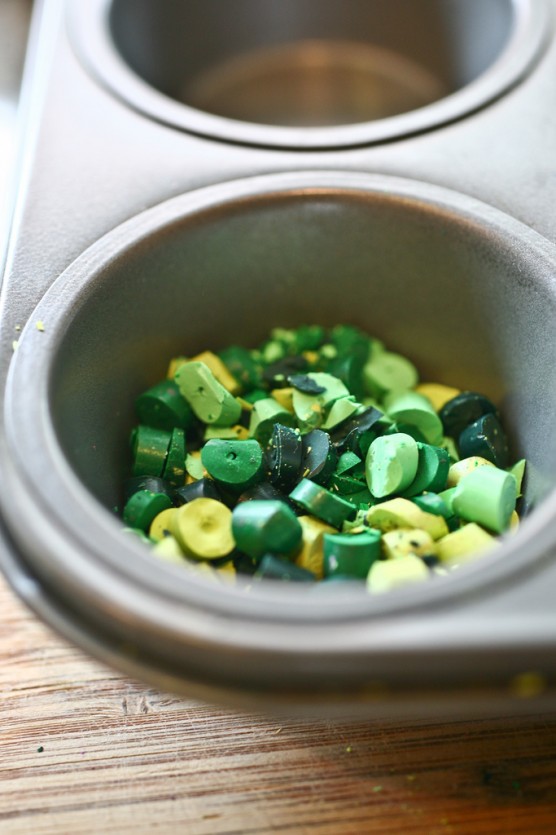
My four and two year old eagerly helped me pick out the broken crayons. We removed the paper wrapping and assorted them by favorite color combinations in a non-stick cupcake pan.
4753421996_225fca2fc0_b

4752781657_c763e5e005_b

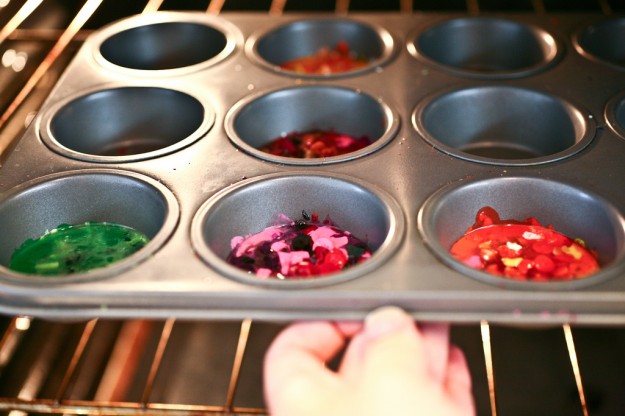
They stood up at the counter and watched as I chopped up the crayons into little pieces. Their little helping hands scattered the crayon bits into the cups and we slid it into a 150* oven. With the oven-light on, so we could periodically check on the progress, we patiently waited for about 45 minutes until the crayon bits had sufficiently melted.
4752783971_8ea9111f9c_b(2)

Don’t be alarmed if they look like one uniform color. Once you reverse them you will see all the beautiful colors that you worked so hard to coordinate.

I carefully removed the crayons from the oven and set it to cool. Being more impatient then my two young boys, I slid the slightly cooled cupcake tin into the freezer to speed up the cooling process.

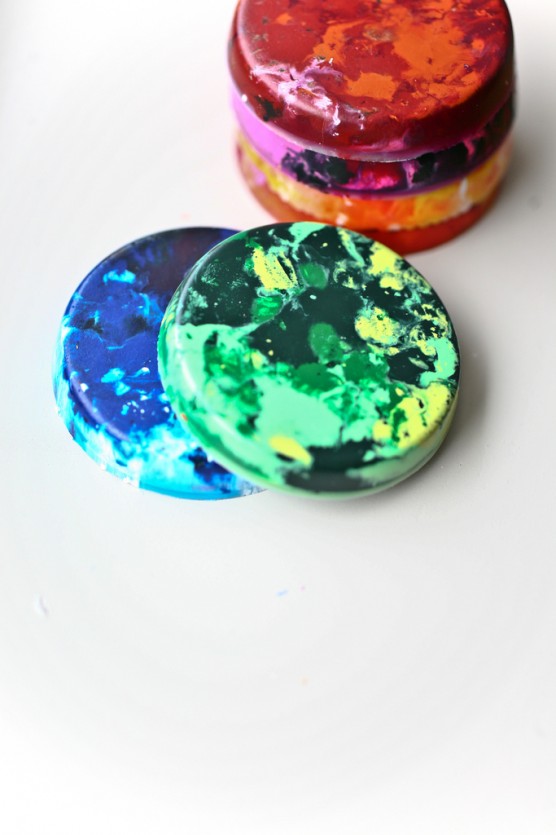
Out popped our new crayons!
4753427406_8c482bf4f6_b

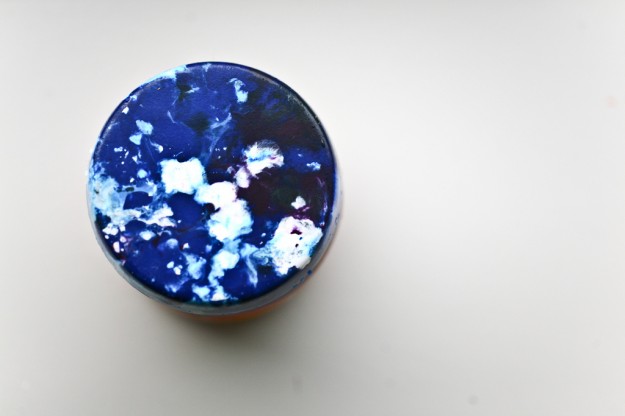
Confession time – I have a weakness for new crayons so really I don’t know who’s more excited about this project me or the boys. Regardless we had a fun making them and have been enjoying coloring with our wacky colored crayons.
4753428278_179b046ce2_b

Inspired by Martha Stewart Kids Magazine
  • 52 Comments /
  • Permalink

Chocolate Cupcakes with Marshmallow Frosting

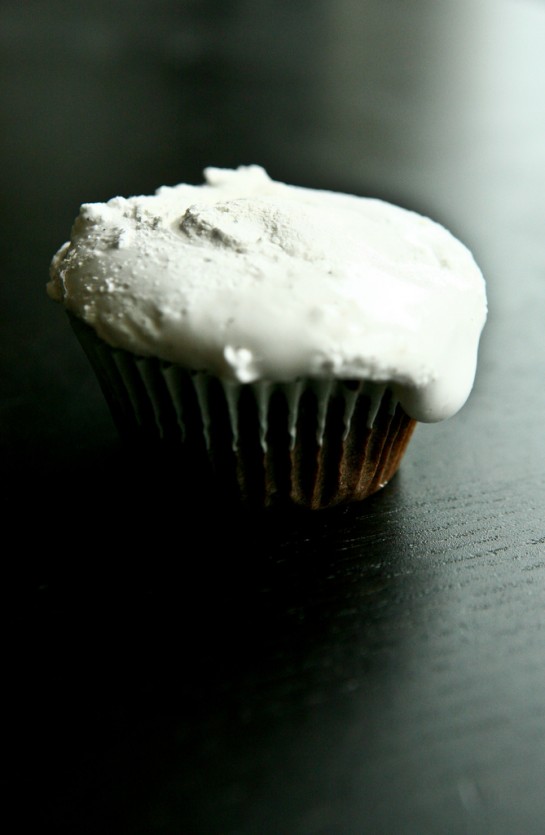
4707118329_99baef0e06_b

I recently received an email from a sad baker. She was attempting to make buttercream in the midst of a rather hot day. Her kitchen was nearing 80* leaving the butter a melty mess. Oh how I’ve been there.

In my wedding cake making days I would constantly worry about dripping buttercream on hot days. I’d have the coordinator of the wedding assure me over and over again that the cake would not be set up in the sun, but still I’d worry.

If only I’d known about this marshmallow “frosting”. I would have done a lot less worrying. Okay, you’re probably right – what bride wants their wedding cake covered in smooshed marshmallows?

There’s good news in the midst of this sad tale – I’m not in the wedding cake business any more and this girl dreams of chocolate cake covered with oozing marshmallow.

4707757488_c3043fcf00_b

Want more good news? You only have to dirty one bowl while making these dark, moist and sweet cakes. I’ve said it before and I’ll say it again – I’m a lazy baker who likes to spend her time baking and eating rather than cleaning. But I’d happily clean a sink full of dishes if the final destination is delicious cake – lucky for me I can have my cake and not have to do many dishes. I have found my new chocolate cake recipe!

So to the sad baker with a bowl full of melted buttercream I’d like to say – put it aside for now, wait for a day with a bit more chill in the air and reach for the marshmallows. If you don’t care for the store-bought version try making your own!

Chocolate Cupcakes with Marshmallow Frosting

adapted from Martha Stewart Kids Magazine

3/4 cup unsweetened cocoa powder

1 1/2 cups all-purpose flour

3/4 cups sugar

3/4 cups dark brown sugar

1 1/2 teaspoons baking soda

3/4 teaspoon baking powder

3/4 teaspoon salt

2 large eggs

3/4 cup warm water

3/4 cup buttermilk (or make your own – 3/4 cup milk to 2 1/2 teaspoons acid such as lemon juice, vinegar or cream of tartar)

3 tablespoons vegetable oil

1 teaspoon vanilla extract

Pre-heat oven to 350*. Line two cupcake pans with paper liners for a total of 24 cupcakes. Set this aside.

In a large mixing bowl whisk together cocoa, flour, sugars, baking soda, baking powder and salt. Add the eggs, warm water, buttermilk, oil and vanilla. Mix until smooth.

Fill cupcake pans about 1/3 full. Bake until the tops of the cupcake spring back when gently pressed. This should take about 20 minutes.

4707116053_a24c9b9906_b

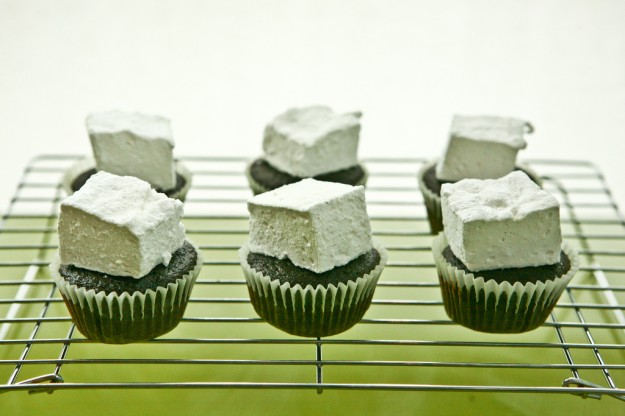
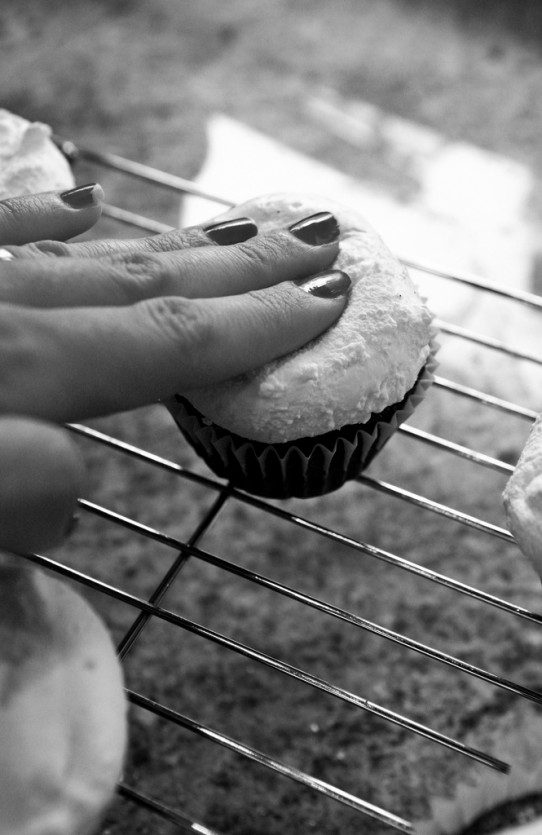
Top with either a store-bought or homemade marshmallow then pop back into the oven for 3-5 minutes until marshmallow is soft. Remove from the oven then press down gently creating a perfect snow-white cap.

Cool on a wire rack.

*Optional – broil the marshmallow cupcakes for a toasty and lovely golden caramelized sugar flavor. Watch them closely!

  • 42 Comments /
  • Permalink