Honey Roasted Peanut Butter
5073542344_2480603aa3_b

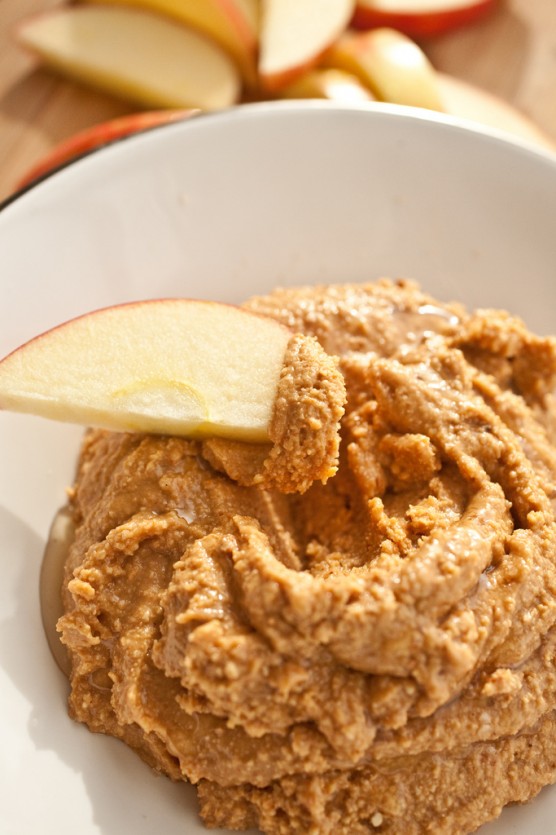
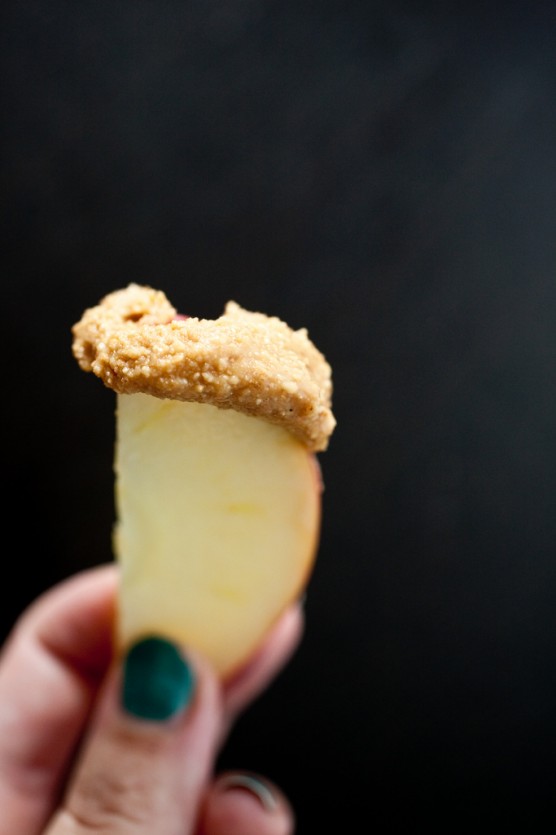
Our little family of five has nearly wiped out an entire orchard of Honeycrisp apples this season. There is rarely a Fall day that passes without me returning to the kitchen several times to cut up more. And while the naked slice of a Honeycrisp is the perfect snack – sweet, tangy, floral and crisp – It’s the Honey Roasted Peanut Butter riding on the back of the apple that has us going back for more.

I’ve told you about our favorite orchard, the one we return to year after year. While we love being back in Seattle it has unfortunately left us further away from Bellewood Acres, making weekly trips to the orchard not possible.

This year we left our one trip to the farm with two large bags filled with Honeycrisps, apple cider, caramel apples, caramel dip and of course their Honey Roasted Peanut Butter that they process right on the farm. While we tried to ration our peanut butter intake we quickly ran out, leaving us eating bare apples while longing for the salty, sweet companion that we’ve grown accustomed too.

To solve this problem I set out to make my own Honey Roasted Peanut Butter. Our apples were now dressed and we resumed our daily habit.
5072943381_12cd9c2d2e_b

The peanut butter was complex and rich from a deep roasting of the peanuts in the oven. Each bite was both sweet and salty and the texture was a cross between chunky and smooth. I enjoyed feeling in control of my peanut butter. I had all the power to create my perfect spread and I was very happy with the results.

While I think you too will be very satisfied with this recipe, please feel free to be in control of your own peanut butter.
Honey Roasted Peanut Butter

12 ounces roasted, Spanish peanuts

1/2 – 1 teaspoon kosher salt (I used vanilla salt)

1 tablespoon honey

1/4 cup canola oil

*I recommend buying the peanuts raw so that you can control the amount of roasting. I like a deep golden color on the peanuts. Color equals flavor is what I always say. The end product will be full of flavor. I used Spanish Peanuts then rubbed off the papery skin after roasting.
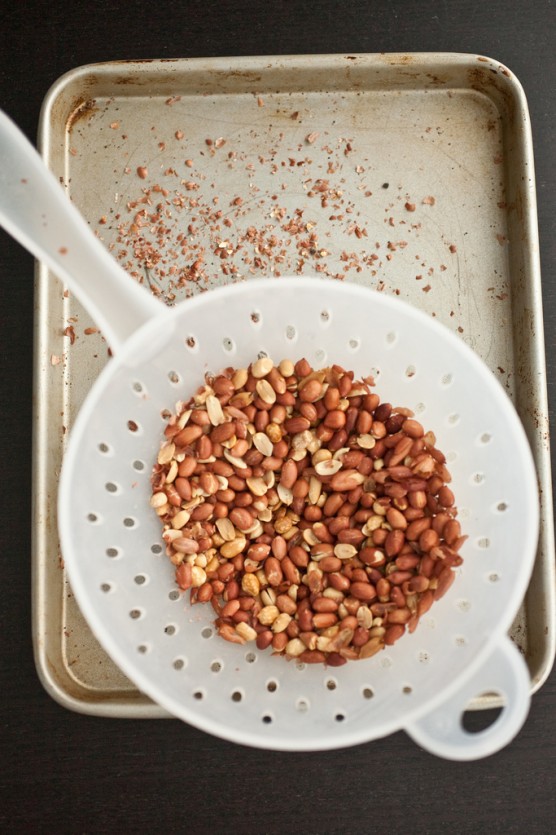
5073525196_30762e910e_b

Place the peanuts, salt and honey into the bowl of a food processor. Process for 1 minute. Scrape down the sides of the bowl. Place the lid back on and continue to process while slowly drizzling in the oil and process until the mixture is smooth, 1 1/2 to 2 minutes. Taste and adjust the flavor according to your preference.

Place the peanut butter in an airtight container and store in the refrigerator. This will keep for up to two months.

  • 26 Comments /
  • Permalink

Homemade Twix Bars

5073553772_aaae2098bc_b

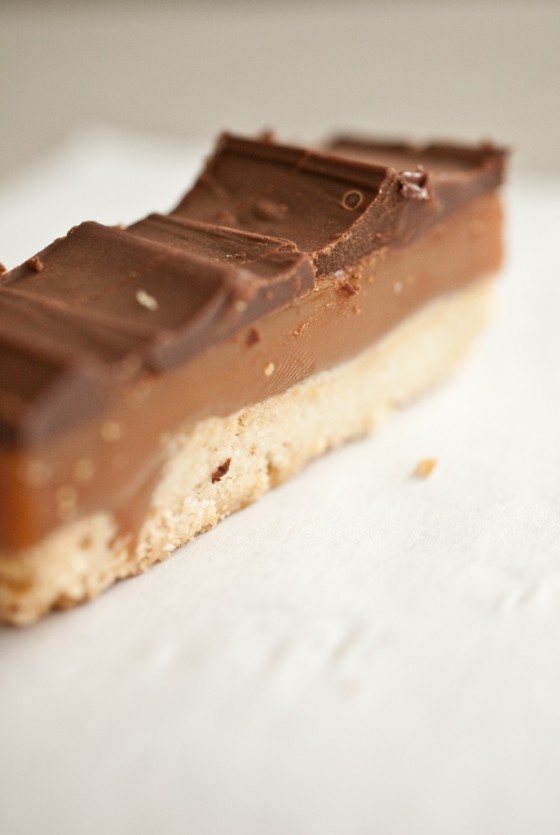
If you don’t want gaggles of children beating down your door on Halloween night then look no further. If you’d rather not be the most popular house on the block then continue on your Internet search. If you aren’t a fan of a cookie crust so tender it shatters in your mouth, or a creamy caramel – dark, intense and scattered with salt, or bittersweet chocolate blended with butter to create the perfect cap to this cookie, then you might need to get checked because I think something is very wrong.

If you like the idea of all these things then you are in the right spot and you are here just in time as this is the perfect cookie for this candy-laden season. While I don’t recommend passing these treats out to your trick-or-treaters as homemade treats aren’t super popular these days, save these for special guests or Halloween parties. If you are like me you’ll save them for the fridge so you have something sweet to snack on each time you open the fridge door. And if you are like me you’ll need to open the door multiple times before you remember why you were opening the fridge in the first place – giving you plenty of times to enjoy these cookies.

If you’ve been to Spago for lunch then perhaps you’ve had this dessert fancied up with a fleck of edible gold on the chocolate layer. This dessert was so popular it was rarely off the menu during my time there.

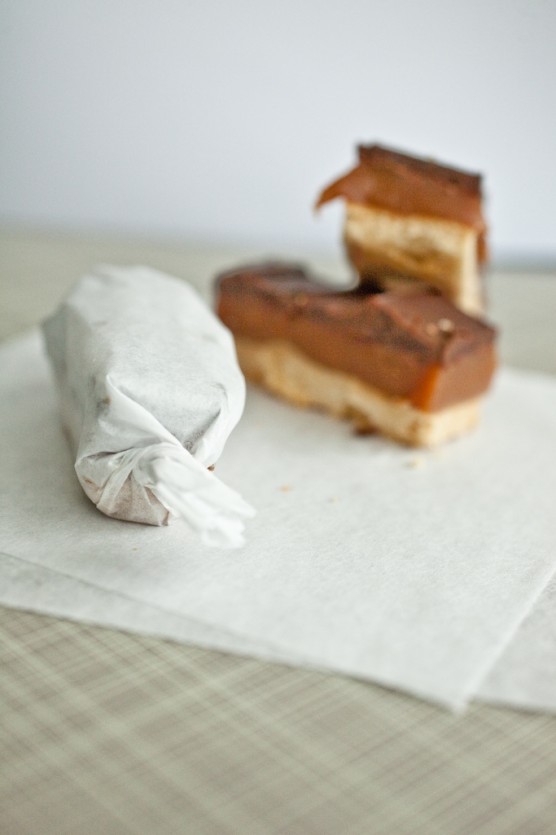
I recommend serving them while they still have a slight chill from the fridge. That way the caramel has a pleasant chew and they most resemble the famous candy bar. They can be cut small and served as a cookie or larger and plated for a nice dessert. I wrapped mine up in parchment (or wax paper) so they were even more reminiscent of their candy bar cousins.

5072959757_7a83cdeb7a_b


Enter your email address:

Delivered by FeedBurner

Homemade Twix

Homemade Twix Bars adapted from Sherry Yard's, "Desserts By The Yard" Shortbread 5 1/2 ounces (1 stick plus 3 tablespoons) unsalted butter, softened 1/4 cup sugar 2 cups cake flour 1/4 teaspoon salt 2 tablespoons ground rice (rice processed in a spice grinder until it is able to pass through a fine sieve to remove chunks)* Make the Shortbread: Preheat the oven to 350°F. Spray a 9-X-13-inch baking pan with pan spray and line with parchment paper. Spray the parchment. In a large bowl  cream the butter and sugar until fluffy. Gradually add the flour, ground rice and salt and allow the dough to come together. The dough will be crumbly but should hold together when you squeeze it. Press the dough evenly into the bottom of the baking pan. Place in the oven and bake for 12 minutes. Rotate the pan from front to back and bake for another 10 minutes, until the shortbread is a deep golden brown. Remove from the oven and allow to cool on a rack to room temperature. *Several people have asked about the rice. I just used what I had in the house - brown rice, and the results were great. It's not the same as rice flour because you want to have a little bit of texture. The purpose of the rice is to give the base of this cookie a unique crunch that remarkably resembles the store-bought Twix. This can be omitted without drastically changing the finished product. But I encourage you to try it. I really love the texture it gives. Meanwhile, prepare the .... Caramel 2 cups sugar 3/4 cup Lyle’s Golden Syrup (Regular corn syrup is fine) 1/2 cup water 1 teaspoon fresh lemon juice 1 cup heavy cream 1 cup sweetened condensed milk 1/4 teaspoon salt plus more for sprinkling over the caramel layer Make the Caramel: Combine the sugar, golden syrup, water, and lemon juice in a large saucepan. Remove any sugar crystals from the sides of the pan by wiping down the sides with water. You can use your hand or a pastry brush. Place the pot on medium-high heat and bring to a boil. Wipe down any stray sugar crystals that appear using a very clean and wet pastry brush. Do not stir from this point on. Keep an eye on the pan. The mixture will be very bubbly. When the sugar syrup starts to turn golden brown insert a candy thermometer to check the temperature. When it reaches 300°F, remove the pan from the heat and let it sit for 1minute, or until the bubbles subside. Carefully whisk in the heavy cream. Stir until smooth, then whisk in the condensed milk. Add the salt (vanilla salt is very nice here if you have it) Whisk until smooth. Return the pan to the heat and stir constantly over medium heat until the caramel reaches 240°F. Remove from the heat and pour over the shortbread. While the caramel is warm sprinkle the surface with the best quality salt you have. Kosher is fine, Fleur de Sel is better, Maldon would be my preferred choice. Allow to set. This will take about 2 hours. Once the caramel layer has cooled prepare your ... Chocolate Glaze 6 oz bittersweet chocolate, finely chopped (Bittersweet chocolate chips also work) 2 tablespoons butter Melt the chocolate and butter over a bain marie or in the microwave. If using the microwave melt it slowly - in 30 second intervals. Stir well after each interval. Once completely melted pour over the caramel.  Using an offset spatula, smooth the chocolate in a nice even layer. Place in the refrigerator to set. They cut best when chilled. Cut into desired shape and size. Serve. I highly recommend Desserts by the Yard: From Brooklyn to Beverly Hills: Recipes from the Sweetest Life Ever, not just because she was my boss and I had the pleasure of working on this book but because the recipes are unique, incredibly satisfying and the book itself is stunning - full of beautiful photos and heartfelt stories of Sherry's life told through pastries. Sherry is an incredible talent when it comes to flour, butter and sugar - anything she creates is a winner - just ask the Academy Award attendees she serves every year after the award show.
  • 180 Comments /
  • Permalink