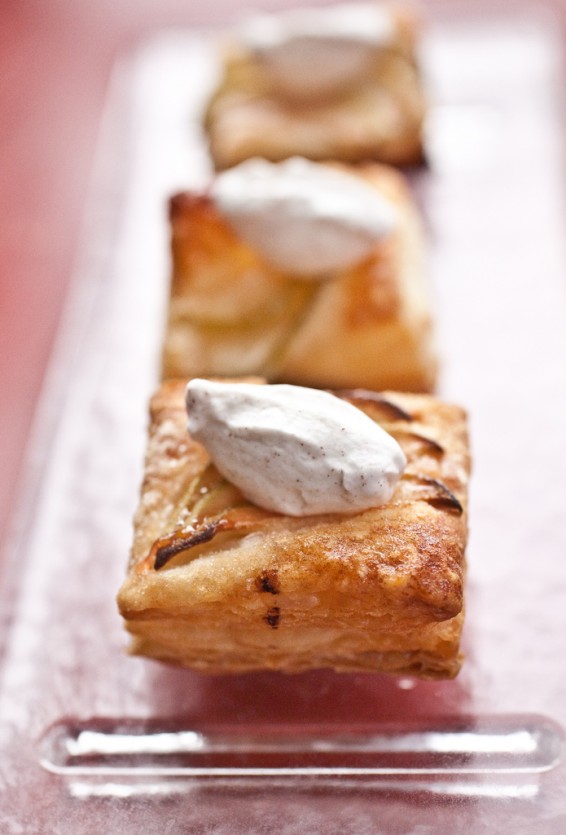
quick puff pastry

5262253952_606b7ff874_b

You all must know by now how much I love butter. Particularly in its puff pastry form. I’ve written about quick puff pastry before but as often as I make this recipe I thought it deserved another spot on the blog – a more in depth tutorial-like spot.

Making classic puff pastry should be on your list of things to do at least once before you die. It’s incredibly satisfying. I get weak in the knees upon seeing thousands of layers of alternating dough and butter. Once the puff goes into the oven I immediately turn on the oven light and sit myself down in front of the window and watch in amazement as my dough starts to grow and create perfect layers that will soon shatter in my mouth causing an explosion of butter flavor.

Really you must try it. But on the days when you want those buttery layers but don’t have the time to make the classic version of puff pastry then you turn to quick puff.

Classic and quick puff differ in the mixing process. In making classic puff pastry you start with a detrempe. Which is simply a dough of flour, salt, water and butter. A block of butter is then folded into the dough using a process called turning. The butter and dough layers fold over on themselves but are never incorporated into one another, creating perfectly even flaky layers.
5261655519_7845821bab_b

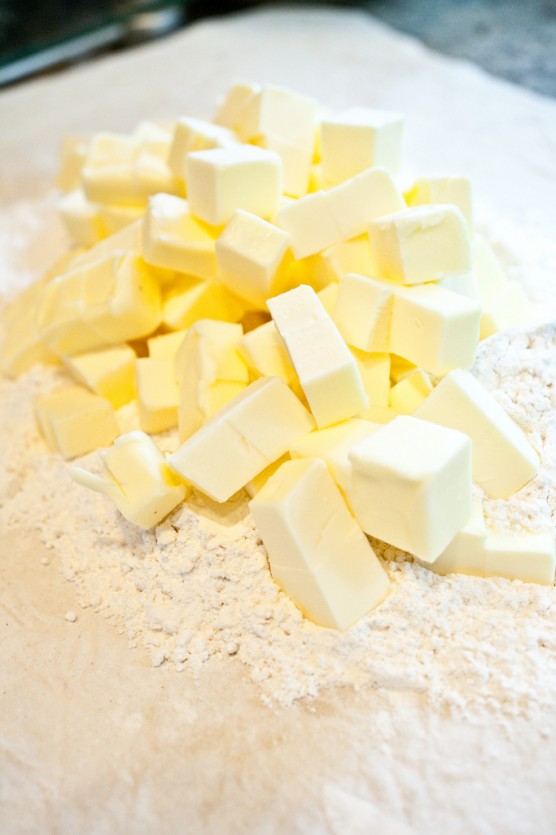
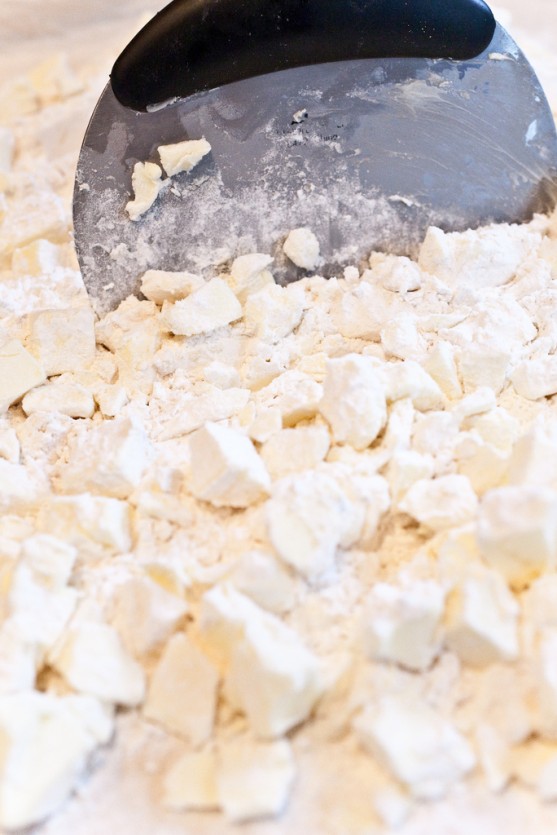
Quick puff pastry starts off looking a lot like making a pie dough. Cold butter – a lot of it – is added to flour salt and “cut-in” using a pastry cutter or my favorite tool – a bench scraper. The butter is left in very large chunks. Since the butter is being worked into the dough more so than in the classic version you won’t get perfectly even layers but you will get some tenderness along with incredible flaky layers.
5261656933_8724d5fb84_b

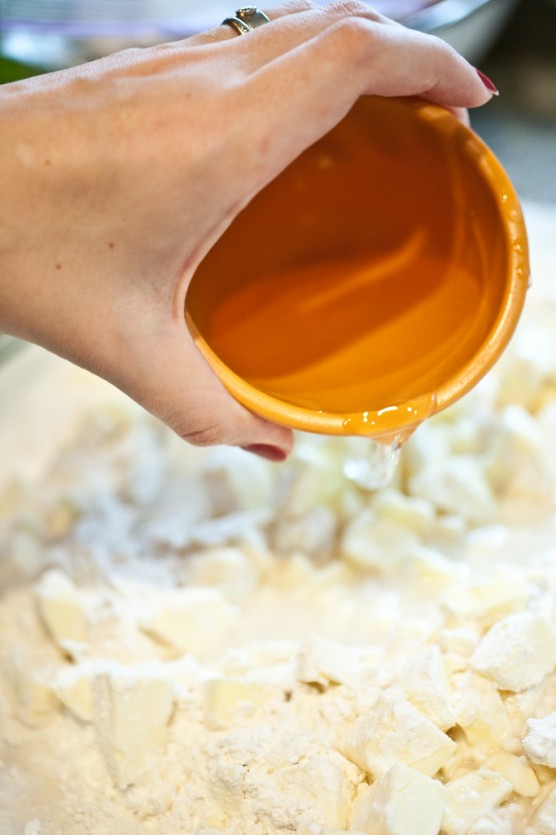
Cold water is then added and the cutting in of the butter continues.
5262266272_4c1e6d9264_b(2)

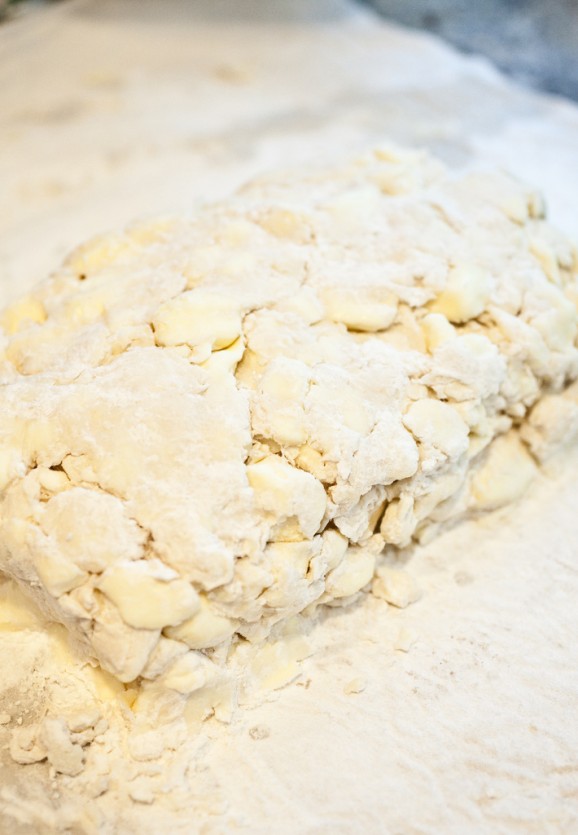
At this point you are thinking I’ve led you horribly astray. This mass of flour, salt, butter and water resembles nothing of a dough. But still we continue on and trust the process.

The next step is very similar to classic puff. Turning.
5261665063_5746ddb4c1_b

Gather the “dough” and form into a rough rectangle.
5261662319_2e72ce1500_b

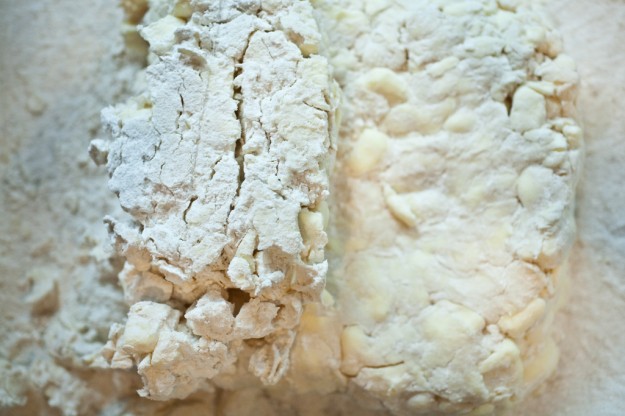
Lift 1/3 of the dough from the left side and fold over the middle. Imagine you are folding a business letter.
5262271120_c1237c3f0a_b

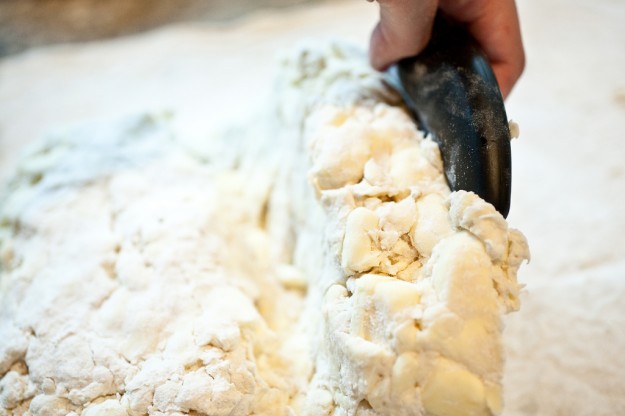
The right side of the dough then folds over it all. Rotate the dough 90*. This is one turn. Repeat that process. Again you form the dough into a rectangle (I find my hands are the best tool for this job), then fold the left third over the middle third and the right side folds over that. Repeat one more time for a total of three turns.
5262274628_afb0b84ef2_b

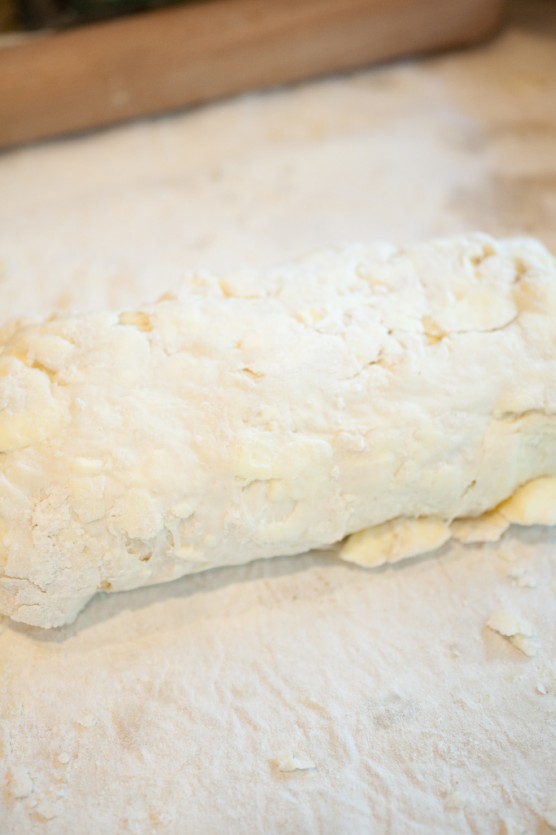
Completely cover the dough in plastic wrap and chill for one hour. If at any point during the mixing and turning process the butter starts to get soft, simply pop the dough into the fridge to chill until the butter is once again cold.

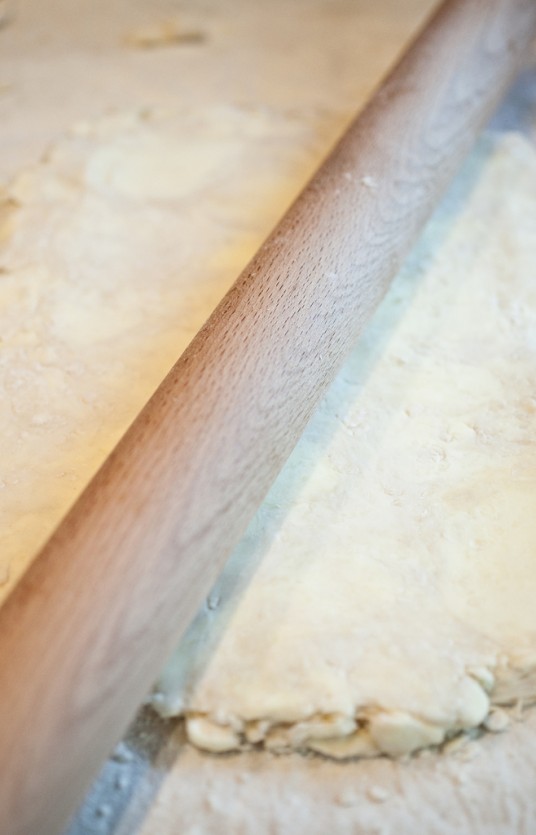
Once completely chilled remove the dough and continue by doing three more turns for a total of six turns. After the refrigeration you should notice that the once dry and blob-like mass is now a more coherent dough. I like to use a rolling pin for the final three turns. I start the dough off by banging it several times with the rolling pin. Cold dough is hard to roll and this eases that process. As an added bonus I find it to be a great stress reliever.
5261666077_d6b765f080_b

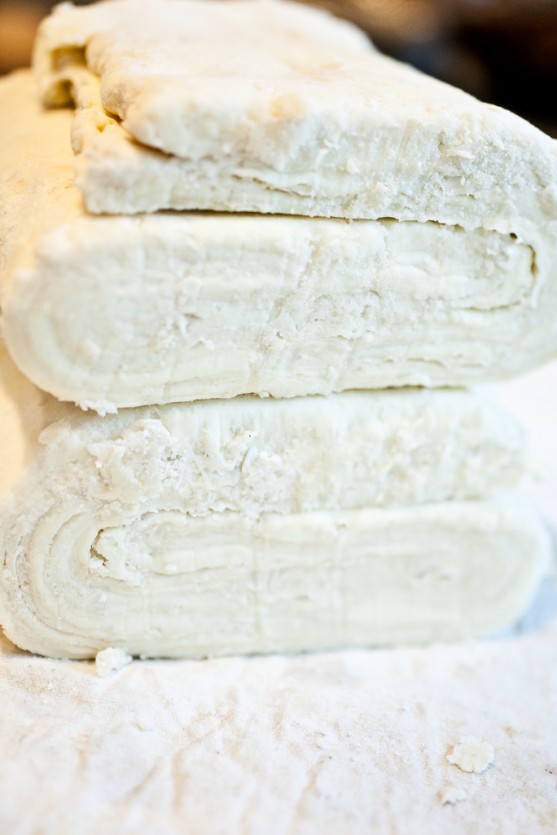
After the six turns are complete I cut my dough in half and marvel at all those beautiful buttery layers. It’s okay to talk to the dough and tell her how pretty she is. Once you are done cover each half and place in the fridge to chill.
5261668347_777895a6f0_b

The dough is now ready to use. If you don’t plan to use the dough now, cover in aluminum and throw it in the freezer. Although I do like to roll mine out in sheets first and then freeze the sheets. They can easily be frozen for 2 months. Which makes this perfect for the holidays. Make the dough now, freeze the sheets then pull out of the freezer the day of your party to make a simple and delicious dessert or appetizer.

So now what can be done with all this puff? Savory tarts, palmiers, chicken pot pie, mustard batons, vols au vent, sweet tarts – such as this simple to make but not simple tasting – apple tart.
5261644465_c86b2474ff_b

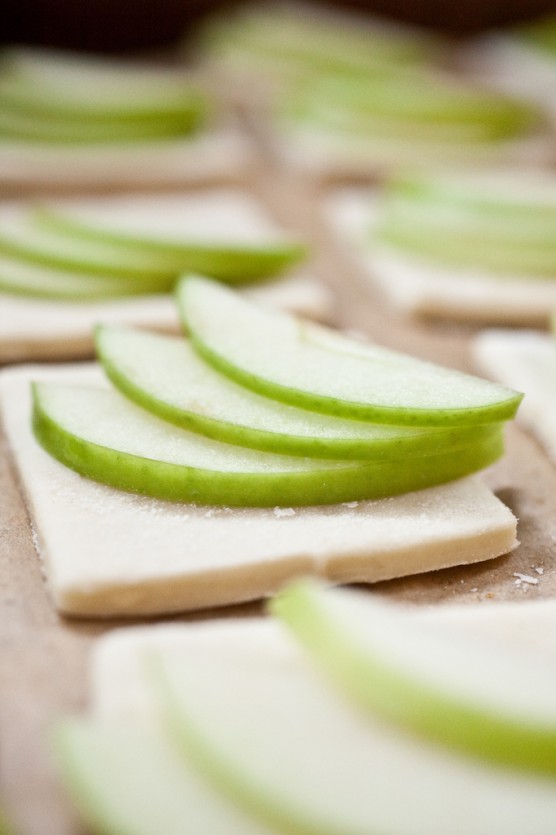
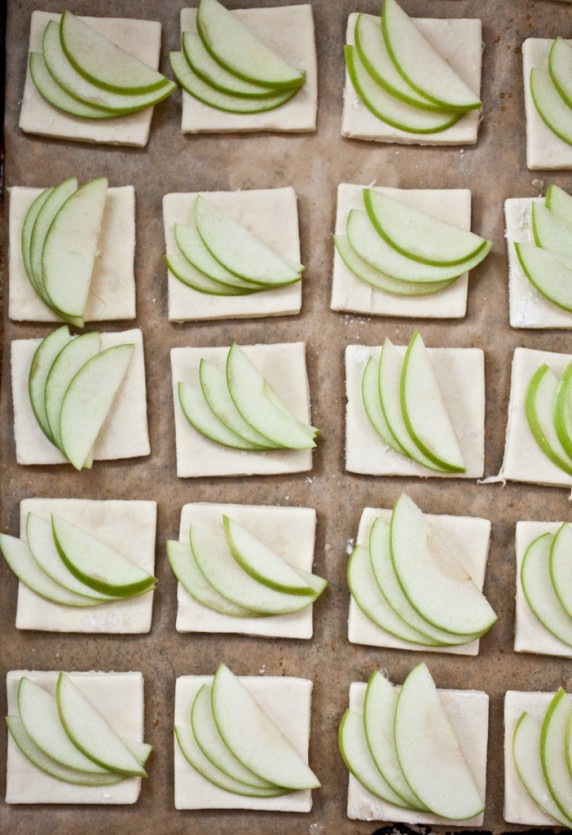
Cut the dough into whatever shape you want. Individual servings, one large tart or little bites for a holiday cocktail party.
5261642685_30a927fced_b

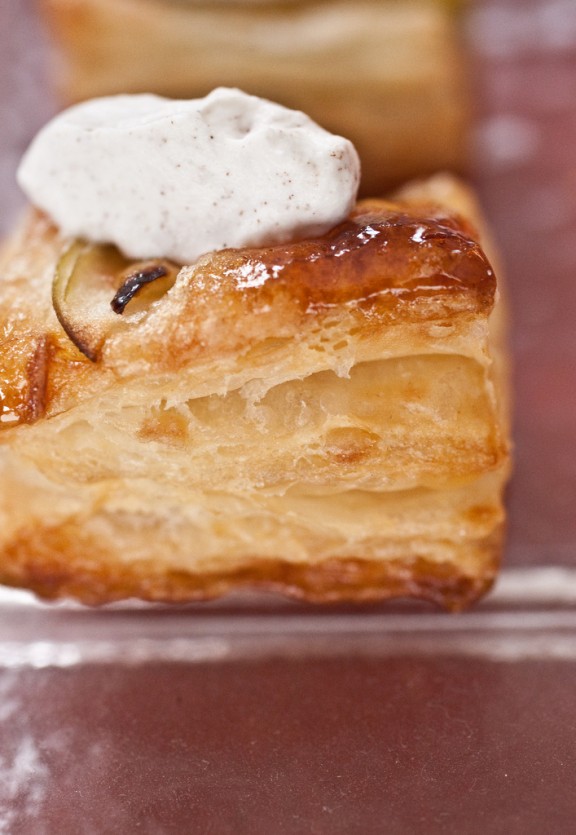
Cover the dough with thinly sliced Granny Smith apples (no need to peel) and then generously sprinkle with sugar. Bake in a 400* oven until puffed and golden. The time will vary depending on the size you choose you make your tart.
5262256362_c0c3509d0f_b

Serve this with lightly sweetened cinnamon whipped cream (1 1/2 cups heavy cream, 2 tbl powdered sugar, 1/2 teaspoon cinnamon).

5262254850_3f7f96ae9f_b

The trick with baking puff is to use a well pre-heated, very hot oven and to bake your dough when it is good and cold. When the cold butter hits a hot oven it quickly start to boil which creates steam. It is the steam that causes the flaky layers as it pushes up the surrounding dough. That, and a little bit of magic.

I do hope you try this recipe. I can not tell you how often I make and use it. So often, in fact, I should be sponsored by a butter company.


Quick Puff Pastry

Quick Puff adapted from epicurious.com 4 cups all-purpose flour 1 1/2 teaspoons salt 6 1/2 sticks (3 1/4 cups) unsalted butter, cut into 1/2-inch cubes, chilled 1 cup cold water I've included the food processor method. I prefer using my hands (this may have something to do with the fact that I don't have a food processor) but the results are also very good. 1. Sift together the flour and salt in the bowl of a food processor fitted with the blade attachment. 2. Add chilled, diced butter and pulse three to five times, until the butter pieces are about the size of lima beans. Add water to the mixture and pulse again about three times. Invert the crumbly mass onto a lightly floured work surface. 3. Using a rolling pin and bench scraper, shape the mass into a long rectangle. Use the bench scraper and carefully flip one third of the rectangle toward the center. Then, flip the other end to the center, like folding a business letter. Rotate the dough 90 degrees. 4. Reshape and roll the dough into a rectangle. Repeat the folding and rotating process three more times for a total of four turns. If the dough becomes soft or sticky during this process, immediately refrigerate until firm. 5. After four turns, wrap the dough in plastic wrap. With your finger, make four indentations in the dough — one for each time the dough has been turned. This is a reference point for how many times the dough has been turned. Refrigerate the dough at least 45 minutes or until firm. 6. After the dough has been refrigerated for 45 minutes, unwrap it and discard the plastic. Keep your work surface and rolling pin well floured. Press down on each of the four sides of dough to seal its shape. 7. Start with the rolling pin at the center. Roll away from you. Return to the center and roll toward you. Repeat the folding and rotating process of the dough two more times for a total a total of six times. 8. After the sixth turn, wrap the finished dough in plastic wrap and refrigerate to make sure it is well-chilled before baking. The dough can be refrigerated up to three days or frozen for several months. Check out Shauna's amazing gluten-free version. Here is a little stop-motion video I put together (with my husband's help) on the process of folding classic puff pastry.
  • 43 Comments /
  • Permalink

Dating My Husband

5246082600_c20d7d2874_b

photo by James Moes

If you needed a restaurant recommendation in Seattle my husband and I were the ones to ask. After we were married, nearly every Friday night we would have “date night”. For days in advance I’d scour magazines, the Internet and newspapers trying to decide which restaurant to try. We never went to the same place twice.

After the meal he and I would jot down a few notes in our black moleskin; what we ate, what we drank and our general thoughts on the experience. Gabe would snag a business card on the way out and we would paste that right next to our notes.

I recently found one of these dining journals. Instantly wonderful memories of these shared meals washed over me. I relived the tastes as I read the accounts of our meals. Oh yes I remember how intensely rich and perfect that cup of Chocolat Chaud was and how delighted and intrigued we were with the hot bowl of cheese we now know of as Raclette.

As you can imagine our Friday nights look a bit different these days. Those lengthy meals in fabulous restaurants are mostly a thing of the past. I wouldn’t trade it for the world for what we have now – 3 loud and crazy mouths to feed, being done with dinner by 5 pm and barely getting a chance to sit and eat ourselves. But continuing to date is still very important to us, we’ve just had to get a bit creative to make it work.

5245965320_7ab4d15674_b

So we created an in home date night. Here’s how we’ve made it work. We set an evening aside weekly for us to cook together and sit down to a nice, hot meal – without the distractions that is inevitable when the kidlets are awake. Earlier in the evening we prepare a simple meal for the kids and let them eat. Once they are in bed we pour ourselves a drink and begin to cook. We may not eat until 8 or 9 but we don’t mind. When we do eat it’s quiet, it’s delicious and it’s quiet.

Gabe and I use this time to catch up and check in with each other. In this harried season in our lives we so often forget to stop, breathe and say “hey, how are you doing?”

5245366025_fcfa249be6_b

The other rule behind these evenings is that we have to cook from a recipe. When I cook for my family it’s mostly based on what we have in the cupboards and fridge. It’s quick, simple and made up on the spot. But with stacks and stacks of amazing cookbooks, I’m determined to put them to good use. Following a recipe also teaches me about new-to-me ingredients and new techniques.

5245364479_176ab24e20_b

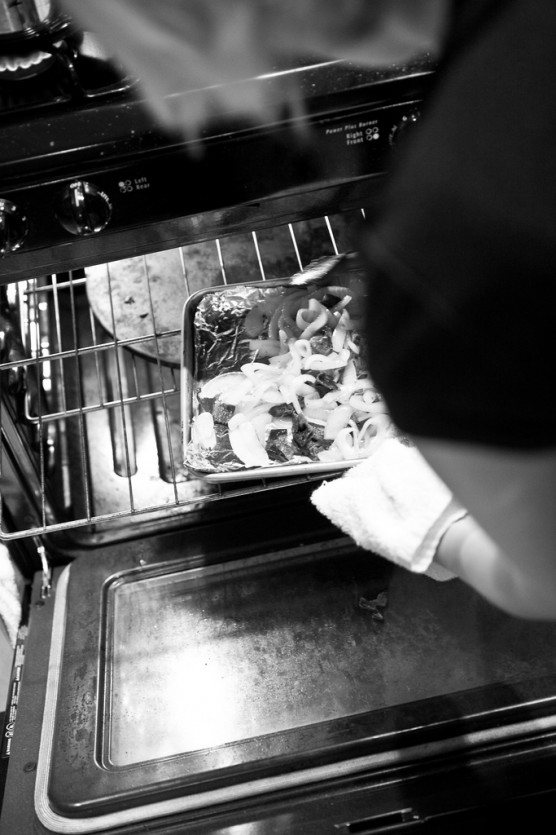
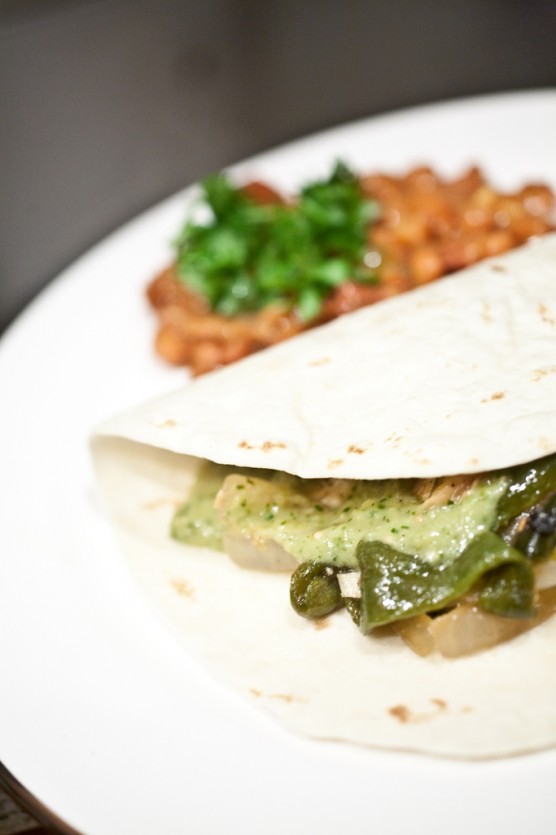
For our first date night we cooked out of Rick Bayless’ Mexican Everyday. Any dish with flavors that hearken back to my husband’s Mexican heritage he loves. So we happily set out to cook the Roasted Poblano Tacos with Tomatillo salsa and Cowboy beans.

The entire meal was a cinch to throw together, as are most of the recipes in this book. There wasn’t a staggering list of ingredients yet the flavors were rich, bold and intense.

My favorite part of our first date night meal were the cowboy beans. Smokey and tangy. It was a bean revelation for me – I had no idea you could pack so much flavor into pinto beans. I’ve made this recipe several times since this meal.

5245363827_fa17313381_b

I look forward to these evenings. Now rather than scouring the internet for which restaurant to hit up I flip through hundreds of recipes, creasing the pages of dozens as I anticipate many more dates to come.

This weekend my husband and I celebrate 7 years of marriage. In that time we’ve moved 5 times, lived in 2 different states, had 3 children and many memorable dates. We’ve loved one another through the best days of our lives and the worst. He is my best friend and there is no one else I’d rather eat with and date than my husband.

5245481825_7081540842_b

photo by Paul Kawabori

Love for you, babe.

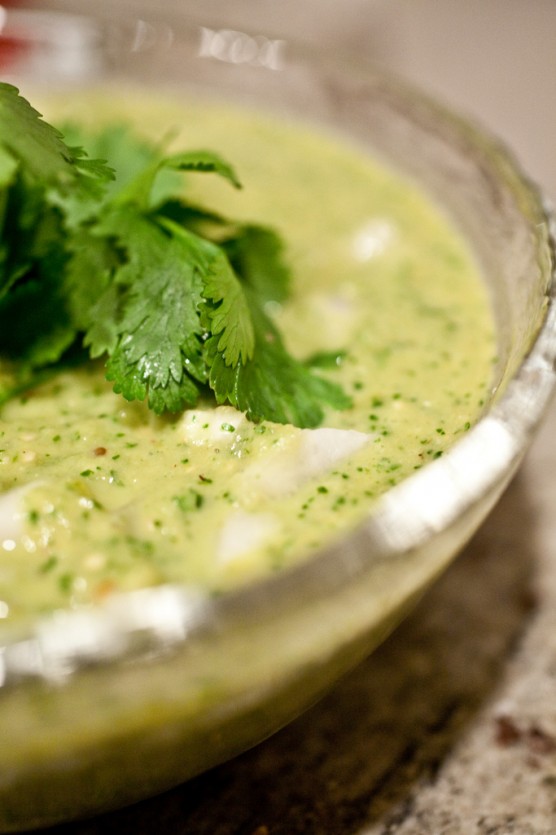
Roasted Tomatillo Salsa

from Rick Bayless

2 Tbl oil
8 large garlic cloves
1 pound tomatillos (8 medium), husked, rinsed, and halved
1/2 -1 serrano chile, coarsely chopped – taste salsa for heat before you dump them all in
1/2 – 3/4 cup coarsely chopped fresh cilantro sprigs
2 to 3 tablespoons water
1/2 cup finely chopped white onion, rinsed in a sieve and patted dry
salt

In a large skillet heat the oil over high heat. Add the garlic cloves and tomatillo halves. Roast until well browned. Turn over garlic and tomatillos, continue to roast until they are soft, about 3-4 minutes. Transfer roasted garlic and tomatillos to a food processor or blender. Blend until smooth. Add cilantro, chili and onion. Blend. Add water to adjust consistency. Taste for salt.

Cowboy Beans

from Rick Bayless, Mexican Everyday

4 thick slices bacon, cut into small pieces
2 garlic cloves, peeled and finely chopped or crushed through a garlic press
1 15-ounce can diced tomatoes in juice (preferably fire-roasted)
2 15-ounce cans pinto beans (do not drain)
1 or 2 canned pickled jalapeños, more to taste
Salt
½ cup chopped cilantro.

1. In a large (4-quart) saucepan, cook bacon over medium heat until crisp, about 4 minutes. Add garlic and stir for a minute, then add half the tomatoes with their juice (reserve other half for another use). Cook, stirring, for 3 to 4 minutes. Add beans with their liquid and simmer over medium-low heat for about 15 minutes.

2. While beans simmer, stem chilies, cut in half lengthwise and scrape out seeds. Chop into small pieces and add to beans.

3. Taste beans and season with salt if necessary. Ladle into small bowls, sprinkle with cilantro and serve.

Yield: 4 to 6 servings.

  • 41 Comments /
  • Permalink