Homemade Rainbow Chip Cake
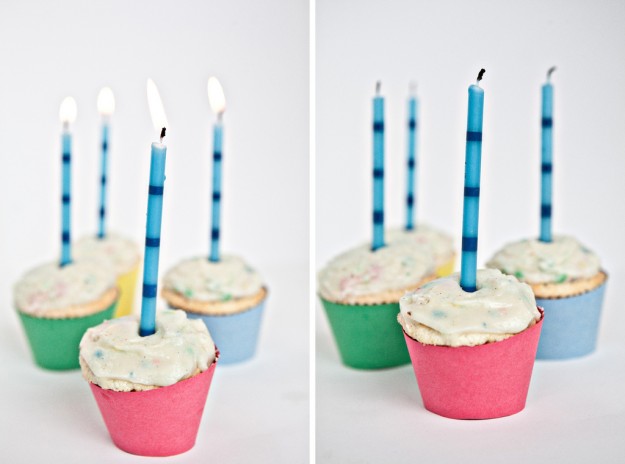
It’s become tradition. Each year for Gabe’s birthday I make him a boxed cake. Rainbow chip. It’s his favorite. A couple years ago I made the horrible mistake of buying Funfetti.
Not the same.
The following year we went to several different grocery stores until we found Rainbow Chip. Well worth the effort.
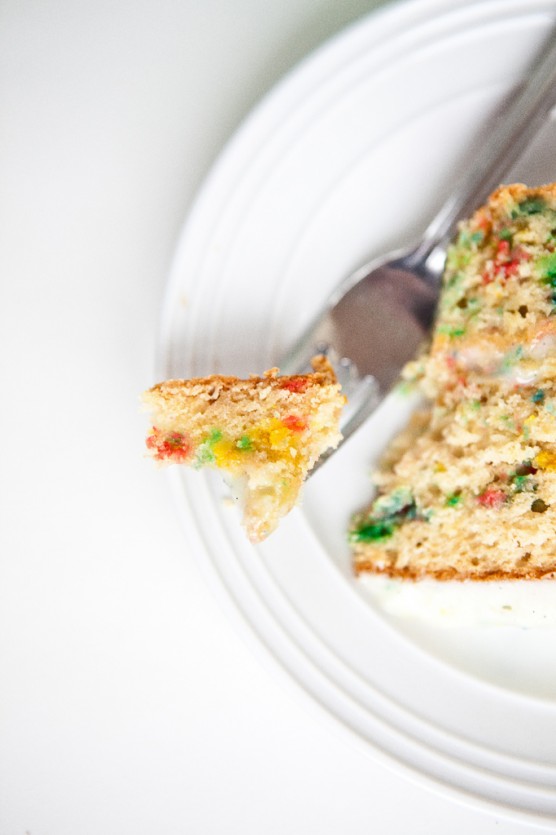
The lure of this cake is in the frosting. White so bright it illuminates the colorful miniature chips that are dotted throughout. Creamy and perfectly smooth until you bump into one of those sweet and slow-melting pieces of who-knows-what.
I have to admit. I do quite like that cake.
But the baker in me dies just a little each year when I rip into that box of powdery mix. And when I tear off the aluminum sheath that keeps the “freshness” of the frosting locked in I feel as if I am betraying my craft.
It’s in the name of love. My man loves his rainbow chip. I don’t blame him. There are certain tastes of our past that are so saturated with pleasant memories that we can’t help but want to relive them again and again. For me it’s Dairy Queen ice cream cake. Chocolate and vanilla ice cream, chewy fudge sauce, chocolate cookie crumbles, and the unidentifiable whipped topping that magically never freezes.
This year I decided to say no to the box mix while still saying yes to rainbow chip. But for it to pass the approval of Gabe it had to be just right. So closely resembling his beloved cake and all that he adores about it that even his discerning palate would be hard-pressed to note the difference.
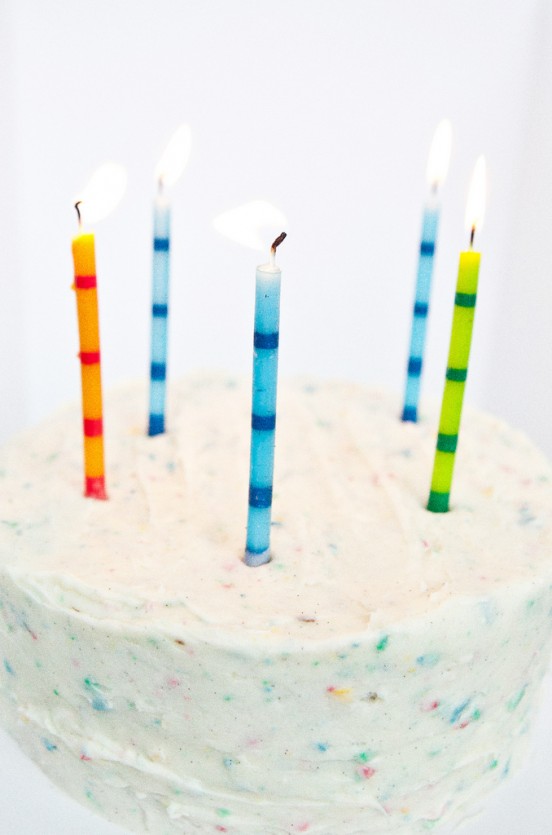
I knew I needed to start testing early. So for my birthday I tested his birthday cake. (My birthday isn’t until next week but really it seems so silly to me that birthdays last only one day – so last Saturday I declared it officially my birthday week – I threw in a couple extra days for good measure).
I am happy to report that this cake has been given the Gabe seal of approval. Sure there are plenty of differences between my cake and the boxed cake. Mine has thousands of little black seeds scattered throughout the frosting imparting a deep, floral vanilla flavor while still letting the chips shine. My cake has a rich, buttery tastes that comes from… well, butter. What my cake and the box cake do have in common is that they both go really well with a scoop of vanilla ice cream and they both manage to make Gabe smile.
A few tips on cake baking and frosting
* Always finish mixing the batter by hand. Stop the mixer when there are still streaks of flour and gently finish stirring by hand. This helps to prevent over-working the batter which would leave you with a tough cake. No one wants a tough cake.
* Go by feel, not by time. Every oven is different. Get to know what your cake feels like and looks like when it’s ready to be pulled from the oven. This cake will gently spring back when pressed.
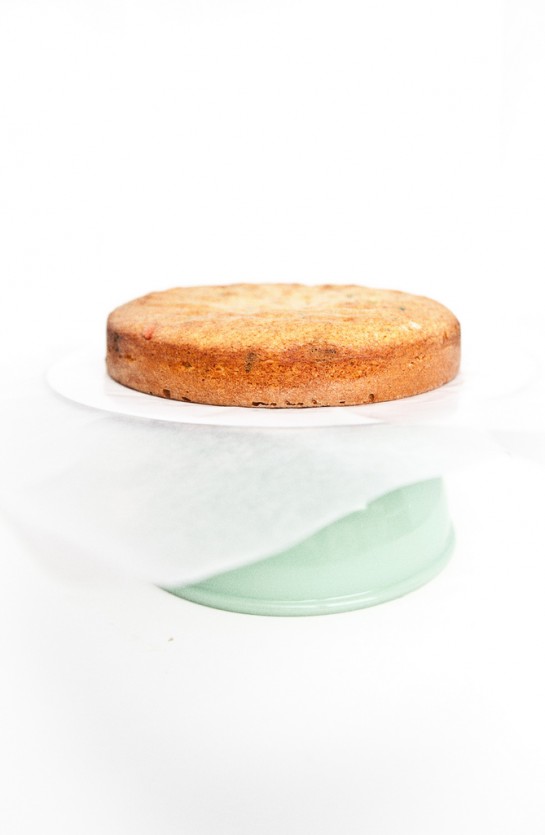
* A cake turntable is a wonderful tool and makes frosting so much easier, but if you don’t have one simply invert a bowl and place a plate on top of that. Cover the plate with three strips of parchment or wax paper then place your cake on that. Frost away then remove the parchment for a perfectly clean plate.
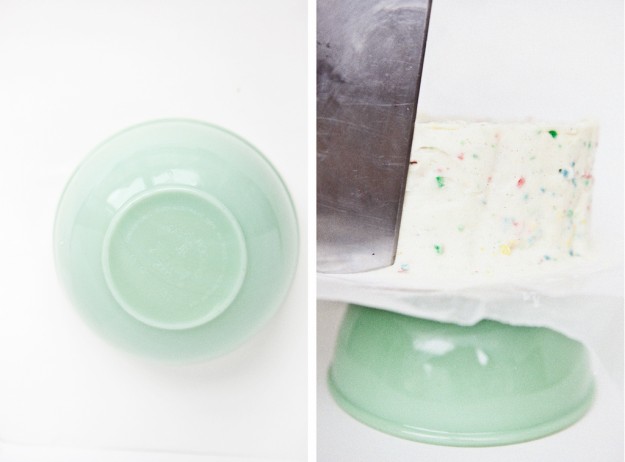
* While slowly turning the turntable hold a bench scraper right up against the side of the cake. This will give your cake perfectly smooths sides – unless you have little rainbow chips catching the scraper. In that case, forget about smooth sides, just eat the cake.
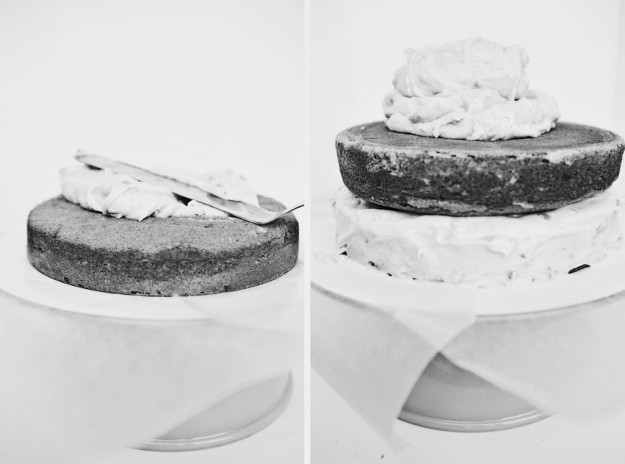
* Start with a large amount of frosting on the cake then gradually remove some once the cake is completely covered.
*I finally started a NWS facebook page. I’d love for you to join me there. Become a fan.
Homemade Rainbow Chip Cake
Rainbow Chip Cake
1 cup milk, room temperature
2 teaspoons vanilla
6 egg whites (3/4 cup)
1/4 teaspoon cream of tartar
2 cups all-purpose flour
1/2 cup cornstarch
1 teaspoon salt
1 tablespoon baking powder
1 3/4 cup sugar
1 1/2 sticks (6 oz) butter, room temperature
1/2 cup rainbow chips (recipe below)
Pre-heat the oven to 350*. Prepare 2 9" cake pans (or 24 cupcakes) with parchment then butter and flour.
In a medium bowl whisk to combine the flour, cornstarch, baking powder and salt.
In the bowl of a stand mixer fitted with the whisk attachment add the egg whites. Start whipping the whites on low. When frothy add the cream of tartar. Increase the speed to medium. When egg whites start forming very soft peaks gradually add in 3/4 cup of the sugar. Whip the whites until glossy, medium peaks form.
Transfer the whites to a medium bowl and rinse out the bowl of the stand mixer (unless you are lucky enough to have two bowls for your mixer). Fit the mixer with the paddle and cream the butter and the remaining 1 cups sugar until light, 5-7 minutes, on medium. Scrape down the sides of the bowl.
On low speed add 1/3 of the flour mixture. Then add half of the milk and the vanilla. Alternate until both wet and dry are all added. Stop the mixer before all of the flour is combine. Scrape the bowl and finish mixing by hand so as not to overwork the batter.
With a light hand fold in 1/3 of the egg whites into the batter. While some egg white streaks still remain fold in the rest of the whites. Add the rainbow chips. Admire the beauty.
Divide the batter into the cake pans (or cupcake). Bake until the cake springs back when gently pressed. 25-30 minutes for the cake 17-22 minutes for the cupcakes.
Rainbow Chip Frosting
This frosting is a lot sweeter than what I would normally use to top my cakes - but it's Rainbow Chip - it's has to be sweet. The cream cheese adds a soft tang that masks the cloying sweetness perfectly. If you have a vanilla bean use it here. The little black flecks love to dance in between the brightly colored chips.
This is enough to frost the two 9" cakes PLUS leaves you with enough extra for a little graham cracker and frosting snack.
3 sticks butter, room temperature
8 oz cream cheese, room temperature
4 cups powdered sugar
1-2 tablespoons heavy cream
1/4 teaspoon salt
1 vanilla bean, seeds removed (or 1 1/2 teaspoons vanilla extract)
3/4 cups rainbow chip (more if you need more brightness in your life)
Cream the butter and the cream cheese until completely smooth. Scrape down the sides of the bowl. On low speed add the powdered sugar. Add the cream, starting with 1 tablespoon. If you want a slightly looser frosting add the other tablespoon. Add the salt and vanilla seeds. Once again, scrape down the sides of the bowl then fold in the rainbow chips.
Well covered this frosting will keep in the fridge for up to one week, although some of the food color will start to tint the frosting. I recommend using it right away.
Rainbow Chips
1 11 oz bag white chocolate chips
food color - red, yellow, blue,and green
In a microwave safe bowl melt the white chocolate in 20 second intervals. Stir well. Continue to heat until all the chips are melted.
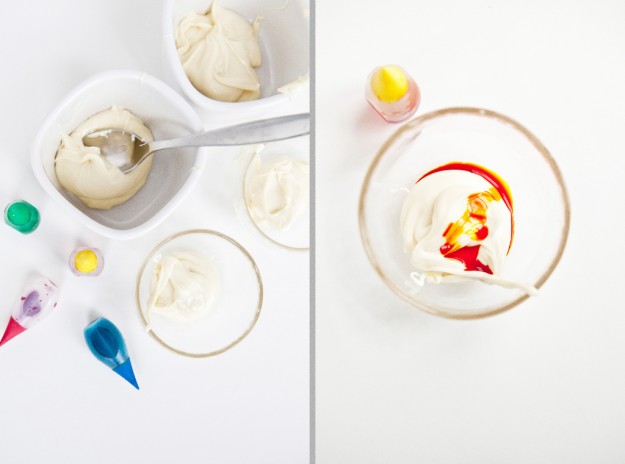
Divide the melted white chocolate into four small bowls. Add 5-7 drops of color into each bowl. Stir to combine. The white chocolate will seize up a bit but should still be pliable. If not, pop back into the microwave for about 10 seconds.
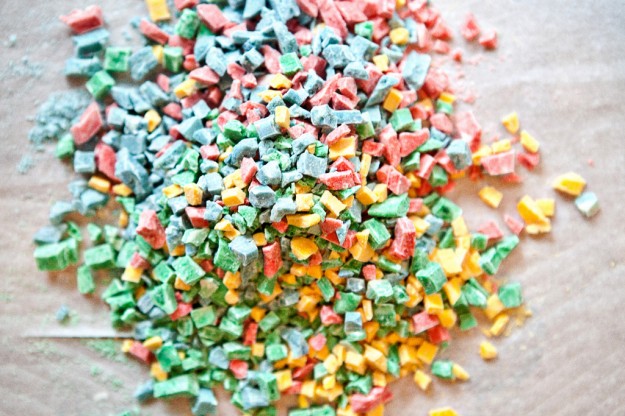
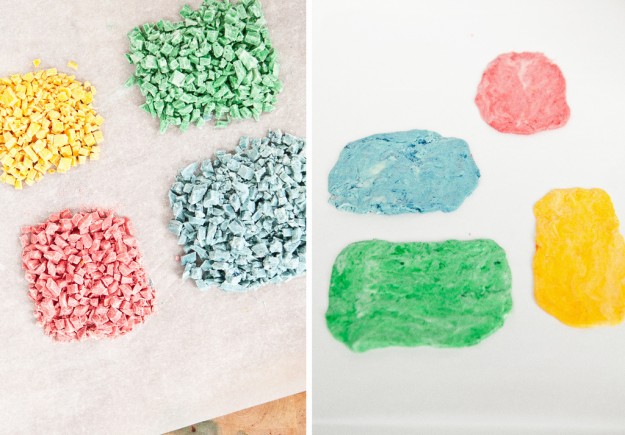
On a baking sheet covered with parchment empty out each bowl of colored chocolate. Using your hands or an off-set spatula form it into a rough rectangle about 1/4" thick.
Place in the freezer for about 10 minutes or until set. Once set chop up each color into little pieces. Taste the rainbow.
