banh mi with pork meatballs

5616526357_dd33e0d6c7_b

A mere 30 minutes north of our cozy home there is a little shop in a little strip mall in a fairly little town. In this shop they make and sell one of the best sandwiches in and around Seattle. You can be the proud owner of said sandwich for around $3.00.

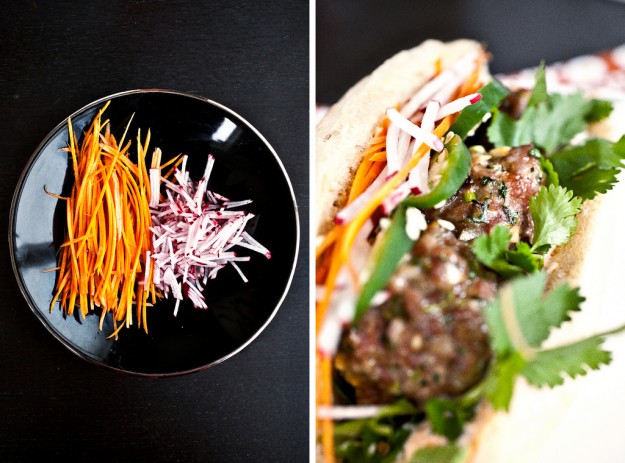
It’s Banh Mi. A crusty, chewy baguette with mayonnaise deep in the bread’s crevices and sweet and salty pork with crispy meat edges that make you think meat candy might be a brilliant idea. Full sprigs of cilantro hug lightly pickled and julienned carrots and daikon. And if you happen to be driving while eating this particular sandwich and not closely paying attention to what you are eating you’ll likely bite into a firey hot wedge of Jalapeno – not slice, wedge. You’ll then proceed to become the entertainment for the car next to you as you frantically search for the water wincing and shrieking from the heat. Your husband will be embarrassed.
5616525849_e2f7be2d42_b

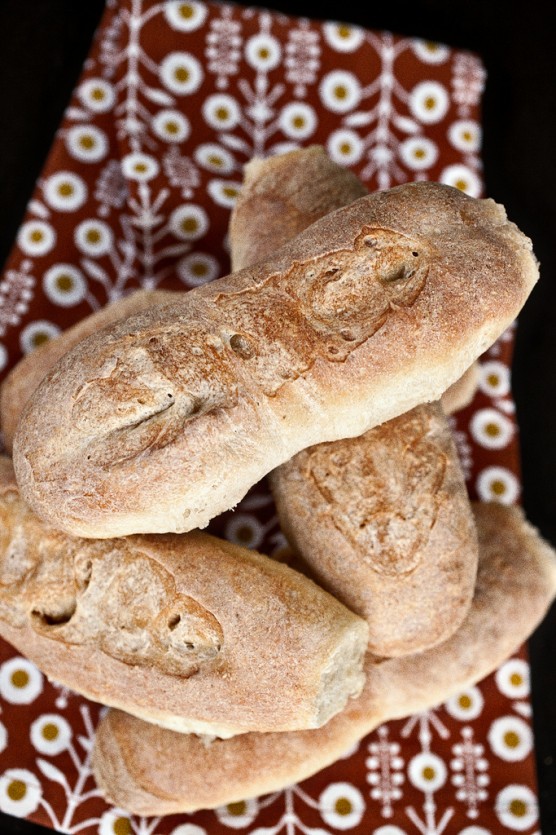
You might not have this shop (Seattle Deli) near your house. For that I am sorry, but it is for that very reason I share this recipe with you. And dare I say I like this version better?! I think I dare. Maybe it’s because I can pay closer attention to the jalapeno consumption or it could just be that these are the best little meatballs I’ve ever had. It could also be that the homemade baguette I used for the rolls was the perfect texture to make this sandwich utterly delicious while not requiring a bib to eat it.
5617108942_2599218a21_b

Of course making your own rolls is not necessary in making these sandwiches a great success. When choosing the bread select one with a thin, crispy exterior, an interior with the lightness of a cloud and the craters of the moon to soak up the Sriracha mayo and the juices that seep out from the meatballs.

Banh Mi with pork meatballs

adapted from epicurious.com

makes 4 sandwiches

Sriracha Mayo

2/3 cup mayonnaise
2 tablespoons onion, finely chopped
1 tablespoon Sriracha
¼ teaspoon salt

Combine all ingredients in a small bowl. Can be made a couple days in advance if covered well and place in the fridge.

Pork Meatballs

1 pound ground pork

2 tablespoons basil, finely chopped

2 tablespoons cilantro stems, finely chopped

4 garlic cloves, minced

¼ cup onion, finely diced

1 tablespoon fish sauce

1 tablespoon sriracha

1 tablespoon sugar

2 teaspoons cornstarch

1 teaspoon freshly ground black pepper

1 teaspoon coarse kosher salt

Other sandwich components

cilantro sprigs
jalapeno, thinly sliced
julienned carrots and radish with a sprinkle of rice wine vinegar

In a large bowl mix all these ingredients together. If touching raw meat doesn’t scare you use your hands – they are the best way to ensure all the ingredients are evenly mixed. A spoon is fine too.
Prepare a plastic wrap or parchment lined baking sheet. Form the pork mixture into tablespoon sized balls. You should make 12 meatballs, 3 for each sandwich.
Cover the meatballs with plastic wrap and chill. You can make the meatballs one day in advance. If cooking the same day chill the meatballs for at least 30 minutes.
When ready to cook the meatballs pre-heat your oven to 350*F.
In a large skillet drizzle in 2 tablespoons oil (canola, sesame, or olive). When the pan is very hot carefully add half of the meatballs. Cook for about a minute on each side. You want to see a nice, dark crust on the meatballs.

When completely seared place the meatballs on a parchment lined sheet tray and put in the oven. Continue to cook until the internal temperature reaches 160*. If the juices run light pink your meatballs are done. This should take about 10 minutes.
While the meatballs are cooking prepare your baguettes. Cut each in half and apply a generous amount of the Sriracha Mayo on each side. Add cilantro, thinly sliced jalapenos, julienned carrots, and radish.
Add three meatballs to each sandwich. Serve immediately.

Enter your email address: Delivered by FeedBurner

  • 43 Comments /
  • Permalink

Homemade Cadbury Creme Eggs

5598661225_4798083e20_b

Last week I had my first taste of rhubarb and asparagus. For me those two tastes symbolize Spring more than the presence of Tulips or the gentle warmth of sun (still waiting for that).

The tangy tart bite of rhubarb combined with a buttery shortbread crust and cool whipped cream. The bitter taste of a subtle char from a hot roast in the oven set against the mild sweetness in a freshly plucked spear of Asparagus. These are the songs of Spring and I sing them at the top of my lungs after what seems to have been years of cold and dreary days.

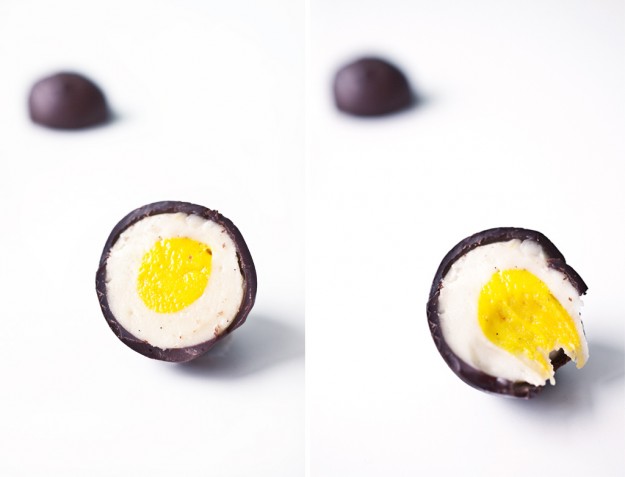
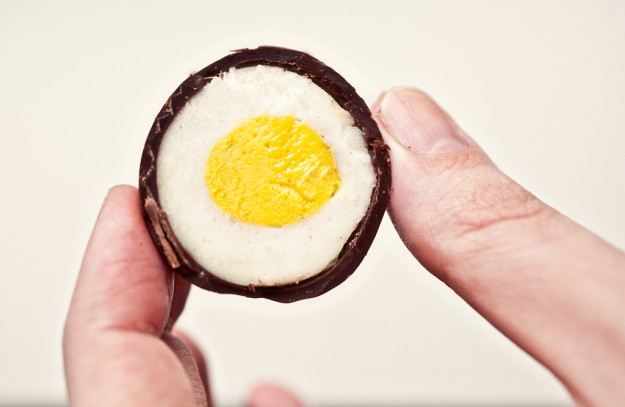
But there is another taste that has become a Spring tradition – as sacred as congealed cranberry sauce at Thanksgiving, that even though it is laden with ingredients I can’t pronounce I eat it. One overly sweet bite at a time. I’m talking homemade Cadbury Creme Eggs.

5599244302_b3a0d83476_b

Apparently this is the year of taking our favorite guilty pleasures (remember our Rainbow Chip Cake?) and converting them to homemade versions that completely leave the store-bought variety sulking in shame.

In my version the interior is created using a generous amount of butter, Lyle’s Golden Syrup as a replacement for the corn syrup, vanilla bean, salt, and a couple of subtle drops of Orange Blossom Water which is completely optional but gives this homemade version a soft perfume that intoxicates with every bite.

5598661137_a44b627d1b_b

In an effort to counteract the incredibly sweet center I coated my eggs in a bittersweet chocolate. And while I can still only take one bite in a sitting I consider this version more balanced and pleasantly sweet rather than painfully sweet.

Imagine the unrelenting joy if someone were to find these in their Easter baskets?

Homemade Cadbury Creme Eggs

makes about 15 eggs depending on the size you make them. My eggs were just a little smaller than non-homemade creme eggs.

inspired by this version seen on instructables.com

½ cup Lyle’s Golden Syrup
¾ stick (6 tablespoons) butter, softened
½ teaspoon salt
3 drops orange blossom water (optional)
1 vanilla bean, seeds removed (optional)
1 teaspoon vanilla
3 cup powdered sugar
¼- ½ teaspoon yellow food color
12 oz dark chocolate, chopped (or 1 bag Ghirardelli 60% chips)

Place the butter in the bowl of a stand mixer that has been fitted with the paddle attachment (this can easily be done by hand or with a hand mixer). Add the Golden Syrup, salt, orange blossom water (if using), vanilla seeds and vanilla. Mix on medium-low to combine. Scrape down the sides of the bowl with a rubber spatula to make sure everything is mixed well.

Turn the mixer to low and slowly add the powdered sugar. Mix until completely smooth, scraping down the sides of the bowl as necessary.

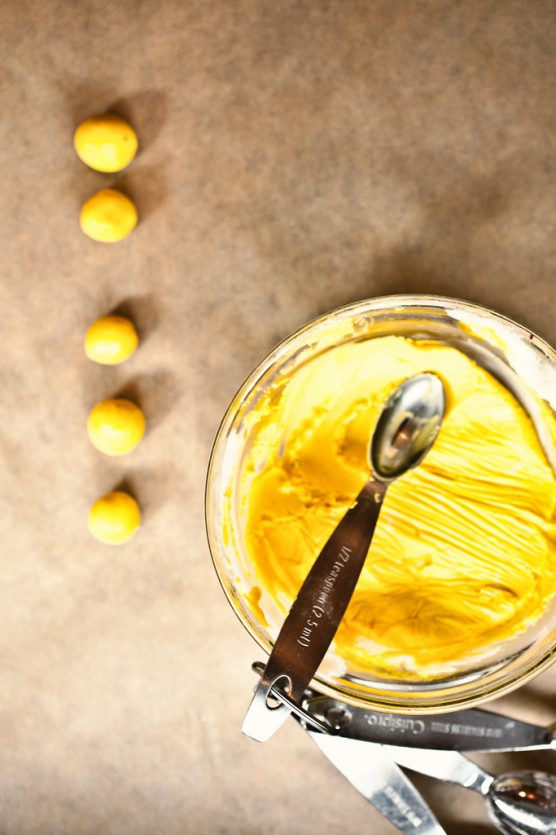
Place ⅓ of the mixture into a small bowl and add enough food color to obtain desired color.
Cover both bowls with plastic wrap and put into the freezer for at least 15 minutes. It is necessary that this mixture be very cold while working with it.

5599239762_9cfcaa21d0_b

When the sugar mixture has completely chilled remove from the freezer. Working quickly take about ½ teaspoon of the “yolk” mixture and roll it into a ball. Continue forming your yolks.

Once the yolks are complete place them on a plate or a sheet tray covered with parchment and then put that back into the freezer.

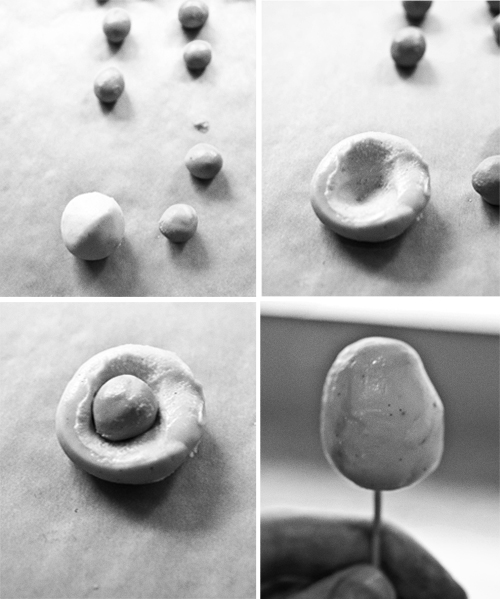
Now working with your “whites” use a tablespoon measure to scoop out the sugar mixture then roll that into a ball. Continue until all the white portion of the sugar mixture is gone.

If the “whites” are too soft place back into the freezer for a few minutes.

Remove the “yolks” from the freezer. Place a “white” in the palm of your hand and gently flatten a bit. Create a indent in the center to rest the “yolk” in. Place the “yolk” in the center of the “white” then cover it up. Roll the “white” into an egg shape. If at any point the sugar mixture gets too soft quickly put it back into the freezer.

5599235632_aca099a816_o

Continue this process until all your eggs are complete. Return to the freezer.
While your eggs are chilling temper your chocolate (David Lebovitz has a great post on tempering chocolate).

Or melt the chocolate in a microwave at 30 second intervals stirring very well in between. Add 1 tablespoon canola oil to the chocolate and stir well. This gives you a little more flexibility with the chocolate eliminating some of the need for precise tempering. You will not, however get as nice of a crack as you bite into the egg.

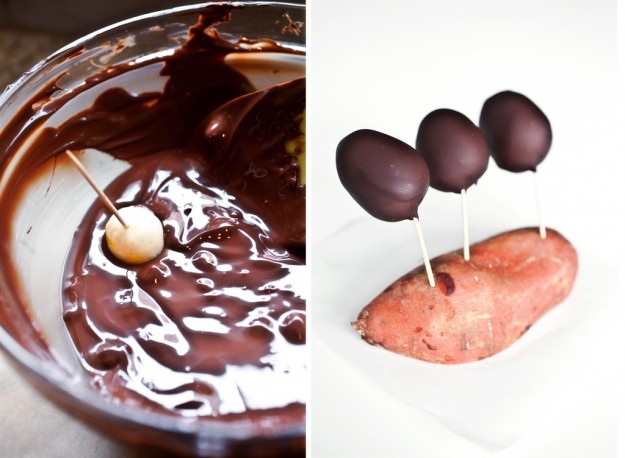
Working with one egg at a time, remove the egg from the freezer and stick a toothpick in it. Dip the egg into the chocolate and carefully let the excess chocolate drip off. Place the toothpick into something – like a yam perhaps – while the chocolate sets.

5598662017_c204f36e95_b

Place the chocolate covered egg into the fridge for 10 minutes while the chocolate sets.

Carefully remove the toothpick from the egg and cover up the small hole with a little bit of tempered chocolate.


Enter your email address:

Delivered by FeedBurner

  • 128 Comments /
  • Permalink