Oven-Fried Onion Rings …
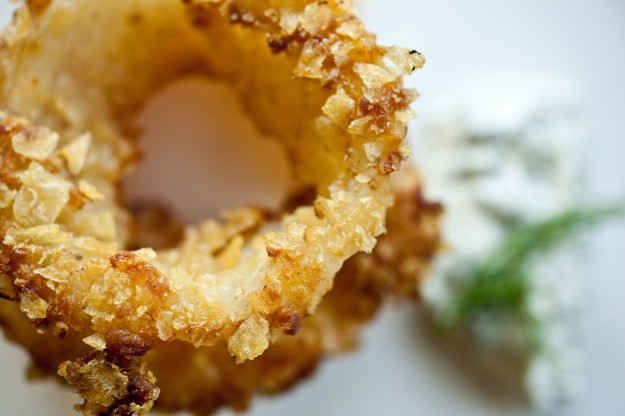
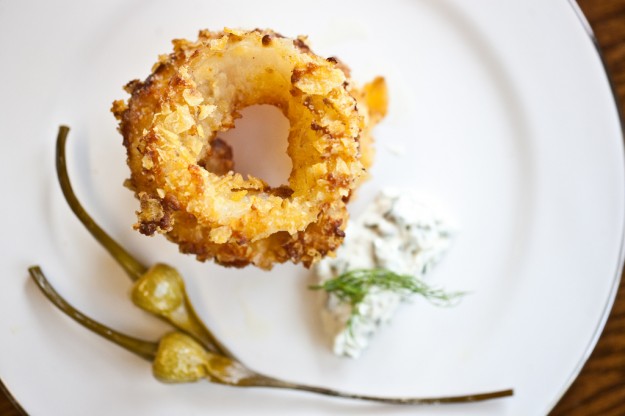
… and a killer pickled garlic scape tartar sauce – if I do say so myself.
I’m not one to shy away from fried foods. What I do tend to avoid are large stinky messes.
Fried foods are notorious for producing an enormous mess. The bubbly caldron of hot oil leaves a lingering smell which takes months and multiple bottles of Febreze to remove. Not to mention the layer of grease that coats every counter, cabinet and counter-dwelling kitchen machinery. Those who know me well know that cleanliness is not something I excel in so again – if I can I will avoid the opportunity to spend hours on my knees scrubbing and poslishing feeling as if I am Cinderella being tortured by my evil step-mother and sisters.
But when I became the proud owner of three Walla Walla onions so fresh the dirt was still attached – my first thought was onion rings.
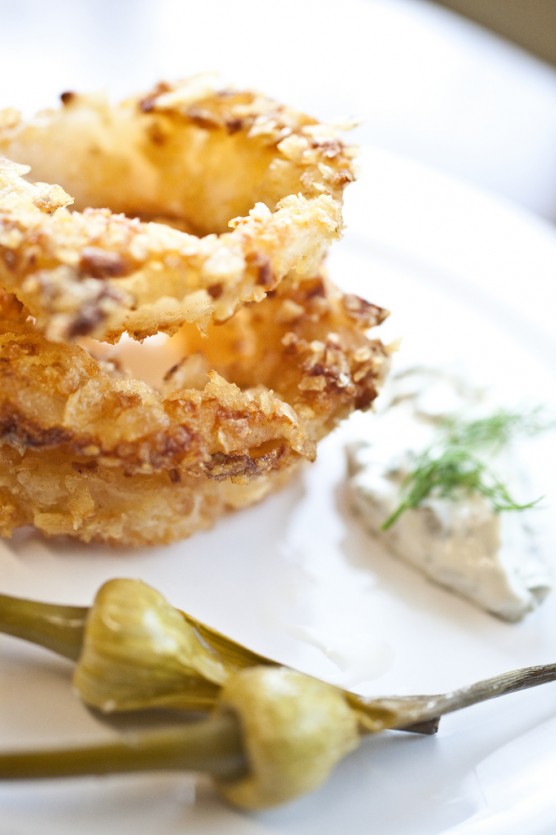
In order to avoid the mess I set out to make oven-fried onion rings. Just so you know this wasn’t a health choice for me. It was all in the name of ease and less mess. And I must say I succeeded beyond my expetations because not only were these simple, quick and clean to throw together but they came out as crispy and flavorful as their deep-fried brothers.
If you, like me, love the grease but hate the mess then let us celebrate in the name of laziness for a recipe that takes more time to clean the grease off our fingers than off our counters.
Oven-Fried Onion Rings
2 medium onions (sweet or yellow) cut into 1/2 – inch rings
1/4 cup all-purpose flour
1/2 tsp. salt
1/4 tsp. black pepper
1/4 tsp cayenne
1/2 cup buttermilk or plain yogurt
1 egg
1/4 cup + 1 tbl. flour
1 1/2 cups finely crushed potato chips (I highly recommend Kettle chips if you can find them)
3 tbl. vegetable oil
Pre-heat your oven to 450*
Combine 1/4 cup flour, salt, pepper and cayenne in a bowl large enough to dip the onions into.
In another similar size bowl combine the buttermilk, egg and 1/4 cup + 1 tbl. flour. Whisk until a smooth batter is formed. This should be the consistency of a slightly loose pancake batter. If it’s too runny add 1 tbl. more flour.
Have all your ingredients nearby to minimize the mess. First your seasoned flour, then the batter and finally a bowl containing your finely crushed chips.
Dip an onion ring into the seasoned flour. This will help the batter to adhere which helps the chips to adhere. They all work together – deliciously.
After the seasoned flour, dip the onion into the buttermilk batter. Let the excess batter dribble off before you coat the wet ring with the crushed chips. You will need to use your hands a bit to make sure the chips adhere.
Repeat this process with all the onion rings.
Cover a baking sheet with a piece of parchment. Drizzle with 3 tbl. vegetable oil then pop it into the hot oven for 8 minutes – or until the oil just starts to smoke. Carefully remove the baking sheet from the oven and rotate to evenly coat with oil.
Quickly place your onion rings on the baking sheet then return to the oven. Bake for 8 minutes then flip each ring over before baking for another 8 minutes. Sprinkle with salt while they’re still hot.
Serve with …
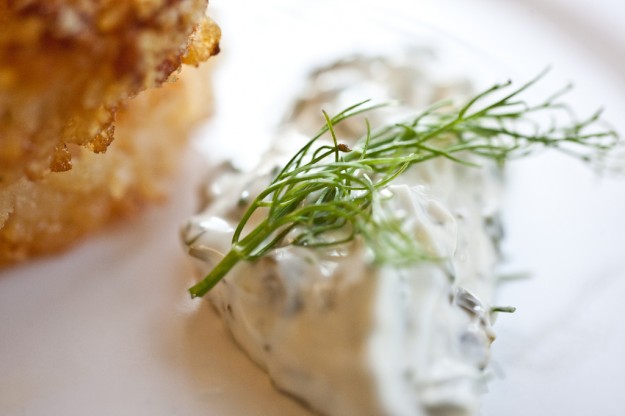
Remember those pickled scapes – and you thought to yourself – what would I ever do with pickled garlic scapes?! Now you know.
Pickled Garlic Scape Tartar Sauce
1/4 cup mayonnaise
2 tbl. pickled garlic scapes, finely chopped (or any other pickled item you have on hand)
1/2 tsp. basil, finely chopped
1/2 tsp. fennel leaves, finely chopped
1/4 tsp. pickle juice – whatever pickle you use – add a tiny splash of it’s pickling juice
Combine all the ingredients. Taste and season with salt and pepper if it needs it. If you want a touch of heat this can handle the addition of a little, finely minced raw garlic.
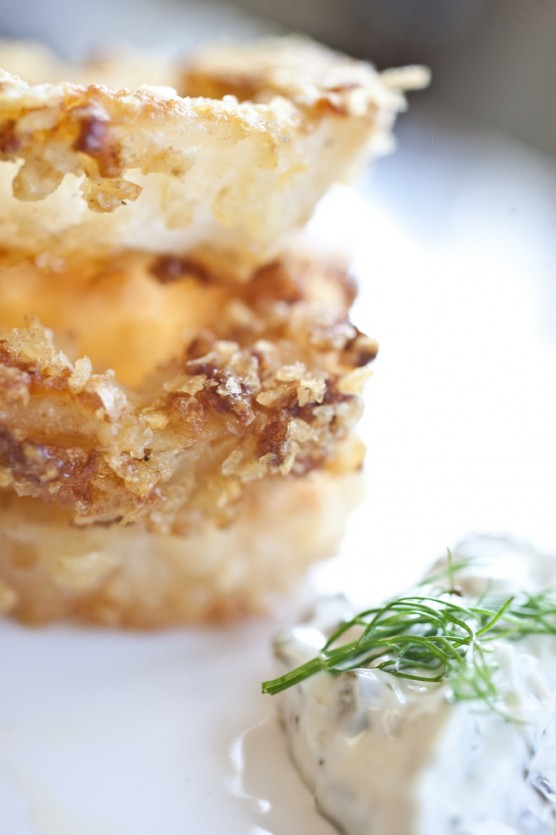
*note* If you have problems getting the chips to stay on – and as you can see in some of my photos I did, but they still were delicious – you can add in some crushed Saltine crackers. This helps with the adhesion. You can add as much as half the quantity of chips. So it would be 50% potato chips and 50% Saltine crackers. I do however prefer the taste of using all potato chips.


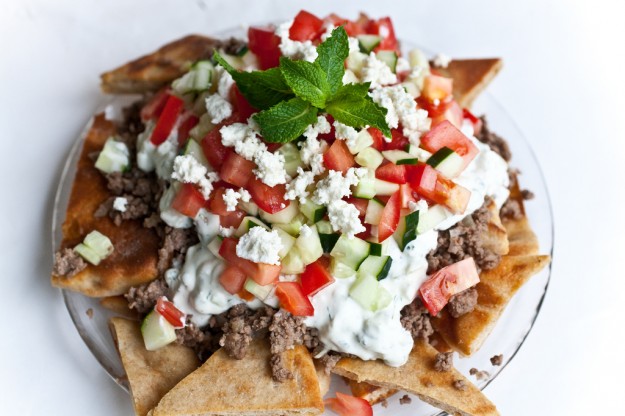
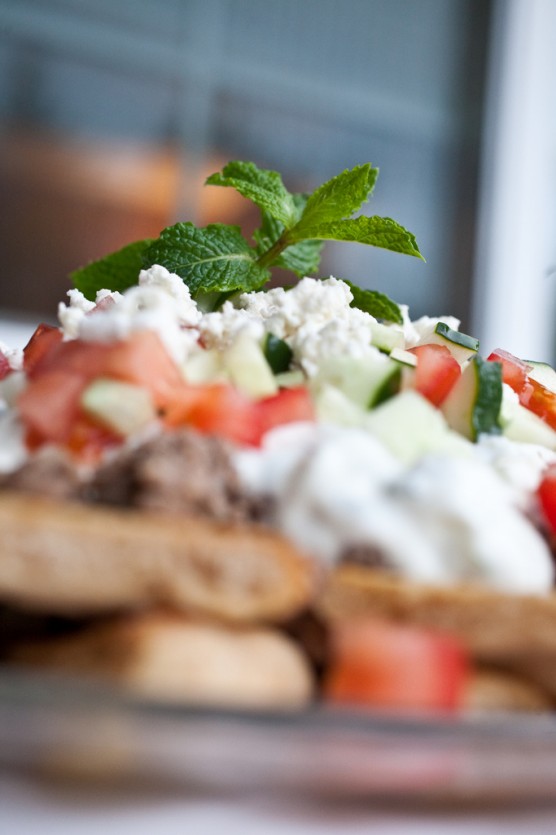
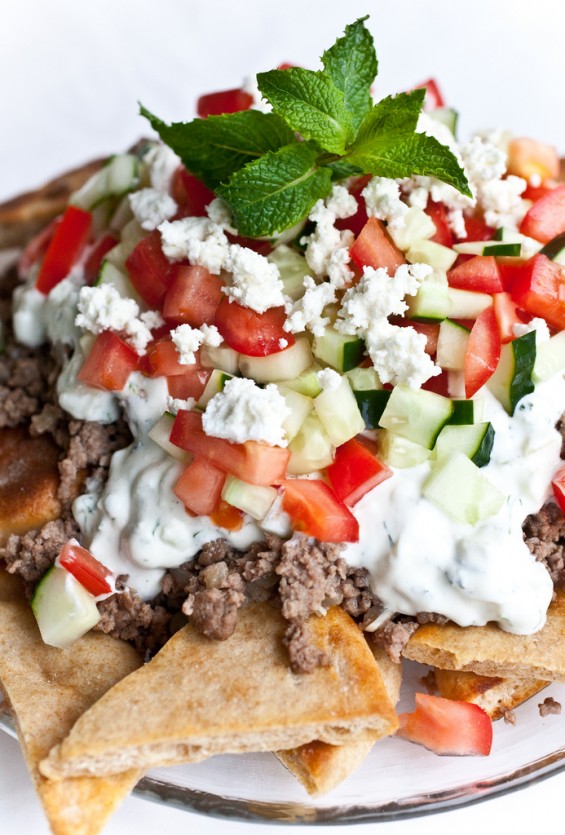 But wait. There’s more. Finish the nachos with chopped tomatos, cucumbers and olives. And if you are like me sprinkle more feta on top and a bit more fresh mint. This dinner is made extra tasty with the addition of this