Nothing Goes to Waste
3806223701_7a6e5706f5_b

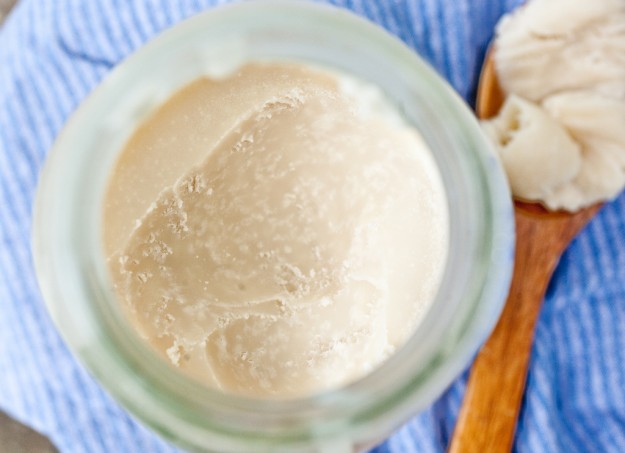
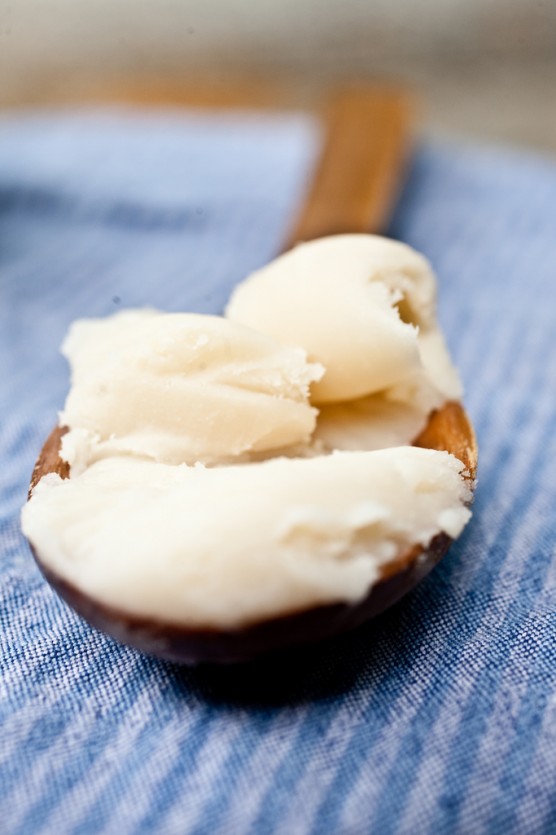
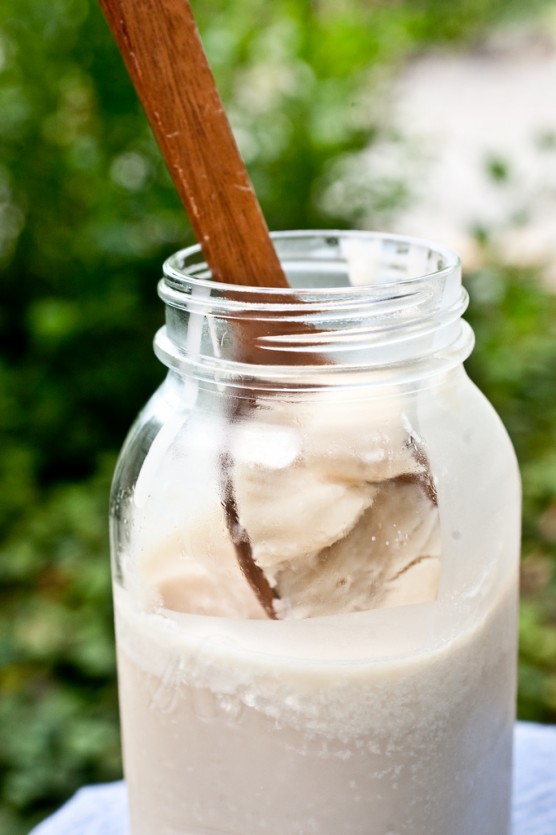
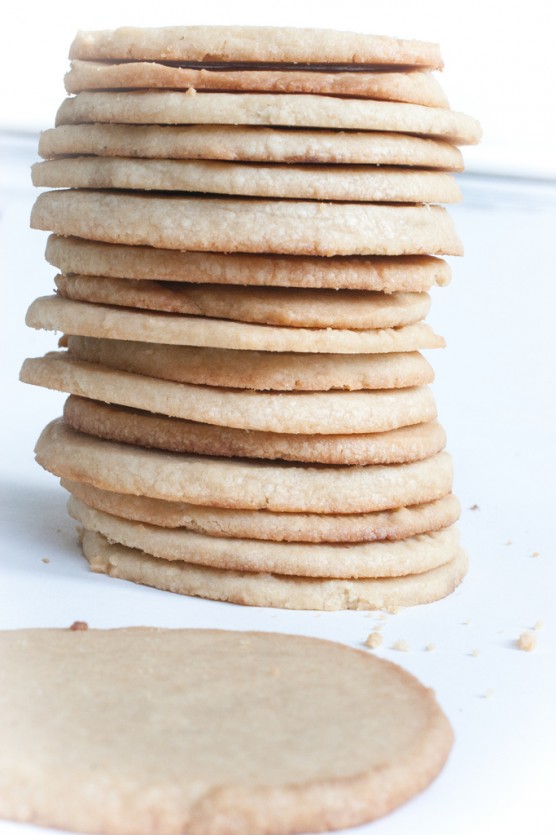
So now that everyone has their lard rendered let’s make some shortbread.

Wait. What?! You haven’t rendered your lard yet?

I understand. Some people are less than thrilled to be fondling pig fat. If you haven’t gotten around to producing your own batch of the white gold then do yourself a favor – make some bacon.

Enjoy said bacon. Maybe even make some bacon caramels. Or a BLT since there is no better time to bite into a tomato so sweet it’s as if the sun itself has been feeding the ruby orbes spoonfuls of sugar.

But whatever you do do not throw out your bacon fat. Nothing goes to waste – especially not the salty, smoky and creamy drippings that come from cooking bacon. Use the fat to cook your eggs, butter your toast with it, grab and spoon and eat it – well, not really – that’s gross.

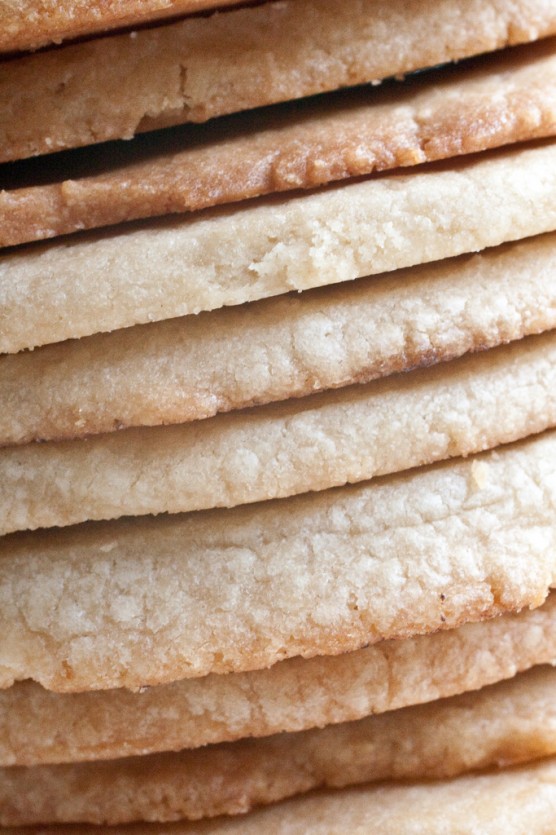
Make shortbread with it.
3807041192_5932b960c6_b

The other night I had a vision – covered in sugar. Inspiration for a new dessert hit and I listened then immediately set out to make my dreams a reality.

Before all my crazy lard rendering experiments I thought about the possibility of baking with bacon fat. I imagined the slightly salty and savory flavor would be an intriguing complement to caramel, maple, molasses and cream.

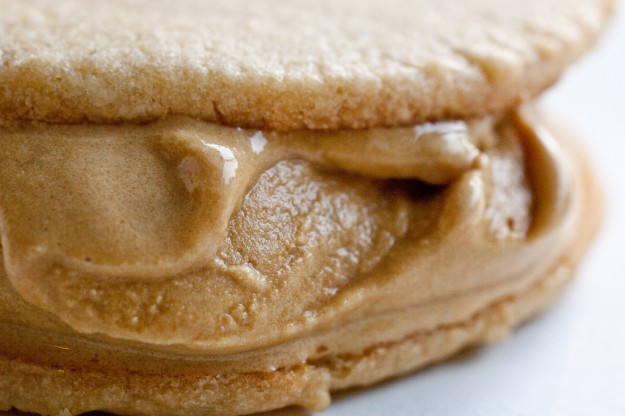
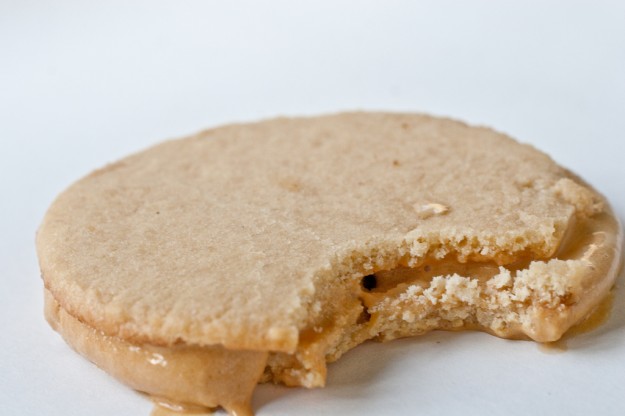
What manifested from that thought was a slight modification of David Lebovitz’s Salted Butter Caramel Ice Cream and tender shortbread infused with bacon fat. A grown up ice cream sandwich.
3806224593_4cee7fa844_b

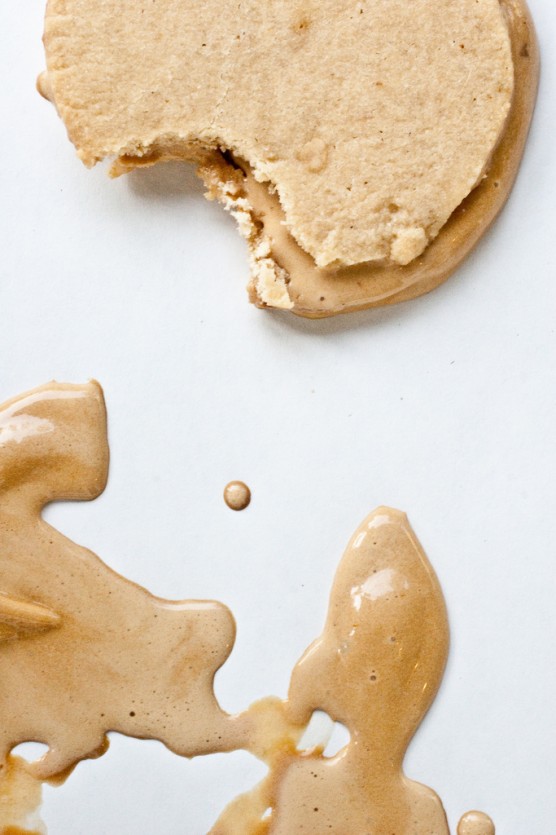
And even though they are messier than my 1 year old at meal times the taste was as exciting as the dream that inspired its birth.

The bacon flavor was subtle – just enough to let you know something was unique about these cookies. Enough to make the complexity of the ice cream scream even louder and enough to calm the sweetness so that eating multiple ice cream sandwiches is highly possible.

On their own these cookies are fantastic. Yielding a tenderness only possible with ample fat.

The secret ingredient will have your tasters questioning your sanity but one bite later they’ll be eating their words – and all of your cookies so watch out for that.

In these penny pinching times do your part – don’t waste anything – including your bacon fat. Make cookies with it.
3807047116_02bdb4b35d_b

Bacon Fat Shortbread Cookies

adapted from epicurious.com

3/4 cup butter, room temperature

3/4 cup bacon fat, room temperature (if you did render lard you can also use that – and good for you!)

1 cup sugar

1/3 cup brown sugar

2 tsp. salt

3 egg yolks

2 tbl. vanilla extract

3 3/4 cup All-Purpose flour

*This recipe makes a LOT of cookies. Feel free to cut the recipe in half or wrap some of the dough very well and freeze. Should last at least 1 month.

In a medium bowl combine the butter, bacon fat, sugars and salt and cream until well blended or about 2 minutes. Add the egg yolks one at a time, making sure each yolk is well incorporated before moving on to the next. Stir in the vanilla. Add the flour and mix until just combined.

Roll the dough into a log (or multiple logs as this makes a hefty amount of dough) on wax or parchment paper. Refrigerate until firm. If you plan to use the dough for ice cream sandwiches make sure the log is big enough to produce cookies large enough to hold plenty of ice cream. My cookies were about 3-4 inches wide.

When ready to bake pre-heat your oven to 325*. Carefully slice the cookies 1/4-inch thick. Arrange on a parchment lined sheet tray and bake for 10-15 minutes or until the edges are golden.

*If you can find some or have it on hand try replacing some of the sugar with Maple sugar. I’m sure it would be completely fantastic.
3807045478_4b438e2fb6_b


David Lebovitz’s Salted Butter Caramel Ice Cream

* I added replaced half of the sugar with brown sugar in the ice cream custard.

* I added 2 tbl. Maple Syrup to the Caramel Praline mix-in.

This ice cream is incredibly rich. The best homemade ice cream I have ever made – and I’ve made more than one should be allowed in a lifetime.

The key to its rich and unique flavor is to get a deep dark color when carmelizing the sugar.

David Lebovitz is a sugar genius. His instructions and photos hold your hand every step of the way.
  • 45 Comments /
  • Permalink

Rendering Lard

3830900217_8a88e5539d_b

Kitchen projects excite me. While many think I may be a bit “off my rocker” as they say, for driving an hour to a farm more than a little off the beaten path to pick up 10 pounds of pig fat, then coming home to render the fat – which in turn casts a pig farm-esque smell over everything we own. I don’t understand. What is obscure about that?

It was in the name of perfect pie that caused this sudden NEED for freshly rendered pig lard. It seems as if there has been a bit of buzz around the glistening white fat and I wanted in on the action.

Most specifically I took note when I read that the pie queen herself, Kate McDermott (artofthepie.com), uses it for her sought after crust. Her flawless pies have been seen in Saveur and she has taught Ruth Reichl, editor of Gourmet magazine, a thing or two about pie.

Now having tried Kate’s recipe I am a convert.  The balanced combination of lard and good quality butter is the key to creating a crust that is as tender as a first kiss while maintaining buttery flakes that fall into your lap like delicious snow (come to think of it – I would enjoy snow a lot more if the flakes were buttery pie crust and not cold, frozen rain).

While gushing over the joys of my latest kitchen project there have been many devoted food lovers who don’t think I’ve lost my marbles, conversely they want lard of their own and have inquired into the rendering process. So for them and everyone else who is curious my husband and I have created this short stop-motion video for you.

The process is simple and the best part is that you end up with two products for the price of one. Of course you get lard – a fat that is excellent in baked goods, the key to perfectly fried chicken and it’s good in, well – just about anything. But what you also get, as a reward for your efforts, are cracklings. Deep fried pig skin that make a wickedly tasty snack, topping for salad, taco filling, etc.

3830901545_97a1e01673_b

To render the lard cut about 1 1/2 – 2 pounds into small chunks.

In this case I am using Leaf lard. Leaf lard is the highest quality lard, perfect for baking as it doesn’t have a meaty smell to it. Next in line is Fat back. Either one you use the method is the same.

Using the stove top method set a large pot over medium-low heat. Add about 1/2 cup water to the bottom of the pan – this will help the lard not to burn and will evaporate as the lard is rendering.

Stir every 10 minutes to make sure nothing is sticking to the bottom of the pan. After some time (an hour or so, mine took a bit less than that) you will start to hear popping. That is the sound of the moisture leaving the cracklings and it is also a sign telling you things are moving along and you should stay close by. Stir every couple minutes.

If you want a flavorless lard, ideal for baking, then now is the time to drain off the fat. Line a mesh strainer with several layers of cheese cloth and strain into a bowl. The cracklings will still be pale and need to be cooked longer.

If you are going to be using your lard for savory applications or you want the finished lard to have a nutty, roasted flavor then continue to render until the cracklings are a dark golden color. Eventually they will sink to the bottom. Some people use that as the sign of when they are done but I pulled mine just before that point and ended up with a roasty lard that had a pleasant color and flavor.

I plan to use it for both sweet and savory. Your resulting baked goods will have a subtle nutty savory quality that I find very pleasant and balances out the sweetness quite nicely.

Another way to render is to put the cut up lard in a large pot with a lid (such as a dutch oven). Put the covered pot in a 200* oven and let it render overnight. In the morning strain your fat and have cracklings for breakfast.

Store the lard in an airtight container in the fridge. Once cool the lard will be the texture of shortening and ranging in color from stark white to pale yellow – depending on when you stopped the rendering process. The lard can also be frozen. I’ve heard that frozen lard will last at least a year. Some people say it will keep indefinitely.

Around the web you can find numerous fantastic resources for rendering. These are what helped me:

Homesick Texan: How to Render Lard

The Nourishing Gourmet: How to Render Lard

eGullet: Two processes for rendering Lard

The Milkman’s Wife: How to Render Lard

Kate’s post on Lard

Kate’s Perfect Pie Crust article by Rebekah Denn

Rendering lard is a simple process with the resulting product being a luxiourious fat that lends a melt in your mouth texture and a subtle flavor that is unlike anything you’ve ever tasted.

For me it is also a way to connect with your food. To appreciate all that the animal has to offer us and return the gift of its life by honoring every part. Praise the lard! And thank God for an abundant bounty of incredible food that surrounds us.

3831698106_7344e057d3_b

  • 49 Comments /
  • Permalink