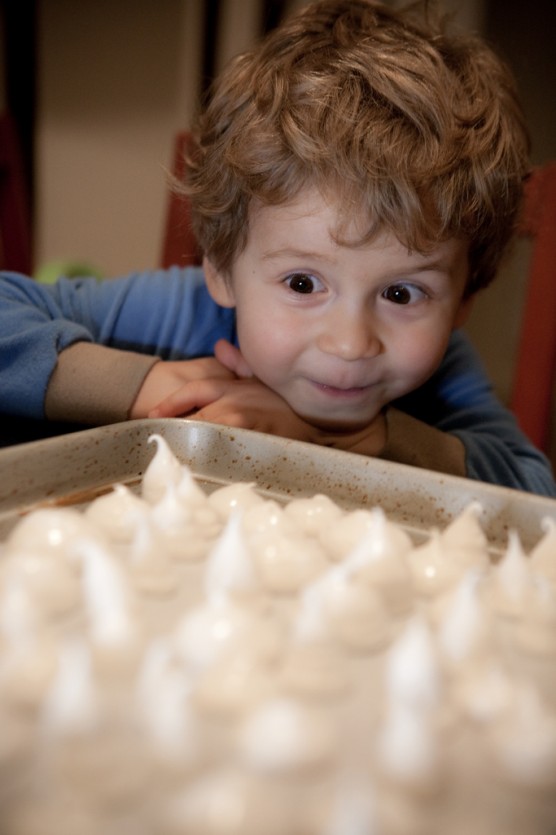
Meringue Mushrooms
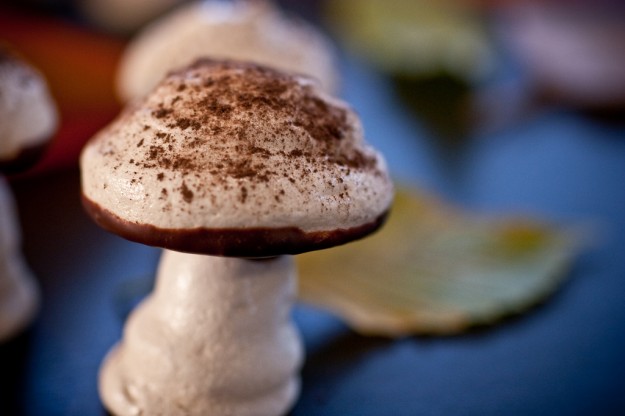
I’ll be honest – I really have no idea what possessed me to make meringue mushrooms.
Maybe it was my new found love of foraging? Nah. I think it’s because they are so fun to look at and much sweeter than their real life counterpart.
I’ve made these in years past as an adornment to my Buche de Noel. But this year I skipped the cake and went straight to the mushrooms.
Since we’ve been on the topic of homemade holiday gifts I thought these faux mushrooms would make a unique treat that would please any hostess – they sure put a smile on our neighbors face.
I seasoned my funghi with vanilla extract and peppermint oil giving them a floral minty taste that cut through the overly sweet characteristics that so often accompany meringue.
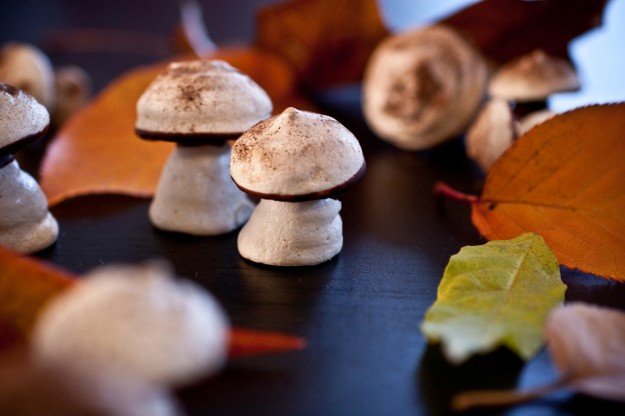
Meringue Mushrooms
adapted from martha stewart living dec. ’03
Swiss Meringue:
4 large egg whites
1 cup sugar
pinch cream of tartar
1/2 teaspoon vanilla extract
1/4 teaspoon peppermint extract
1/4 teaspoon salt
In the bowl of a stand mixer add the egg whites and sugar. Place the bowl over a medium size pot filled with simmering water. Whisk continuously until the sugar is dissolved and the egg whites are warm.
Place the bowl on the stand mixer. Add the cream of tartar. Start the mixer on low then gradually increase to high. Continue to whip until stiff glossy peaks appear – about 10 minutes. Add the salt, vanilla and peppermint. Mix to combine.
Piping & baking:
Preheat your oven to 200*
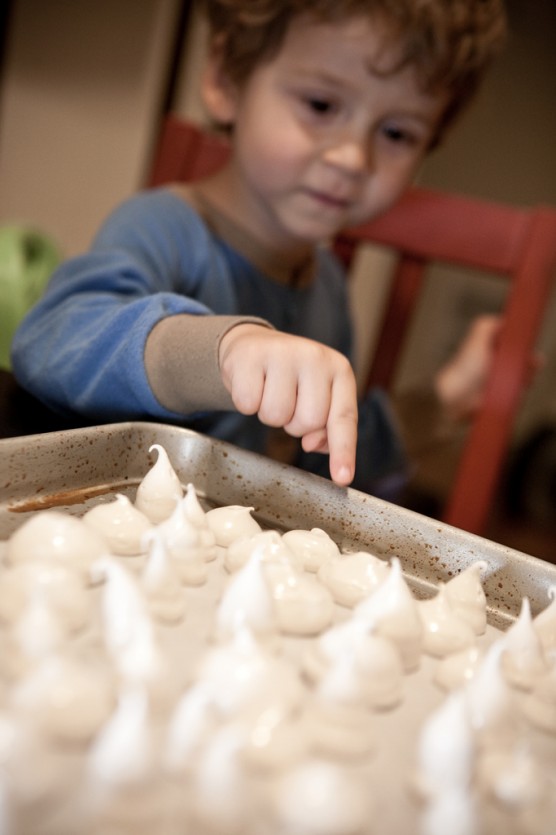
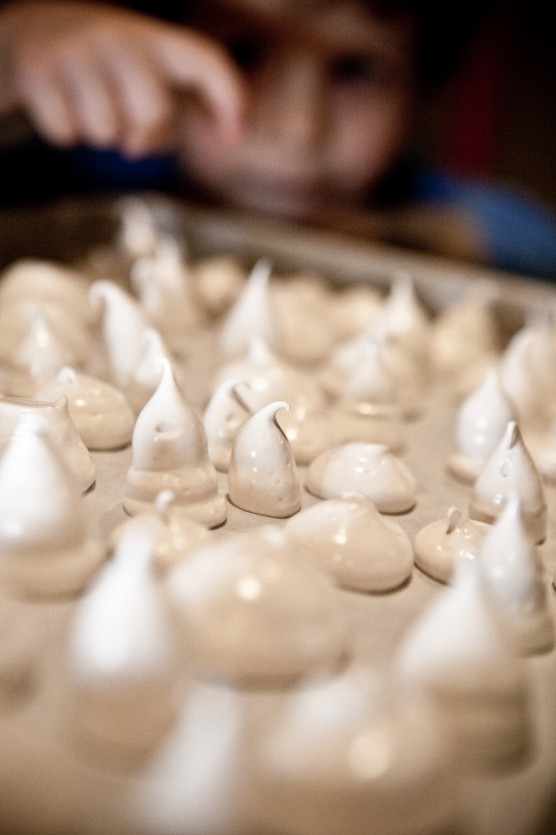
Line a baking sheet with parchment paper. Fill a pastry bag fitted with a 1/2″ tip. You will need to pipe the stems and the caps separately.
Pipe round domes for the caps and thick peaks for the stems.
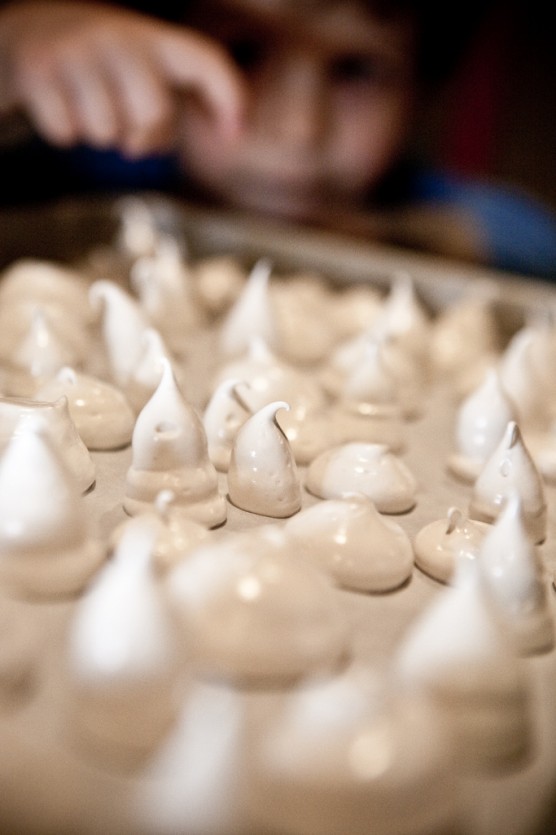
Bake the meringues for 1 hour. Rotate your pan after that then reduce oven temperature to 175* and continue to bake until completely dry. The original recipe said for another hour – but if you read yesterday’s post you would know it took a lot longer than expected. After being in the oven for more than a total of 3 hours I simply turned off the oven, left the mushrooms in and went to bed. In the morning they were dry. 🙂
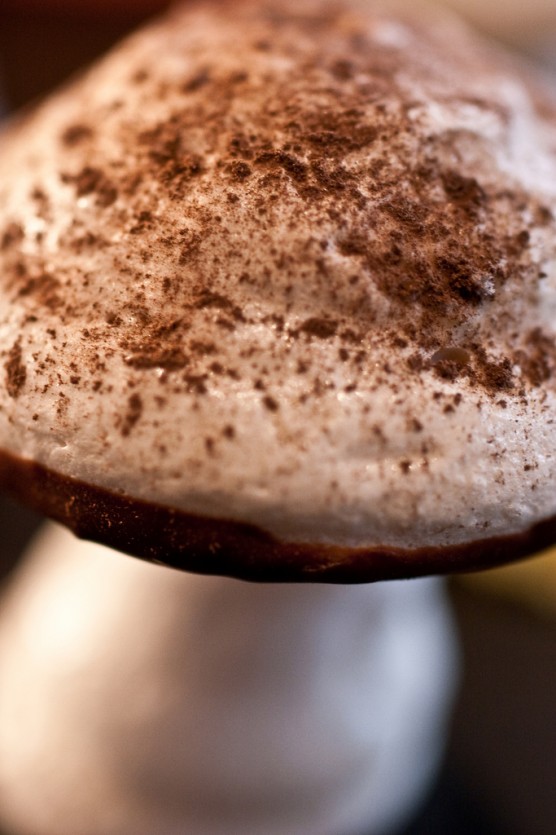
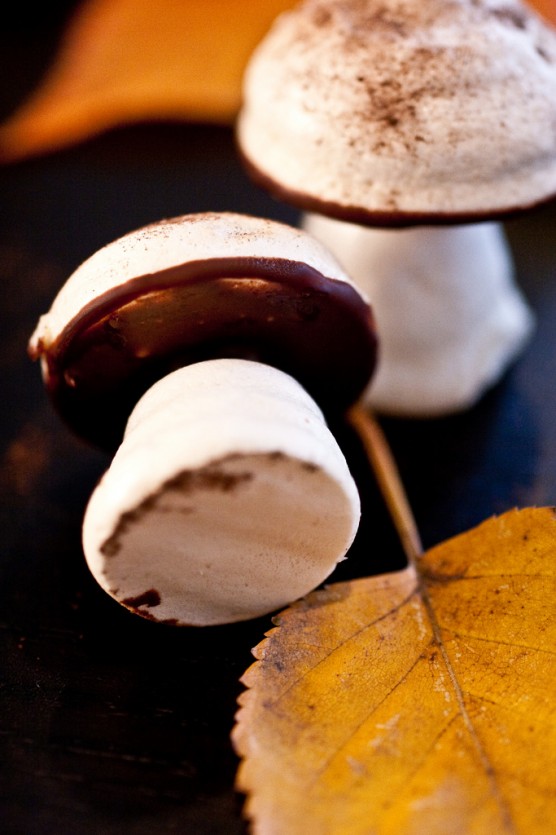
Melt 1/2 cup or 3 ounces dark chocolate. Dip the bottom of a cap in the chocolate and wipe off excess. Attach a stem to the cap – grinding it into the cap a bit to form a secure hold. Carefully place the now assembled mushroom on the baking sheet giving it time for the chocolate to set.
Once they are all formed, brush the top with cocoa powder to resemble to bountiful dirt the covers fresh mushrooms. This is the best dirt I’ve ever tasted.
Package these in a box or glassine bag or use them to garnish cakes or desserts this holiday season.
