Baguettes at Home
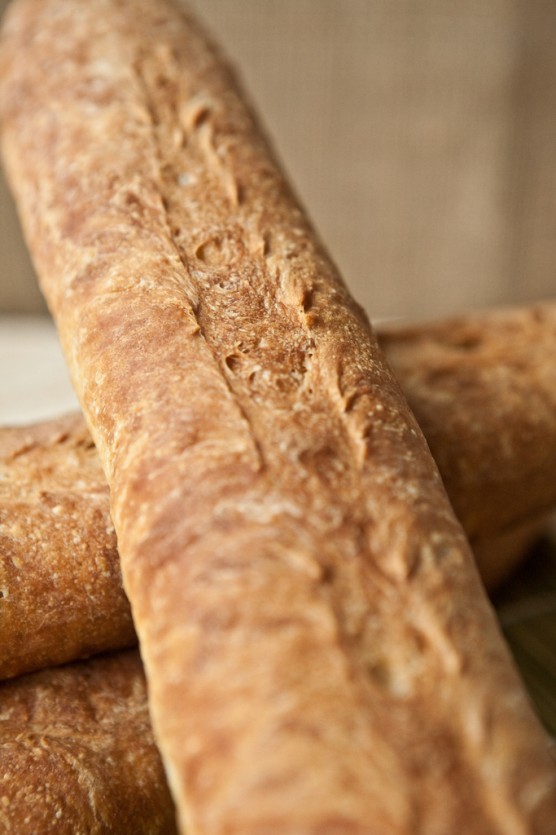
The other night we sat down to a dinner that was so simple it went from in my head to on the table in under 15 minutes. So I couldn’t help but laugh when my husband commented, “this is my favorite dinner in a long time.” – or something to that effect. He fumbled his words and tried to choose them as cautiously as he could knowing that his pregnant wife is in a constant fragile emotional state. I knew what he was trying to say and that it went beyond the fact that the number of warm, home-cooked meals I’ve produced in the last few months has dramatically decreased so he was just happy to see something other than grilled cheese.
It was the homemade baguette which accompanied the simple meal that really made his heart melt like the butter on his warm bread.
The next morning he happily sat down with his coffee and half a baguette, sliced and slathered with butter and jam. A breakfast that I too enjoyed nearly every morning living in a convent while studying art in Italy.
Bread is about as simple as it gets; flour, salt, water and yeast, yet I find there is nothing more satisfying and pleasurable than a slice of warm homemade bread.
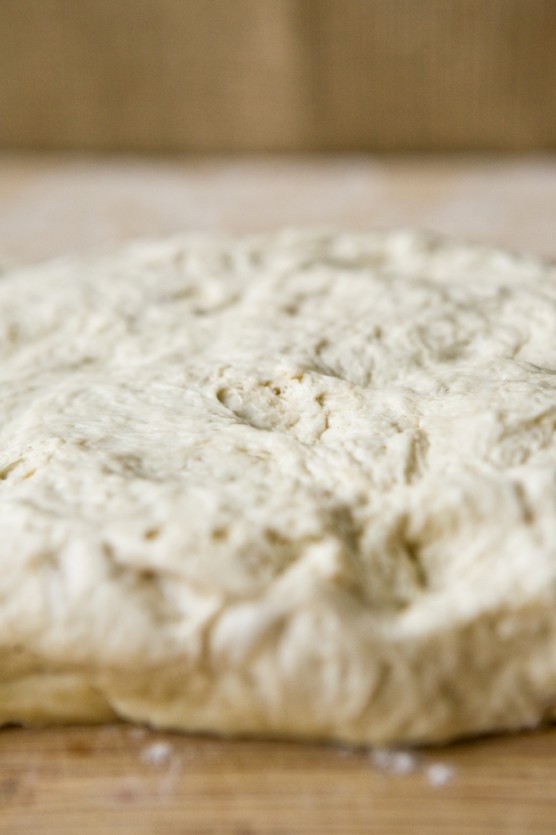
I enjoy every aspect of it. Transforming sleeping ingredients into something that is alive and growing. The smell of the awakened yeast having a feast of flour wafting through the kitchen and flooding my head with memories of all the times I’ve smelled it before.
The anticipation of pulling the warm loaf from the oven and having to let it cool just enough so that you can cut through it without causing burns. And then finally the oohhh and ahhh inducing first bite that makes the hours and even days of wait all worth it and immediately sets your mind on making the next loaf.
Making baguettes at home can seem to be an intimidating task but I have been so happy with the results from this recipe. I think 12 loaves in about a week should be enough to prove how happy I’ve we’ve been with the final product.
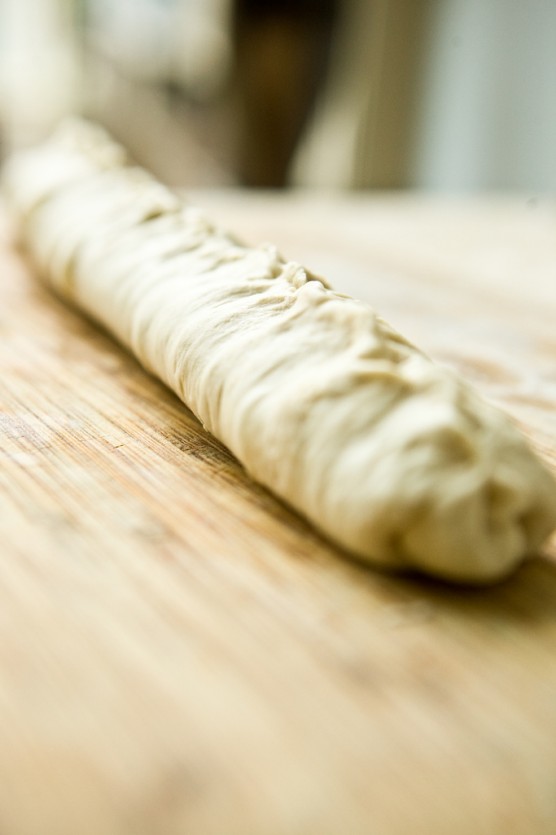
Forming the loaves takes a bit of practice but I’m sure you will quickly get the hang of it after the second or third loaf. And even if they aren’t picture perfect you will not be disappointed with the taste.
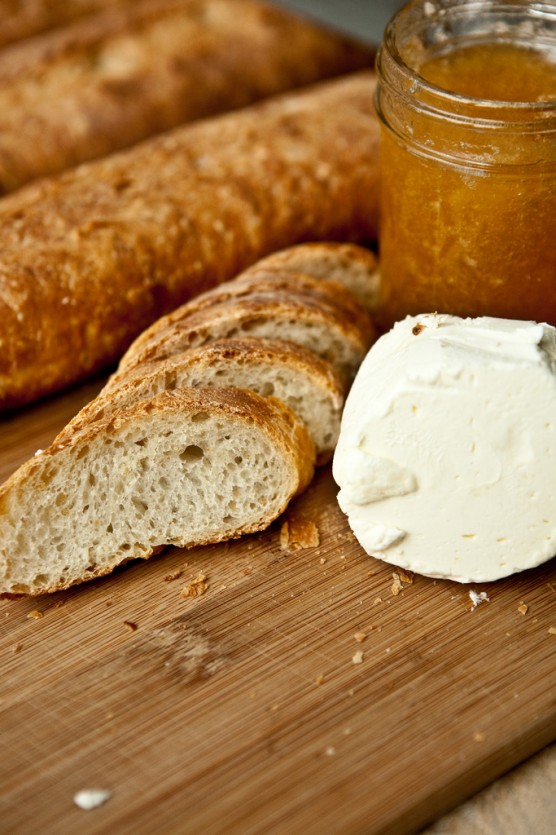
Thus I give my recipe for Homemade Baguettes or How to Turn a Simple Meal into a Memorable One.
Homemade French Baguettes
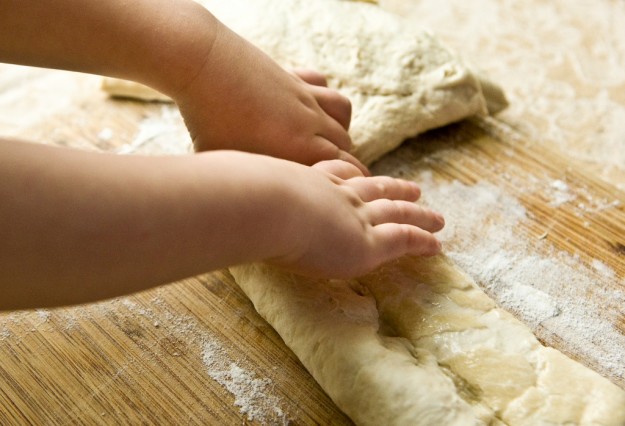
yields four baguettes adapted from Artisan Breads Every Day, Peter Reinhart Ingredients 5 1/2 cups unbleached bread flour (I've used all-purpose with great results) 1 tbsp coarse kosher salt 2 1/4 tsp instant yeast 2 cups warm water Method Prep Day: Combine all ingredients in bowl of mixer, set with paddle attachment, and mix on lowest speed for 1 minute until well blended and smooth. Dough should form a coarse, shaggy ball. Let rest, uncovered for 5 minutes. Switch to dough hook and mix on medium-low speed for 2 minutes. Dough should be smooth, supple, and tacky but not sticky. Knead dough by hand on lightly floured work surface for 1 minute, then transfer to a large clean, lightly oiled bowl. Cover with plastic wrap and immediately refrigerate overnight or up to 4 days. Dough can also be made without the use of a stand mixer. Combine all the ingredients - start with a wooden spoon then switch to your hands when the flour is incorporated. Lightly knead until all the ingredients are well blended. Let rest for 5 minutes then knead for about 5 more minutes until dough is smooth and slightly tacky. Baking Day: Remove dough from refrigerator 2 hours prior to baking. Gently transfer to lightly floured work surface, taking care to release as little gas as possible. Divide dough into four equal portions. You can also do as I have by removing just enough dough to make one baguette and have a fresh baguette everyday for the next four days from one single batch of dough. Form Baguettes: Pat each piece of divided dough into a thick rectangle.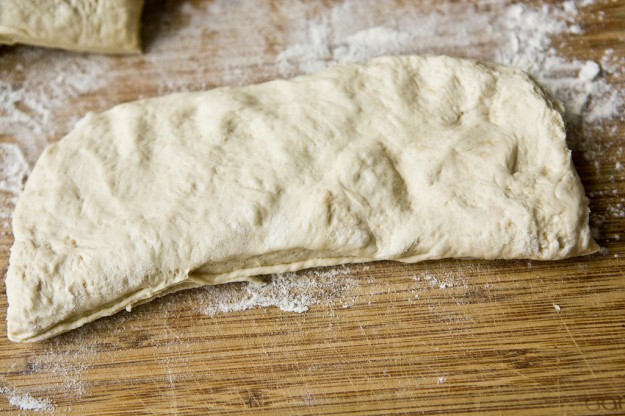 Fold the bottom half to the center and seal the seam. Fold the top half to the center and once again seal the seam.
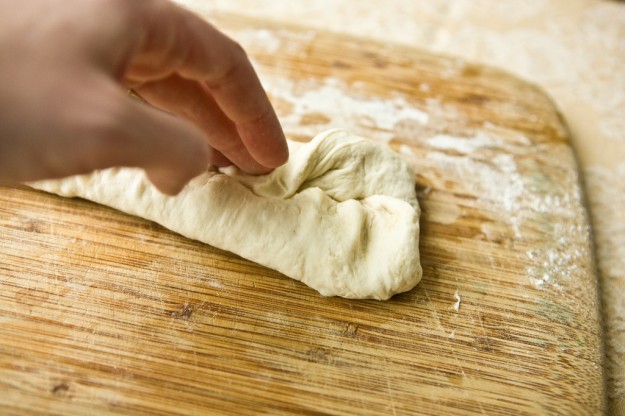 Roll the top half of the dough over the seam to create a new seam on the bottom of the loaf.
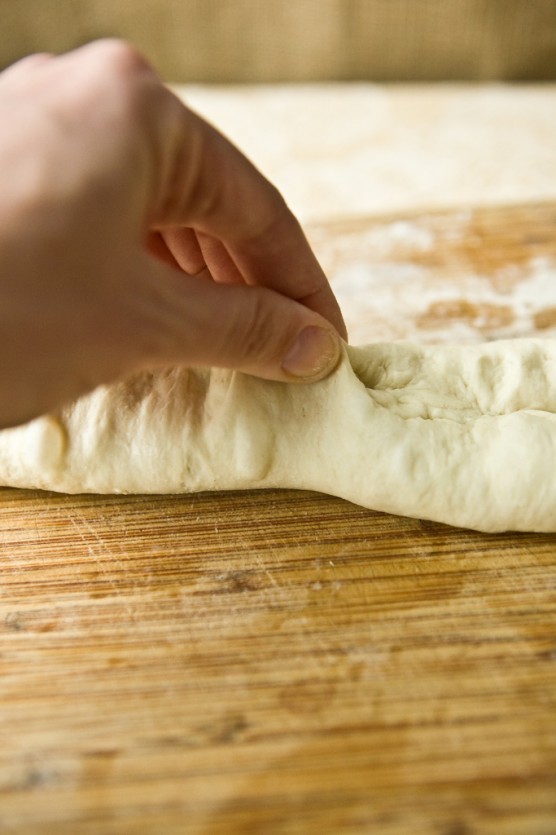 With seam side underneath, gently rock loaf back and forth, with hands moving out toward and increasing pressure at the ends, to slightly taper the loaf until baguette is the length of baguette pan (or baking sheet). Place the formed baguettes on a baguette pan or a baking sheet that has been oiled or covered with parchment. Mist top of dough with oil, loosely cover with plastic wrap, and proof at room temperature for about 1 1/2 hours, or until increased to 1 1/2 times its original size.
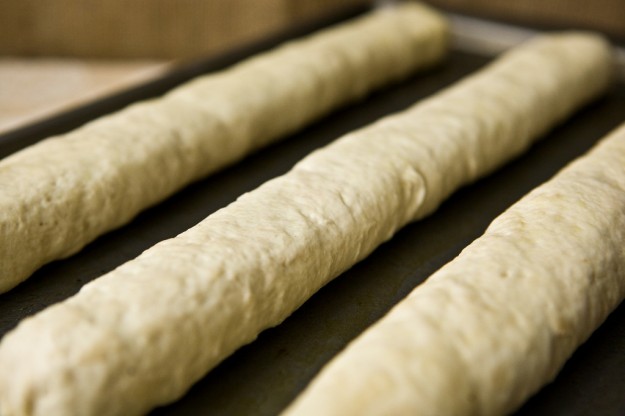 Baking: About 45 minutes before baking, preheat oven to 450 degrees. Place a sheet pan, which will serve as steam pan, with a 1-inch rim on shelf under which baguettes will be baked. Remove plastic wrap from the dough 15 minutes prior to baking. Just prior to baking, score the dough 1/2 inch deep with a serrated knife or razor. Transfer dough to the oven, pour 1 cup hot water into the steam pan.
Bake for 15 minutes, then rotate pan and bake for another 15-20 minutes, until the crust is rich golden brown, the loaves sound hollow when thumped, and the internal temperature is about 200 degrees in the center. Cool on wire rack before slicing or serving. Best eaten the same day, or heated briefly in the oven the next day if crust loses its crispness.
 My little helper


